Windows 10 is slowly exiting the market, and Microsoft has announced that it will stop releasing free software updates after October 14, 2025. In the meantime, there are plenty of reasons why you might be hesitant to upgrade to Windows 11, or might be hesitant to do so. There is no way to upgrade at all. Fortunately, there's a middle ground: Give your Windows 10 computer a new coat of paint to make it look a lot like a brand new Windows 11 computer.
Needless to say, this won't magically make your PC run Windows 11, but it will give it a new look and add some useful features found in the new operating system.
Before we continue, please note that you can still easily upgrade an unsupported PC to Windows 11, but this isn't an option for everyone as it won't run as well as Windows 10 on lower-end hardware. Meanwhile, Microsoft said it will double the price of Windows 10 updates every year after the October 2025 support deadline ends. So while this aesthetic overhaul will help in the meantime, time is running out to buy a new computer.
After fixing these issues, you can follow the steps below to give your Windows 10 computer a near-perfect Windows 11 look.
Step 1: Create a restore point
Before starting, create a new system restore point. Don't skip this step !
We'll be changing a few important settings, so having a recent restore point ensures you can safely revert to your current configuration with all files intact in case something goes wrong. It can also help revert your changes if you later end up not liking the look of your customized desktop.
Use the Windows taskbar to search for " restore" .
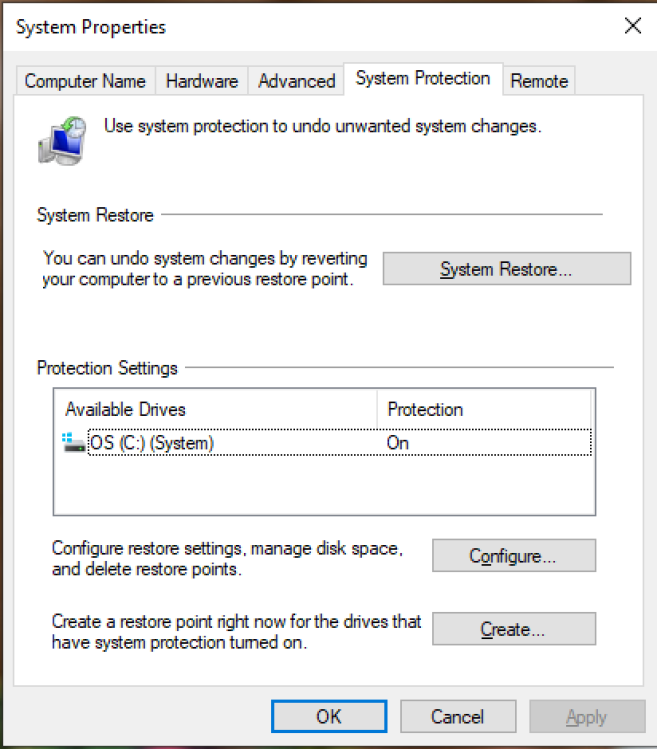
Select Create restore point from the search results to open the System Properties menu.
In the System Protection tab, select your hard drive and make sure Protection is set to On. If it's off, click Configure and turn on system protection.
With System Protection turned on, highlight the drive from the list and select Create.
Add a description for the new restore point and click Create.
Wait for the backup process to complete.
If you end up needing to use a restore point, use the steps above to return to the System Properties menu, then click System Restore and follow the on-screen instructions.
Step 2: Make Windows 10 look like Windows 11
Next, we'll make Windows 10 look more like Windows 11, including a new taskbar and Start menu, rounded folders and taskbar corners, new icons and backgrounds, and more.
To do this, you'll need to install a custom third-party Windows 11-based desktop theme and icon set, which requires more work than simply installing a theme from the Microsoft Store. If you just want to do a quick, ad hoc test of Windows 11, there's a way to check out the operating system's new interface directly without installing anything. That said, if you want a more complete experience (and can't install the beta version), a custom theme is your best option.
However, before we apply a custom theme, you need to install several third-party applications that are required for the theme to run.
There's a lot to install, but don't feel overwhelmed; complete installation instructions for each application or file are provided on each download page listed below, and all of these applications are open source and/or certified It is safe to use.
Here's what you need:
SecureUXTheme : This application allows you to install third-party Windows 10 themes without affecting your system files.
OldNewExplorer : Change the look and feel of the Windows Explorer menu.
StartisBack ($4.99; free trial available): Builds on Windows 7 with a better Start menu. There is a one-time fee of $4.99 for the full version, but the trial version can be used indefinitely (albeit with limited functionality). You can use custom Windows 11 themes with just a free trial.
Stardock Curtain mod : Makes folder windows rounded on Windows 10, just like on Windows 11.
RoundedTB mod from the Windows Store : Adds rounded edges to the taskbar.
Once you've installed the necessary apps on your PC, you can make it look like you're running Windows 11. For this we will use nivu's Windows 11 for Windows 10 theme (it only requires a free DeviantArt account). Installation instructions for Niivu can be found here, but here's a simplified version:
First, you need to determine which version of Windows you are using. Press Windows key + R.
Type "winver" and press Enter.
Make a note of the version number and close the window.
Download the niivu theme from the link above.
Unzip the downloaded file.
In the unzipped folder, open the folder that matches your version of Windows.
Open another Windows Explorer window and go to This PC > [Drives] > Windows > Resources > Themes and copy the downloaded file.
Once the file is in the correct folder, right-click on the desktop.
Select "Personalize".
Under the Themes section, select a Windows 11 theme from the list. It should be applied to your desktop immediately.
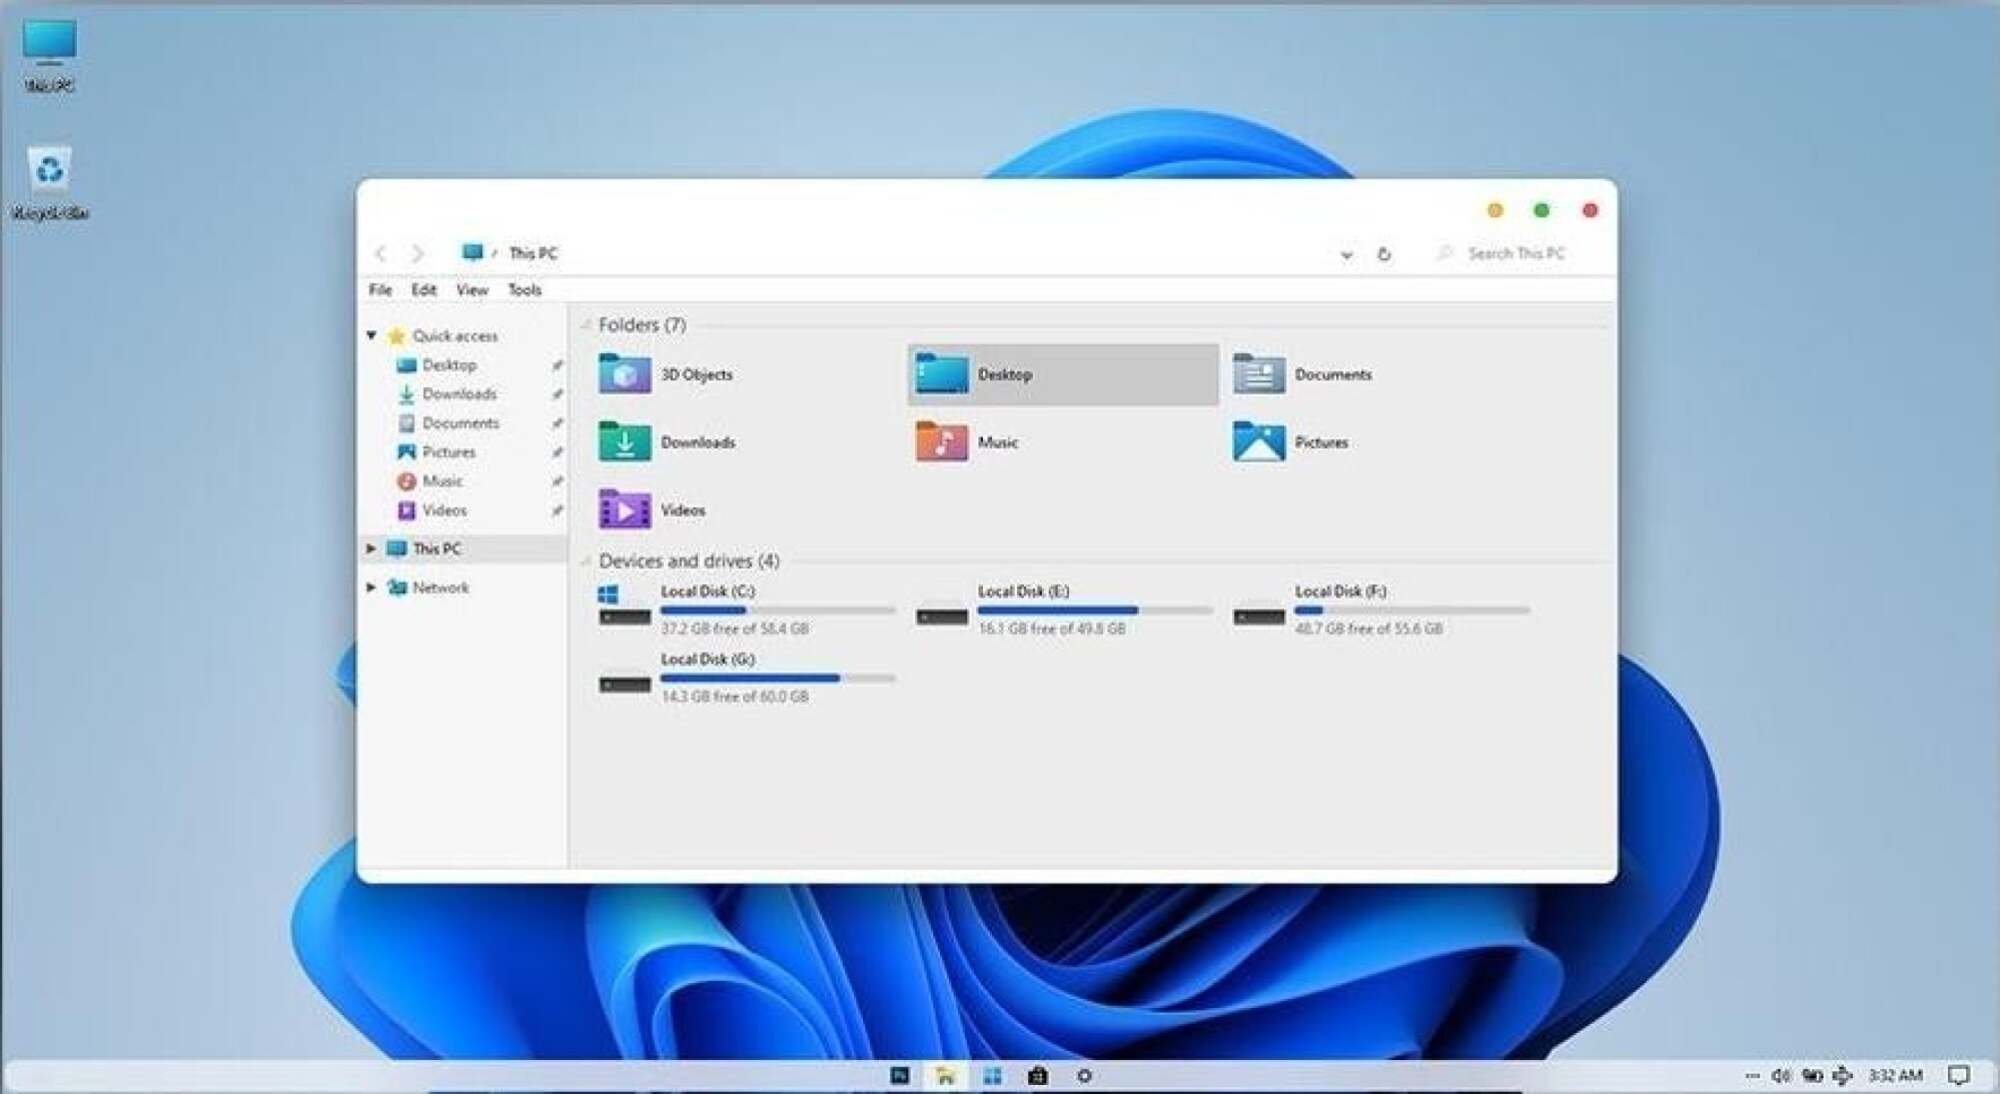
At this point, your Windows 10 desktop should look very close to the default Windows 11 theme, but you can make some optional adjustments to make it even closer:
Install nivu's Windows 11 custom icon for Windows 10 (requires 7TSP application).
niivu also recommends installing xoblite to enhance right-click menu functionality, but this is not required.
Again, these are optional mods, but they will make Windows 10 look and operate more like Windows 11.
Step 3: Upgrade Windows 10 security options to match Windows 11 (sort of)
The result of Windows 11's strict hardware requirements is that it's a more secure operating system—at least on paper. The combined TPM (Trusted Platform Module) and SecureBoot requirements should help protect Windows 11 devices from malware, ransomware, and remote takeovers.
Some Windows 10 computers already have TPM and support SecureBoot. Of course, this means that these computers may be able to run Windows 11 if needed, but it's still worth checking to see if your PC can use these features.
Enabling TPM or SecureBoot will add extra security to your PC at the hardware level, but Windows 10 usually disables them by default. We've already covered how to check and enable your PC's TPM (if it has one), so let's talk about SecureBoot — besides, your PC is more likely to support this feature.
How to enable secure boot
SecureBoot blocks apps from installing if the code isn't properly verified, and it prevents processes from taking over your device during boot, so it's definitely a worthwhile feature if you can use it.
Here's how to check if it can be used:
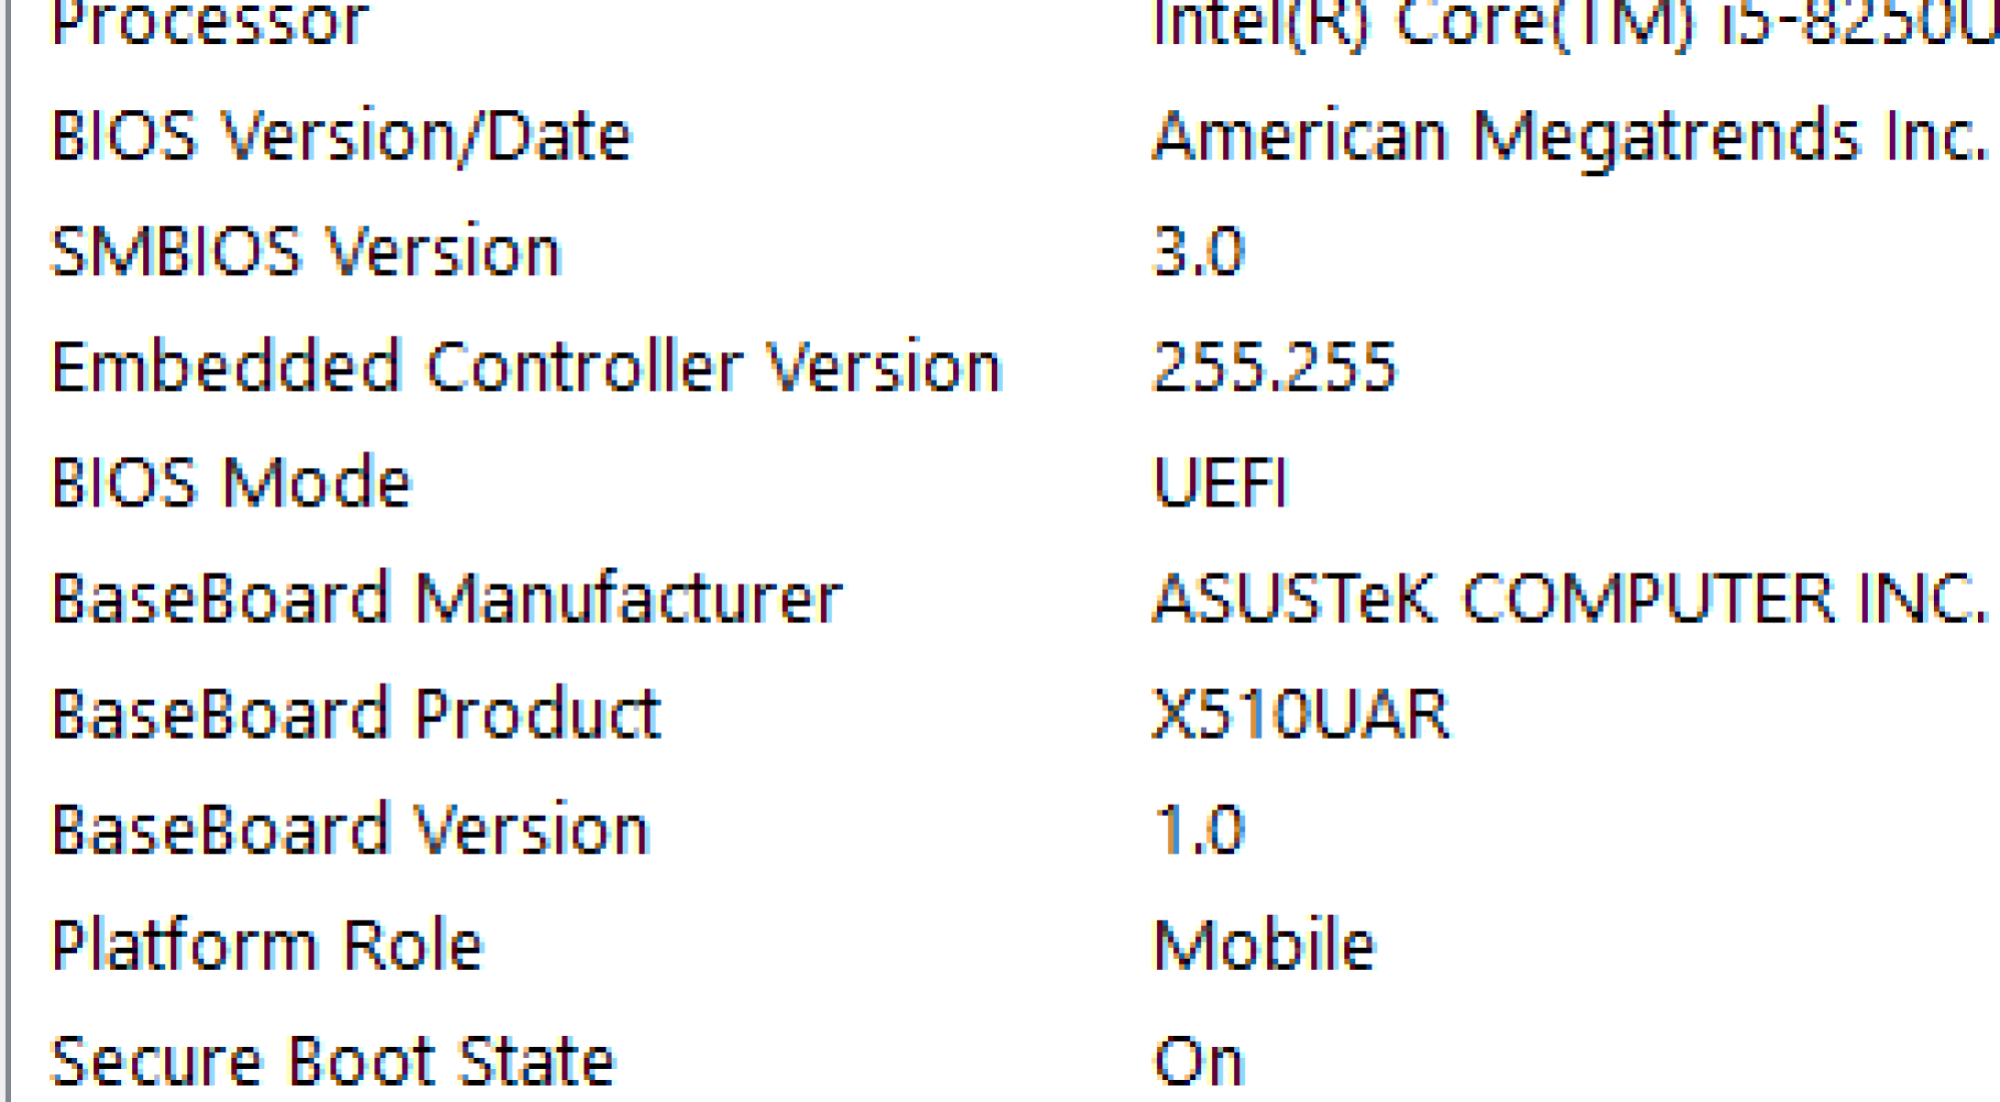
Search for System Information in the taskbar and select it from the search results.
In the System Information window, scroll and check that BIOS Mode is set to UEFI and Secure Boot is set to On .
If Secure Boot is set to Off, it is disabled. If it says Unsupported , then it is not available for your PC, or your BIOS mode is set to BIOS.
In either case, UEFI and Secure Boot can be enabled from the boot BIOS menu. Doing this will vary depending on your motherboard and its firmware, but a quick Google search should point you in the right direction.
However, be warned: only change your PC's BIOS settings when you're absolutely sure you know what you're doing. Even if you do, changing to UEFI or enabling Secure Boot can cause major problems. If it works, you won't have any problems. But if not, you will need to take some drastic measures to reset the motherboard and regain access to your computer. This involves opening your computer and temporarily removing the battery from the motherboard. If you mess up, your computer will eventually become unusable.
Other security features you should turn on
Enabling SecureBoot and your PC's TPM (if it has one) will get you closest to Windows 11's baseline security features, but there's more you can do to protect your Windows 10 PC and all the apps and files on it. Here's a quick checklist:
Enable passwordless sign-in and two-step authentication for your Microsoft account.
Sign up for OneDrive ransomware protection.
Use an encrypted password manager to protect your login information.
Business users and IT professionals can also implement several security enhancements if they use Windows 10 on their networks.
As I've said several times, you can't make Windows 10 imitate Windows 11 in every aspect. But if you enable these extra layers of security and take the time to apply custom themes and UI mods, you can easily trick yourself into thinking this is real.
For those of us who can't upgrade yet, fake Windows 11 is a great option, but don't feel left out. Windows 11 is still going through a lot of growing pains, so Windows 10 is a great place for its successor to mature.
