It seems like every celebrity has bleached their hair at least once to make the jump to platinum blonde: Jennifer Lawrence, Lady Gaga, Jared Leto, Justin Bieber, and probably Kim Kardashian (again). It's not just the rich and famous who do it; although the process is expensive and time-consuming, many ordinary people are trying to follow the trend of perfect white blonde hair. I'm not ashamed to admit that I'm one of them. Hi, my name is Kelly and I love bleaching my hair.
I'm a natural brunette but I've gone blonde twice now. This was my first time going to a salon and having it done by a professional, and although the price was high, I highly recommend it. The second time I went blonde was last fall, and I actually did it myself at home. It turned out great and I saved a ton of money! So while I wouldn't recommend doing this if you're a newbie, the fact is that it's possible to give yourself platinum blonde hair at home. At the very least, you should be able to save money by repairing the roots yourself once a professional completes the initial makeover. I'll explain how I did this, but with some caveats, caveats, and disclaimers. Keep an eye out, friends.
Like I said, this is really one of those things that is best left to the professionals. If you've never gone blonde before, go to the salon for the first time! This is especially true if your hair is dark, long, and/or fine. In fact, if you have short, thick hair (like me!), then going platinum is your best bet.
People with pixie haircuts are perfect candidates for platinum blonde hair for three reasons:
1. Less hair is easier to manage and requires less bleaching products.
2. Your hair will be damaged by bleach, and if your hair is damaged enough, you may have to cut it short.
3. I think women with short blonde hair are sexy. Hello, Mia Farrow, Jean Seberg, Michelle Williams, Robin Wright, Rita Ora, Miley Cyrus...even Tinker Bell!
Since I can only share my own experience, I contacted Carly McInerny of Mezzanine Salon for her professional advice. She told me via email, "Before you take the leap, it's never a bad idea to schedule a consultation with your stylist to discuss your wishes and have them take a good look at your hair. Always, always, remember to keep Be open to the ends of the bleach and tint rainbow, as it's often a process (often taking several appointments) to achieve the blonde of your dreams. "
McInerney is right: It's a process. Multiple bleaches and/or toners are usually required and it is recommended that you space these sessions out to avoid causing too much damage. So keep in mind that you may end up walking around with orange hair for a few weeks, but the end result will be worth it.
Now let’s dig into what this actual process entails. Even if you go to the salon, it's best to know what to expect!
Supplies
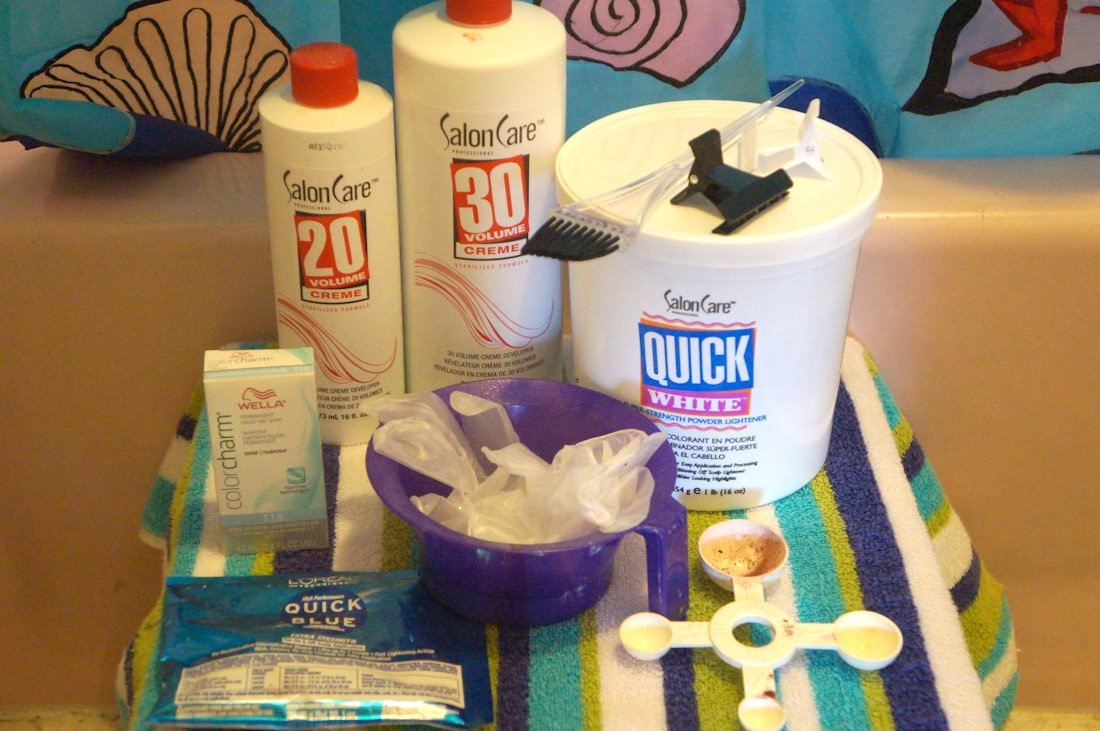
you need to:
- Bleaching powder (I usually use L’Oreal bleaching powder)
- 20 or 30 rolls of developer (I recommend bringing this with you; 20 for toning and 30 for bleaching. I use Salon Care developer).
- Gloves
- Plastic bowls, plastic measuring spoons, and some kind of plastic mixing tool. Metals and bleach don’t mix!
- Brush (optional; it's especially good for roots).
- Toner (I use Wella #T18)
- Hairpins (optional; again, best used when styling roots).
I got all of these from Sally's Beauty Supply; you can also order them from Amazon. I usually spend about $40 on supplies (which is a steal compared to the $130 I spent the first time at the salon).
Other things you'll need: A sulfate-free shampoo to wash away the bleach, a deep conditioner for your toner (McInerney recommends the Shu Uemura Silk Flower Mask), and something to nourish your hair afterwards and maybe even prevent a certain condition. Some damage to coconut oil can occur if you use it before using bleach.
As of this writing, half of my hair is blonde. If you want to see what my process looked like last fall when I started going 100% black, you can look here (clockwise from top left):
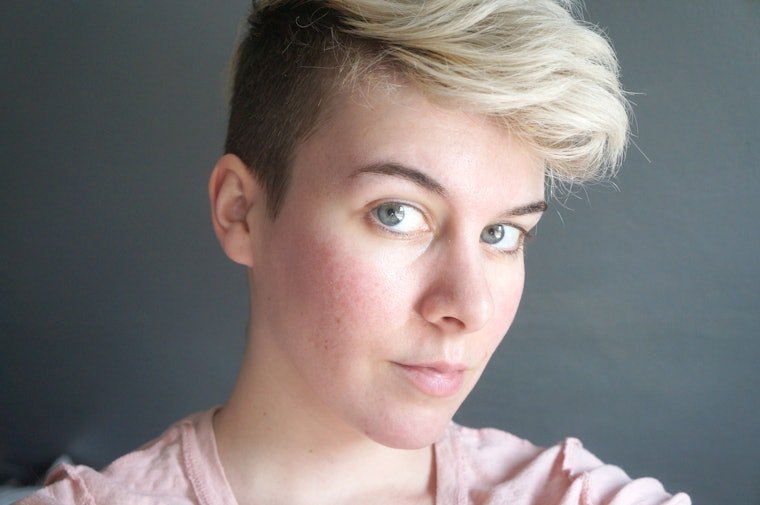
I've had blonde hair for a few months, but recently I shaved my back and sides brown. I'm ready to take things back to blonde and touch up my roots and tone the whole thing to reduce any brassiness.
This is before:
Before I walk you through the two steps of bleaching and toning, I'll let McInerny explain what each step does:
"Bleach and toning is when a stylist uses bleach to remove pigment (natural or otherwise) from the hair and then uses a toner to add the pigment back into the hair to offset any unwanted tones. Typically, we'll try to use Bleach and Tone When bleach removes pigment from hair, it always leaves behind warm tones, and in higher levels of blonde, orange and yellow tones are left behind, so these are the ones we usually use when trying to create hair Shades to be encountered. To create beautiful blondes we use a simple color theory based on the basic color wheel, we use complementary colors to eliminate unwanted tones, if there is more orange in the hair we will use blue tones toner to offset it. If we have more yellow left, we’ll use violet toner to neutralize the yellow.”
Pretty simple, isn't it? let's start.
Step 1: Bleach
I started by bleaching the sides and back of my dark hair, as well as the roots on top of my head. I do this by mixing bleach (a capped bottle in a bucket or a full packet) with an equal amount of 30 volume developer. For lighter or finer hair, you can use 20 curls (just know it will take longer), but I don't recommend 40 curls as it is very strong.
Also, I usually apply coconut oil to my hair before bleaching because I feel it helps reduce damage.
I usually leave the bleach on for about 40-50 minutes, but you should check the color every 10 minutes or so. If you're touching up your roots, be careful not to use bleach on already blonde hair to avoid damage.
Be aware that bleach can cause damage and may cause chemical burns. If you feel any pain, wash it off immediately; don't risk hurting yourself. And, obviously, wear old clothes because it will ruin them (as will toner).
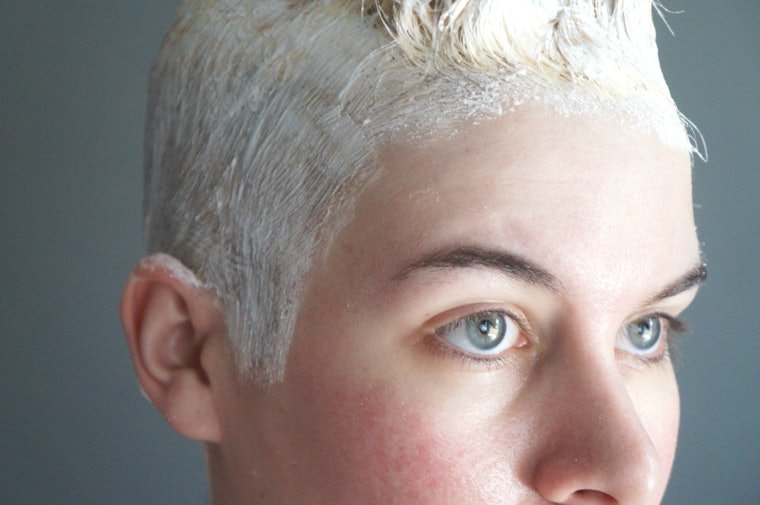
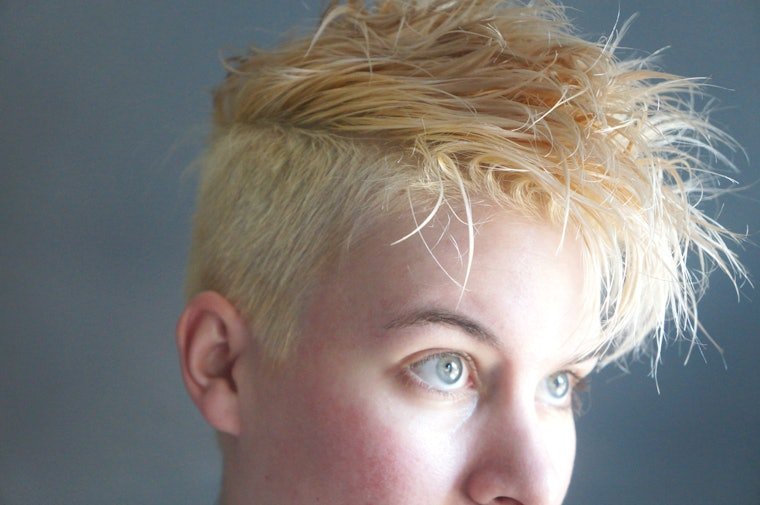
This is what my hair looked like after my first round of bleach:
There's a lot of orange and yellow, which is to be expected. We'll deal with this later with toner. At this point I want to bleach it again to make it as light as possible before using toner. I recommend waiting as long as possible between bleaching (at least a week, if not longer) to avoid damaging your hair.
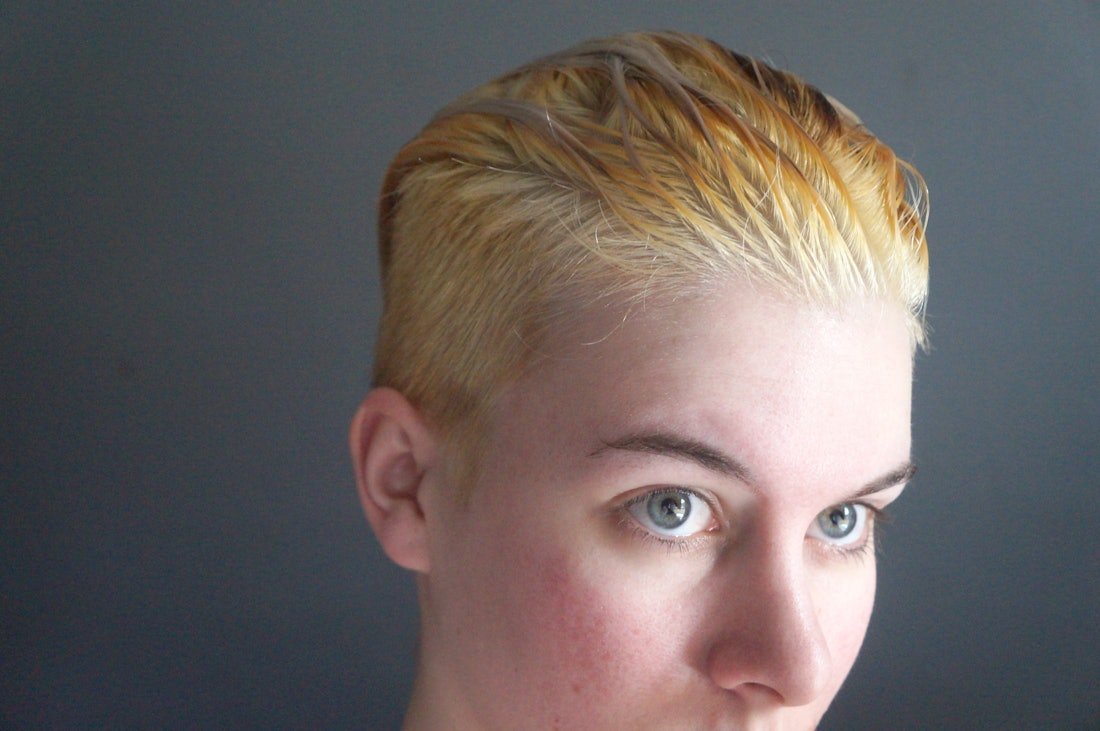
This is what my hair looked like after the second round of bleaching:
As you can see, while the color is still quite yellow, it's much lighter.
Step 2: Toner
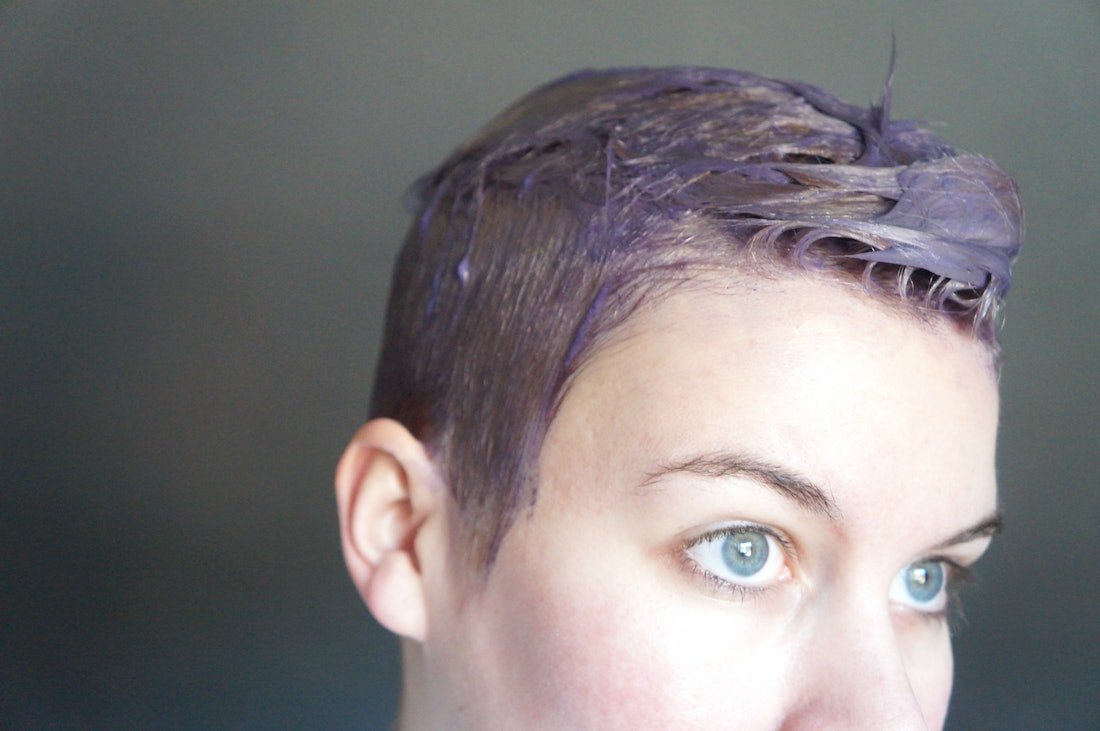
The next step is to use a toner immediately after shampooing out the bleach (but no conditioner). If you already have blonde hair, you can jump straight to a toner to remove any warm tones from your blonde hair.
I mix one part Wella Toner T18 with two parts 20 volume developer and apply it to damp, towel-dried hair.
I leave it on for about 40 minutes, then wash it off and use conditioner.
I find that toner hurts more than bleach. Again, if it hurts you too much, wash it off immediately rather than risk chemical burns.
Don't worry if toner doesn't remove all the brassiness from your hair. Just wait a week or two and try tinting again. You should also use a dark purple shampoo to neutralize brass; McInerny recommends Clairol Flash.
This is what my hair looks like now:
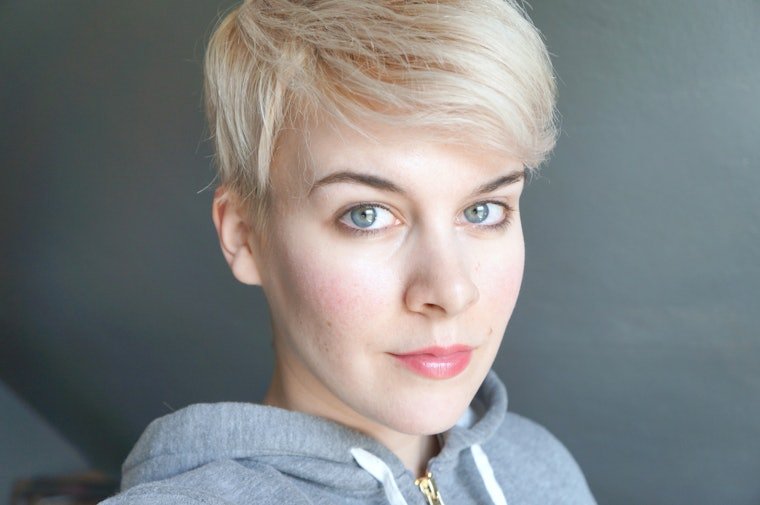
There's still a bit of yellow left, but as McInerney said, it's a long process. By using purple shampoo regularly, occasionally toning with my Wella #T18, and nourishing my hair with hair masks and coconut oil (plus never heat styling), I've maintained my light blonde hue for a few months.
The key is to remember to take your time; patience will keep you from damaging your hair too much. If this is your first time, let a professional like McInerny dye your hair blonde. After that, if you want, you can try to do the treatments yourself, and then maybe one day you can bleach your own hair in the bathroom, too.
This article was originally published in April 2016. Updated on May 31, 2019.
