what to know
- Photos app: Find Photos > Share icon > Mail > Enter email message and send.
- Mail app: Choose to insert a photo or video within an email > Select Photo > Use > Send Email.
- iPad multitasking: Open messages and show the dock. Click and hold on the photo . Drag the icon to the side of Split View > Photos .
This article explains three ways to attach photos to emails on your iPhone or iPad. Instructions apply to devices running iOS 15 and iPadOS 15 and later.
This method devotes the entire screen to selecting photos, making it easier to select the correct photo.
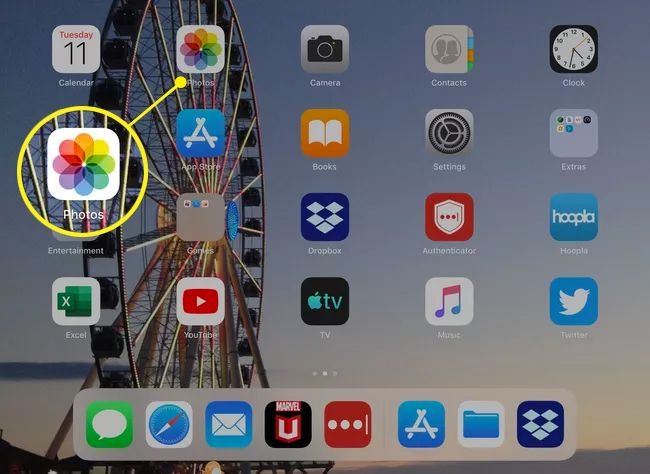
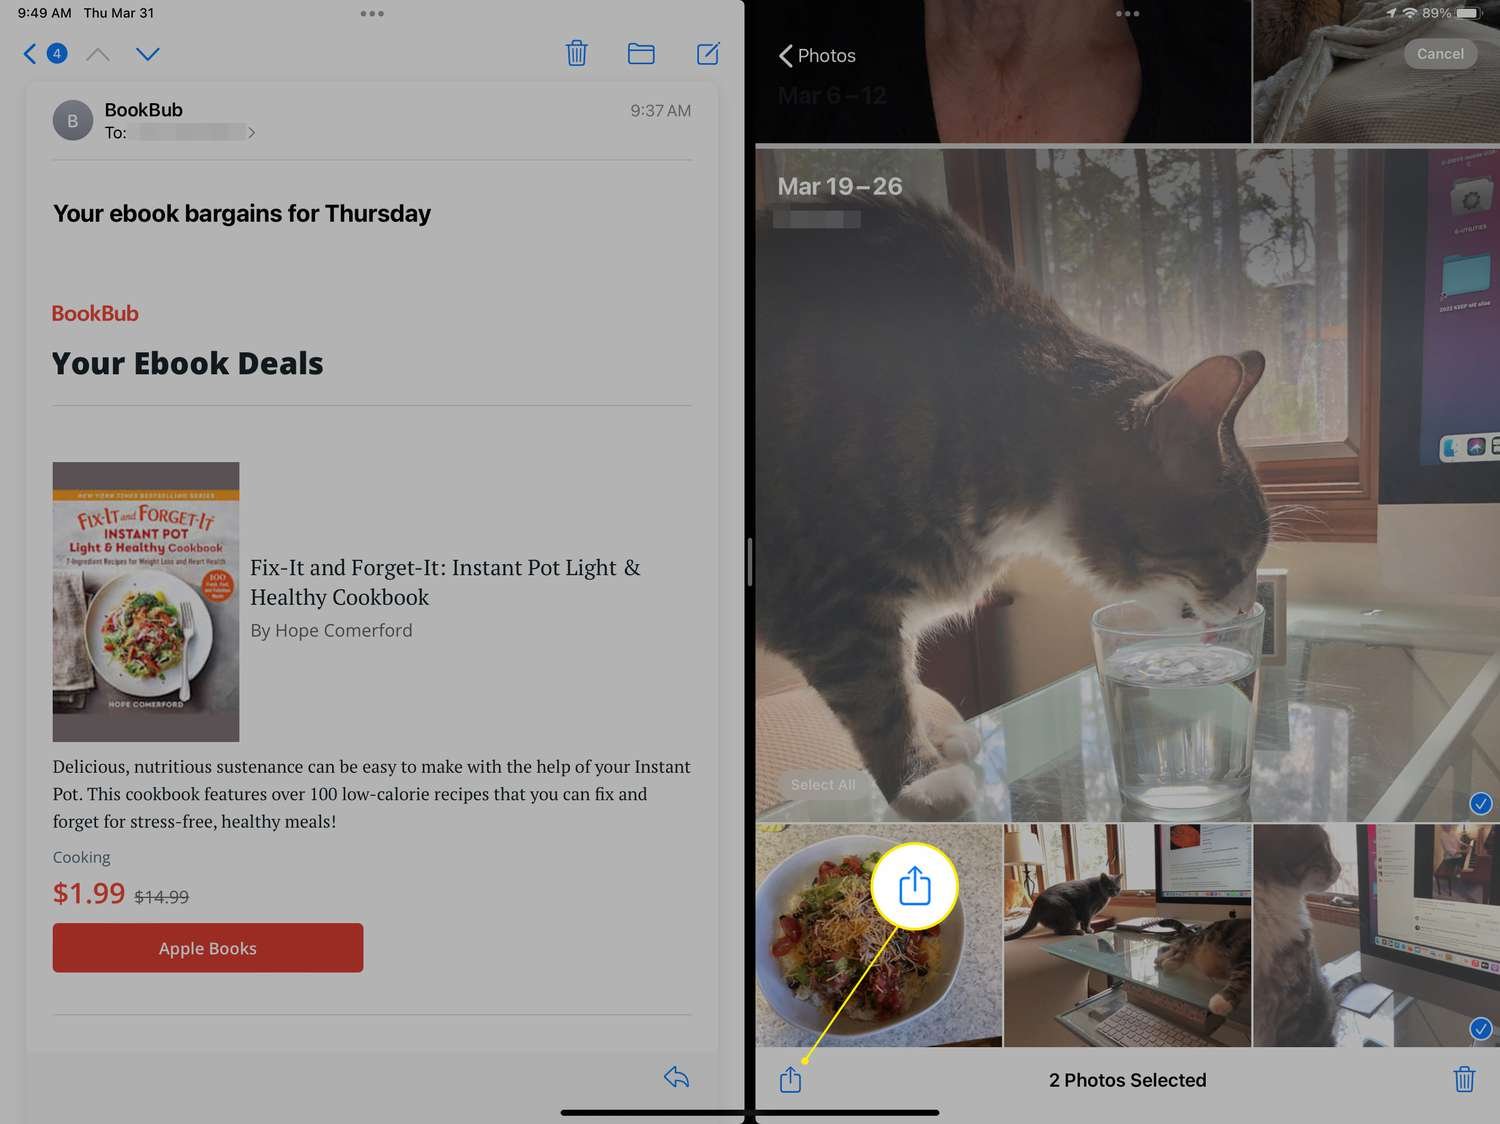
Open the Photos app and find the photo you want to email.
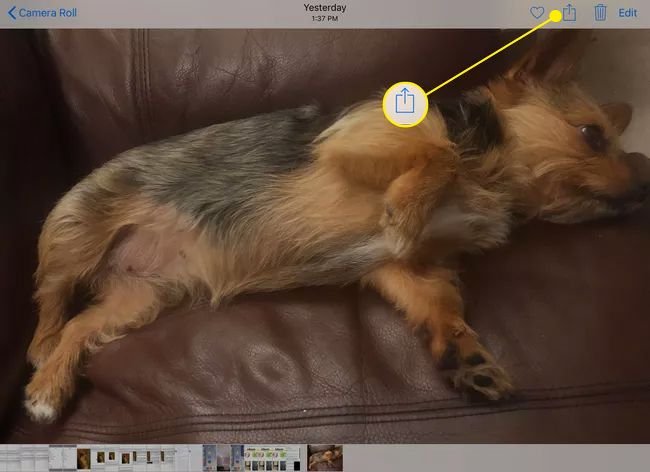
Click the Share icon (the arrow pointing outside the box).
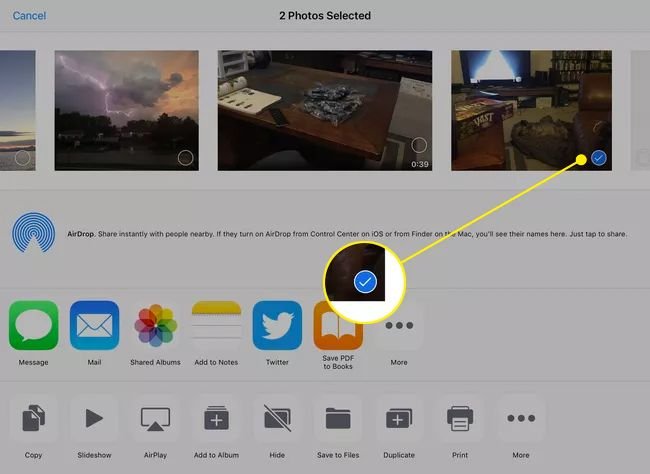
To share multiple photos, tap each photo to attach to the email. A blue checkmark will appear next to the photo you selected.
Use iPad gestures to scroll through images and swipe left to right or right to left to select. On iPhone, scroll through the photos and tap the one you want to attach.
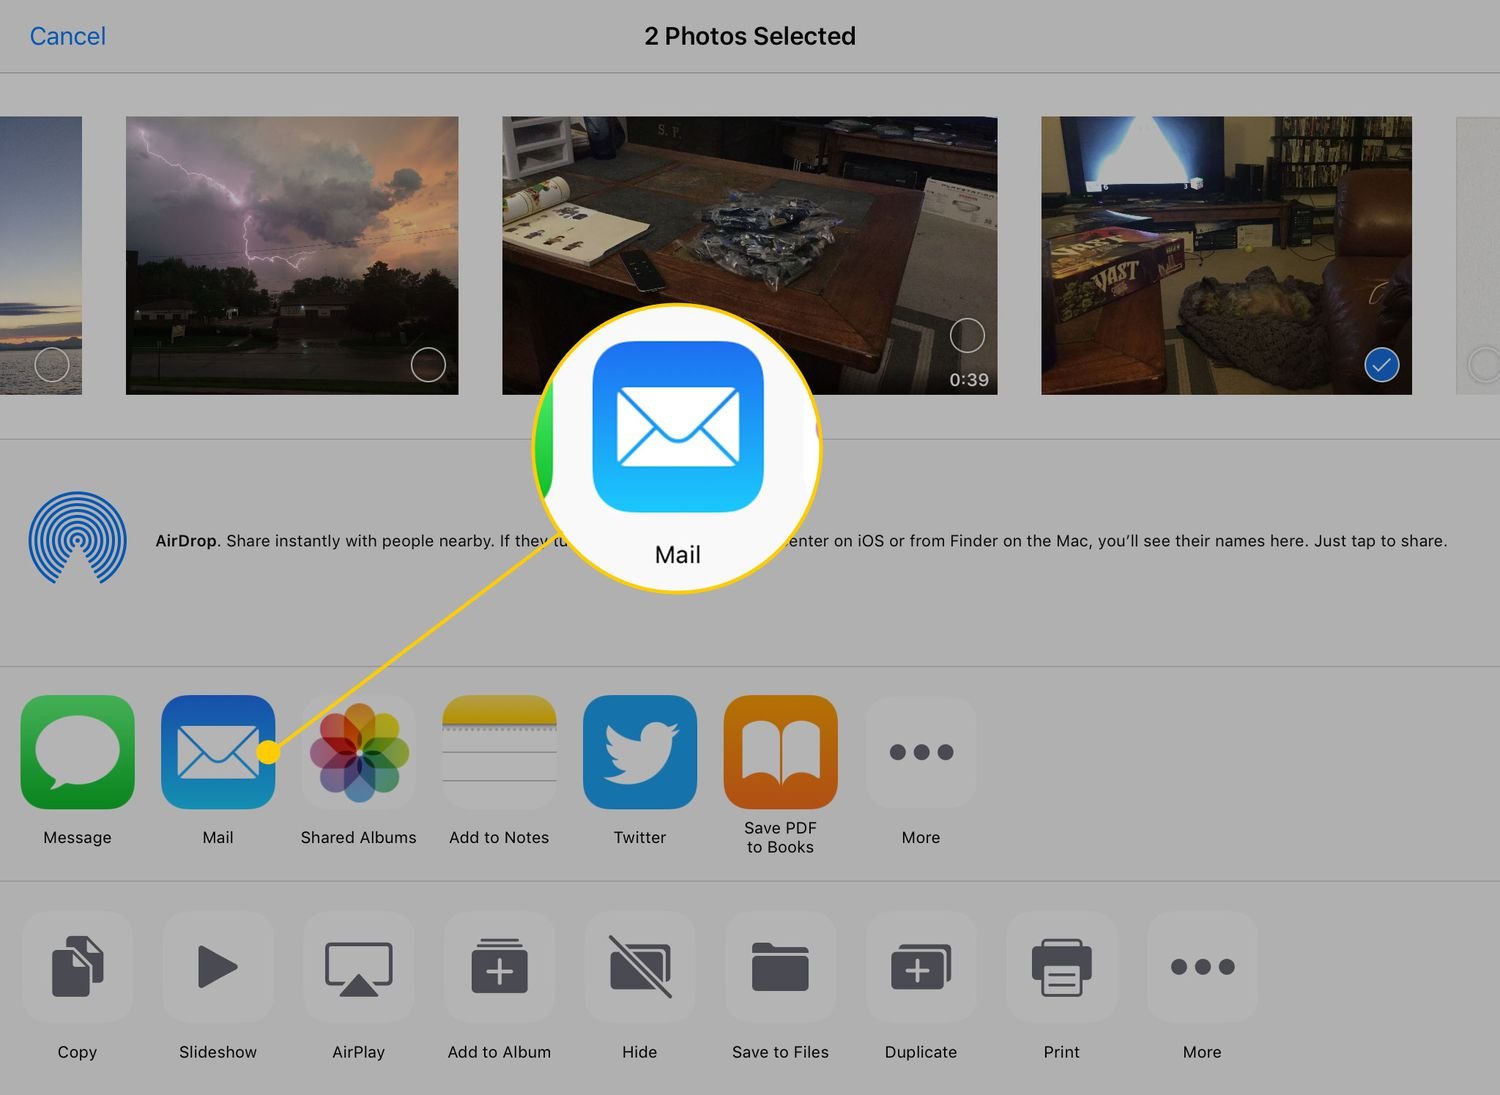
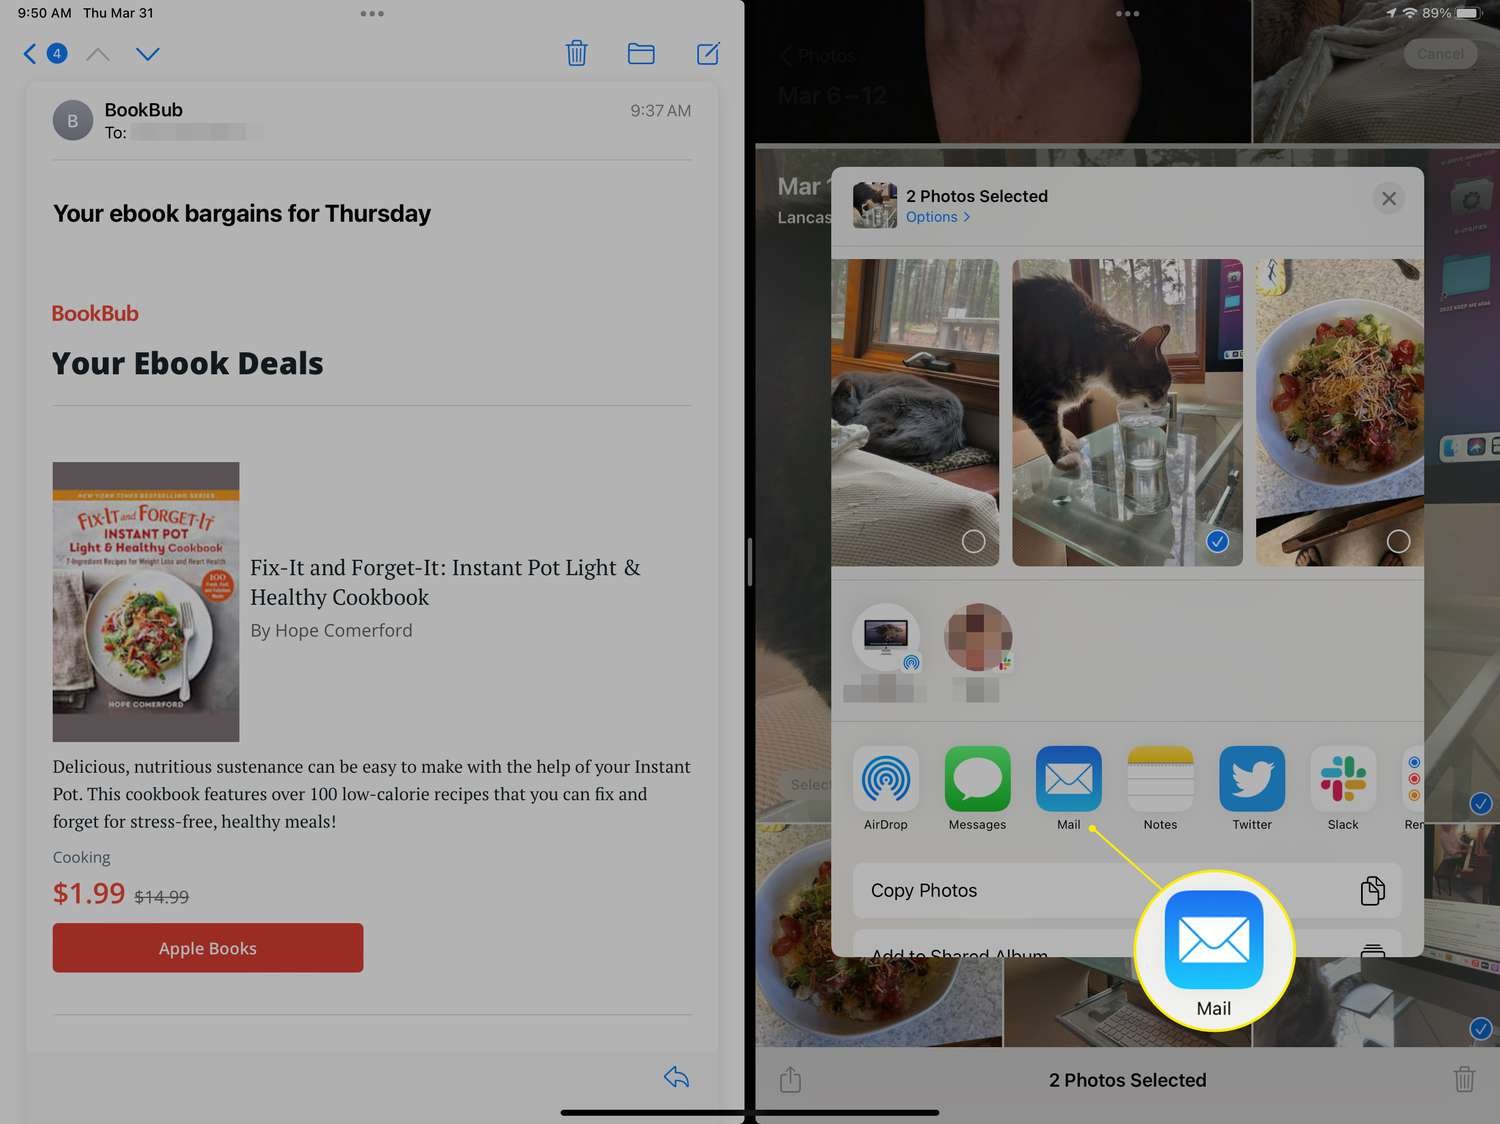
Click the mail icon to open a new email containing the photo.
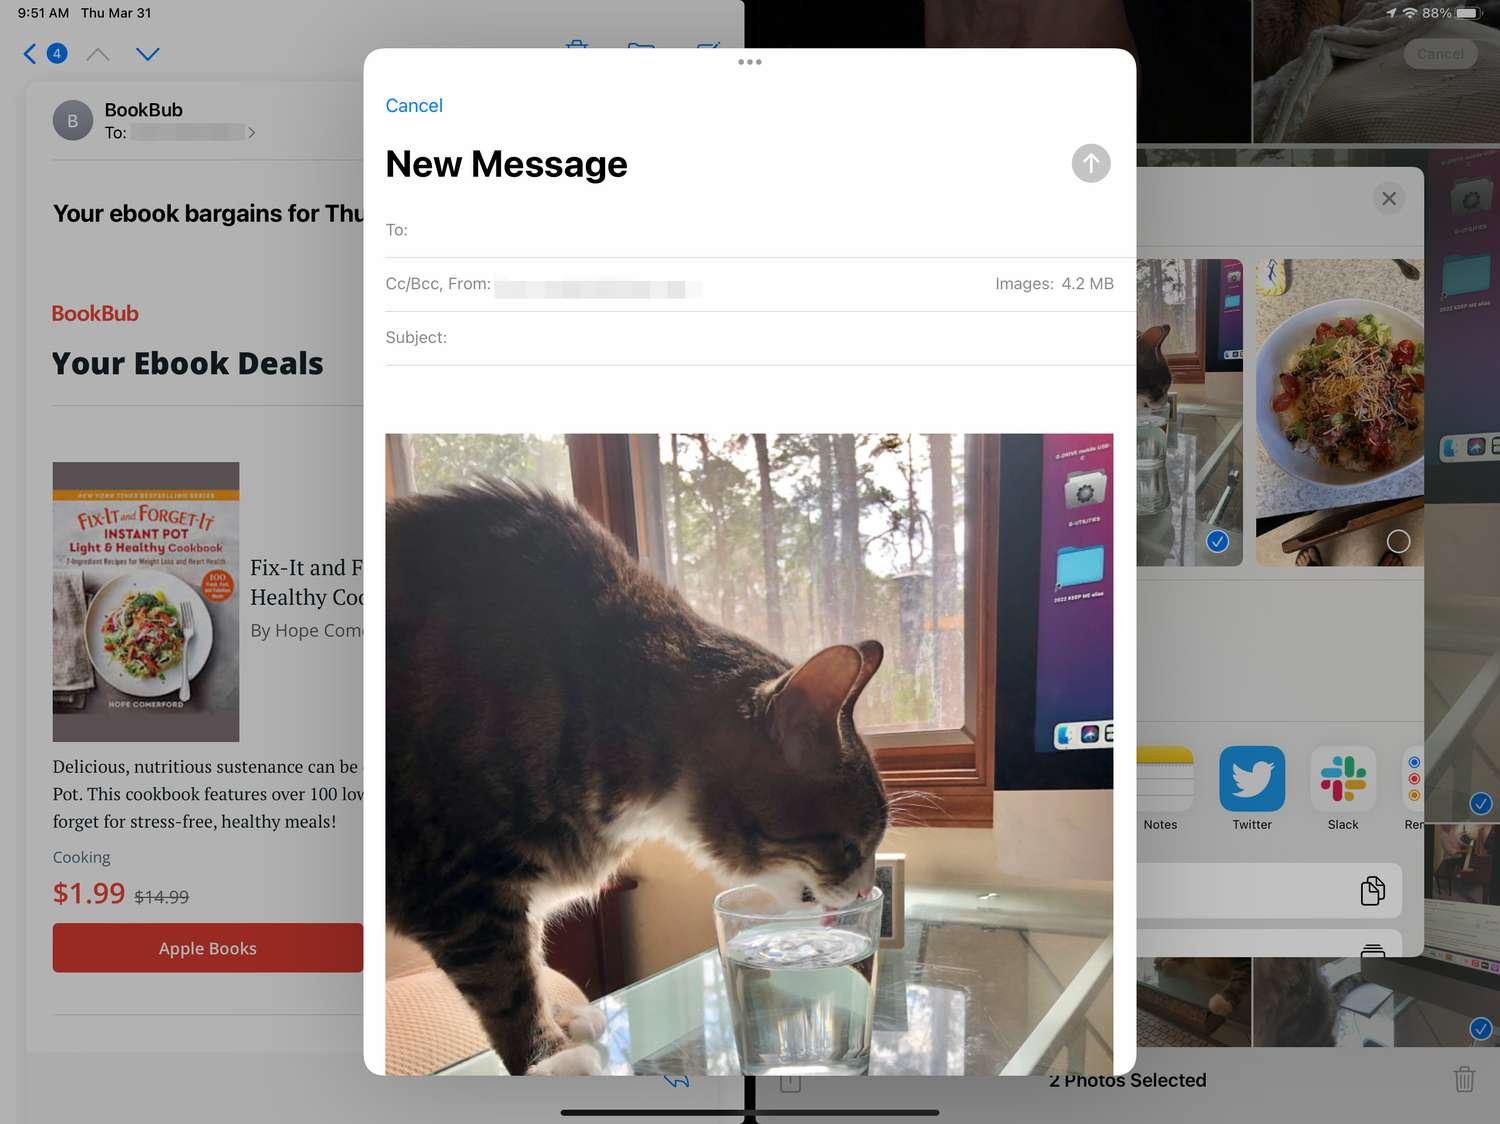
Enter your email and send.
If you've already composed an email in the Mail app and want to attach a photo, follow these steps:
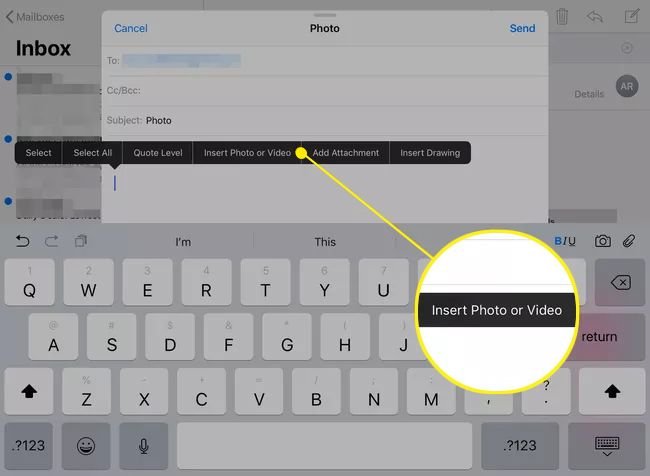
Clicking inside the message body opens a menu with an "Insert photo or video" option. (You may have to click the right arrow first.)
On iPhone, select the camera icon below the email draft and proceed to step 2.
Clicking this icon activates a window containing your photo. Once you've made your selections, click the message you want to send, then click the x .
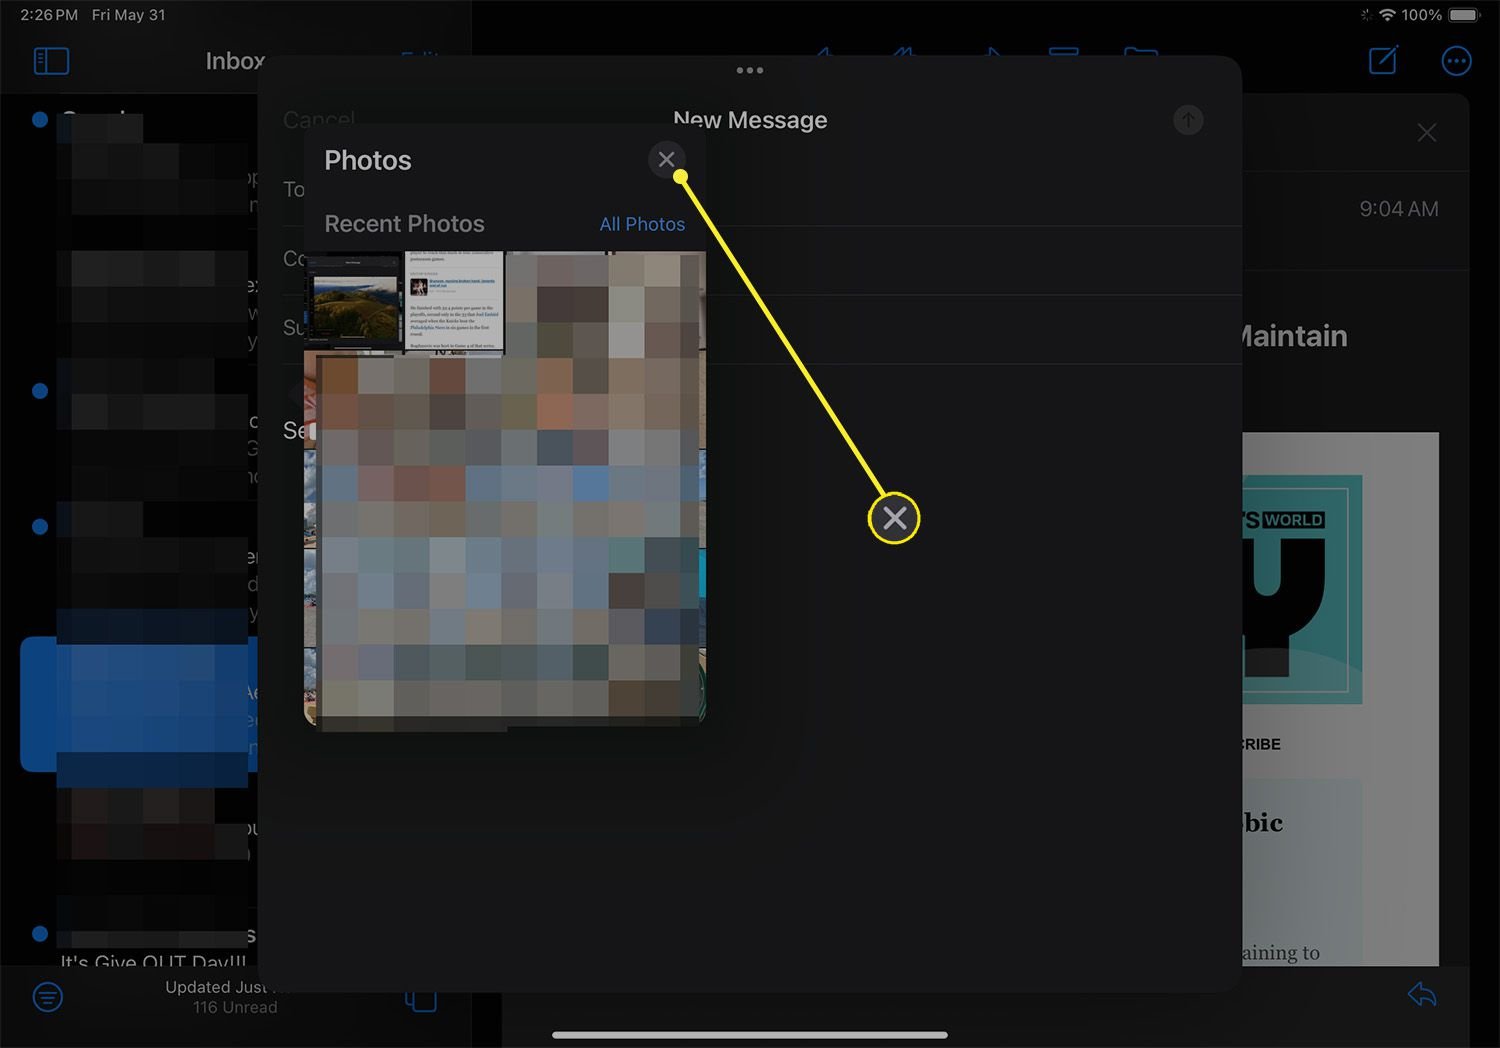
You can select multiple images by clicking on them to insert them into your email.
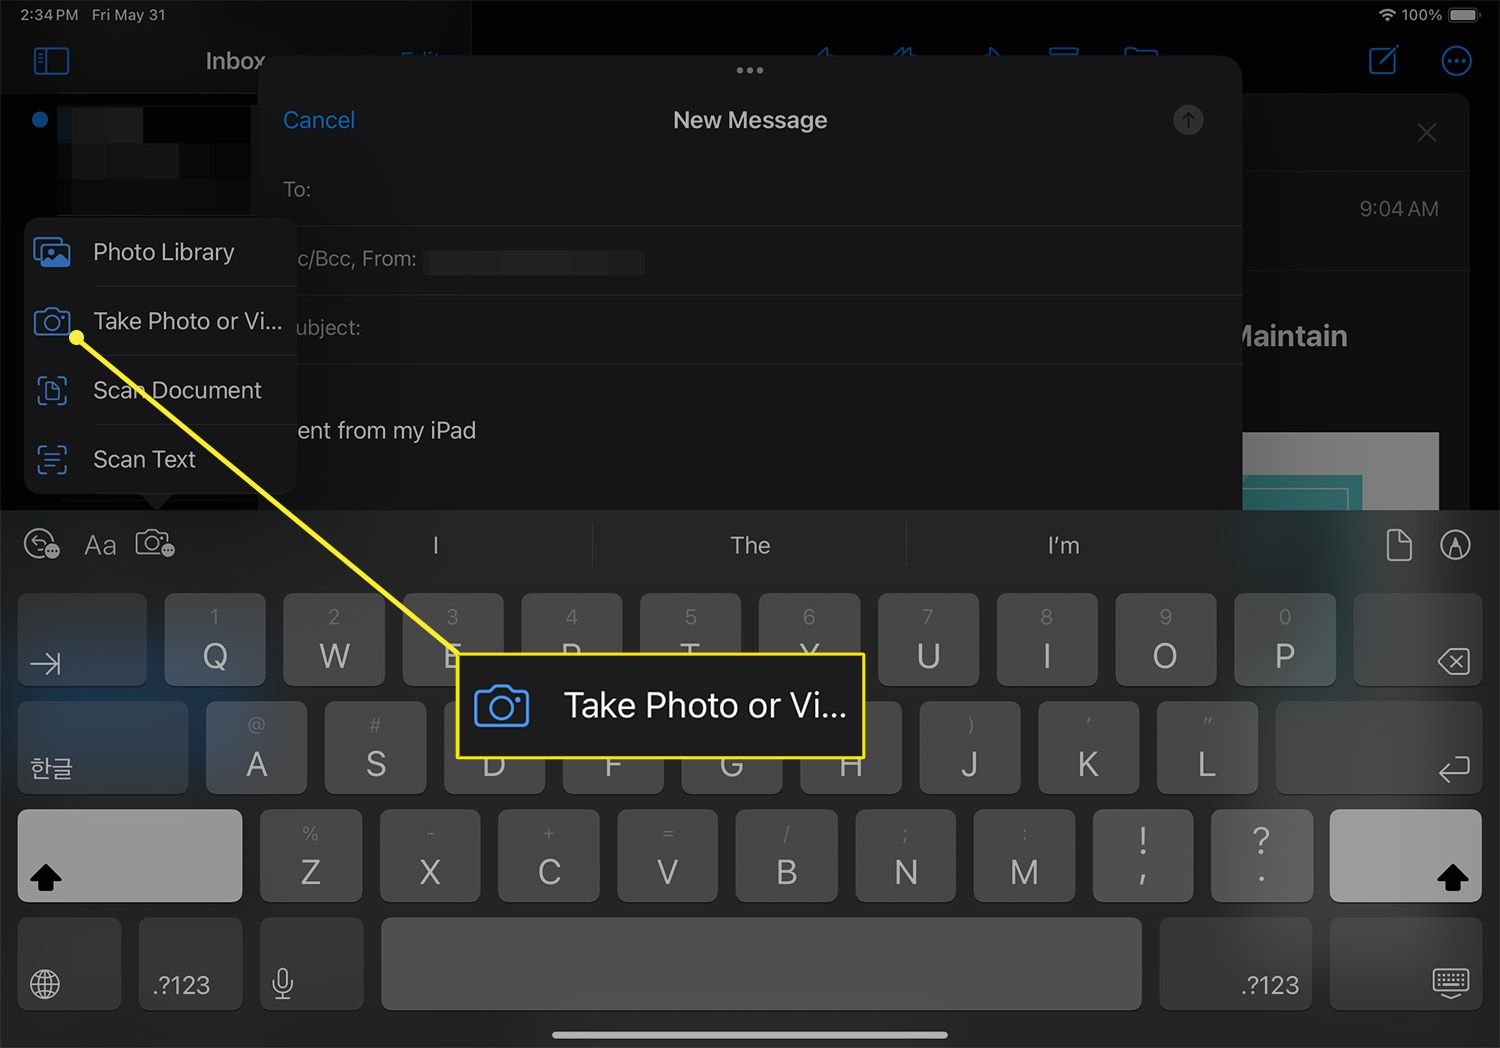
To take a new photo to attach to an email (iPad only), tap the camera icon on your keyboard > select Take photo or video > and take the photo.
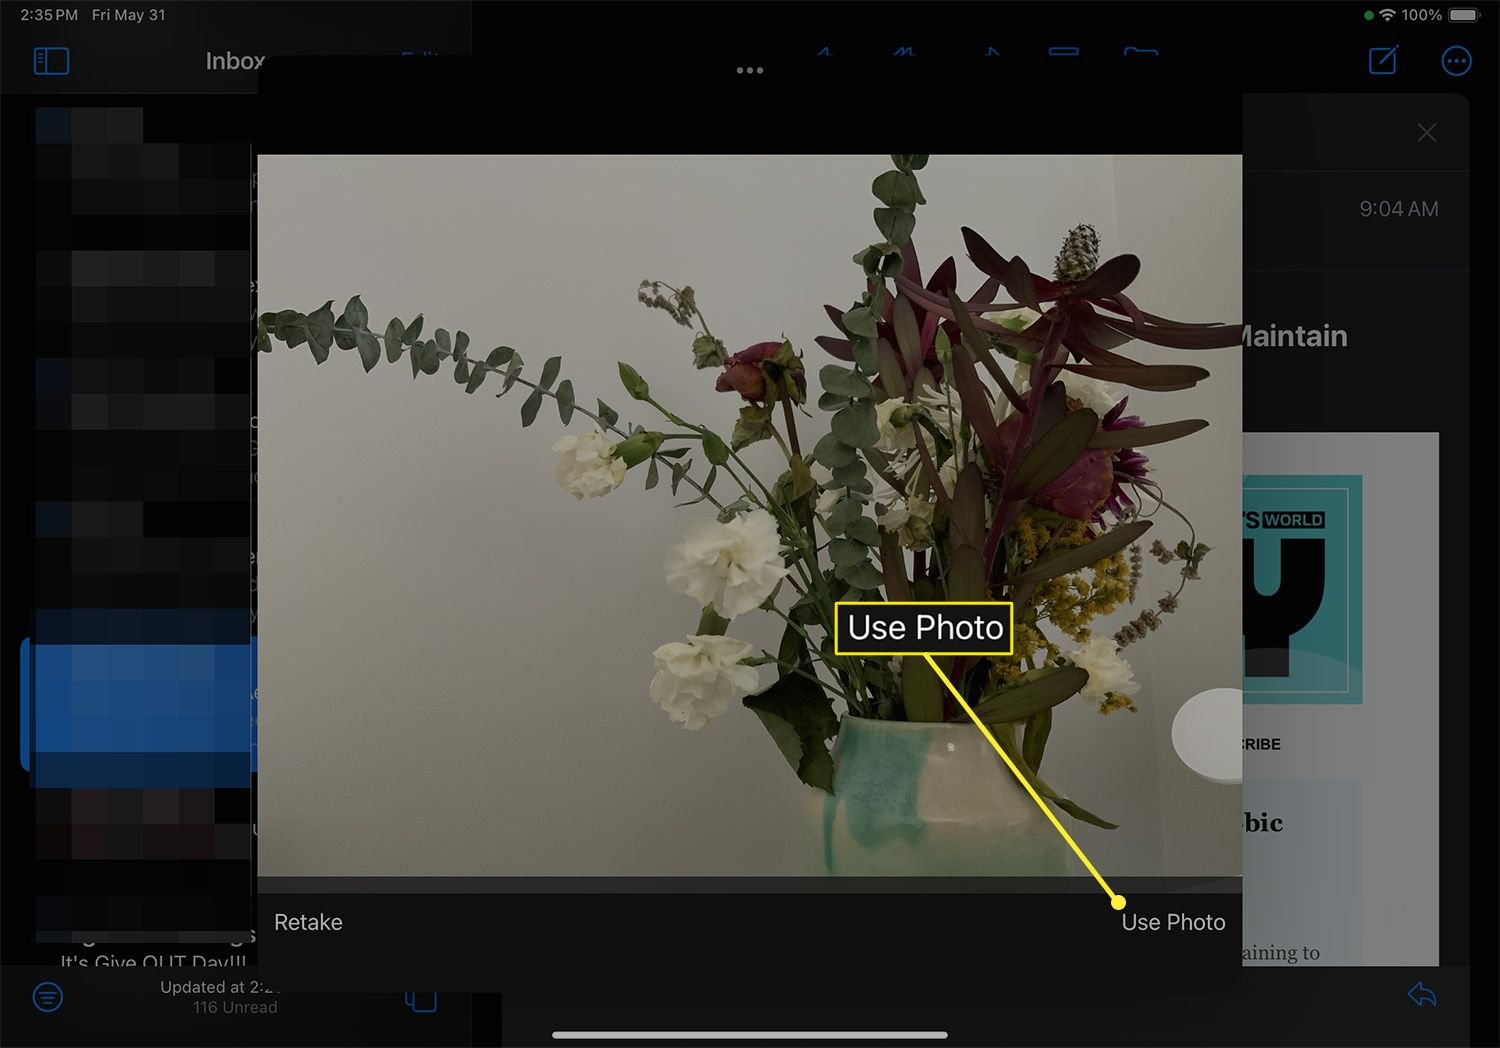
If you're happy with the image, choose Use Photo to add it to the email.
After attaching the photo, send the email as normal.
Attach multiple photos using iPad's drag-and-drop functionality and its multitasking capabilities, and use Split View to move photos into emails. In the new email, do the following:
You don't need to drag the Photos icon onto the dock, but it may help with faster split-screen access.
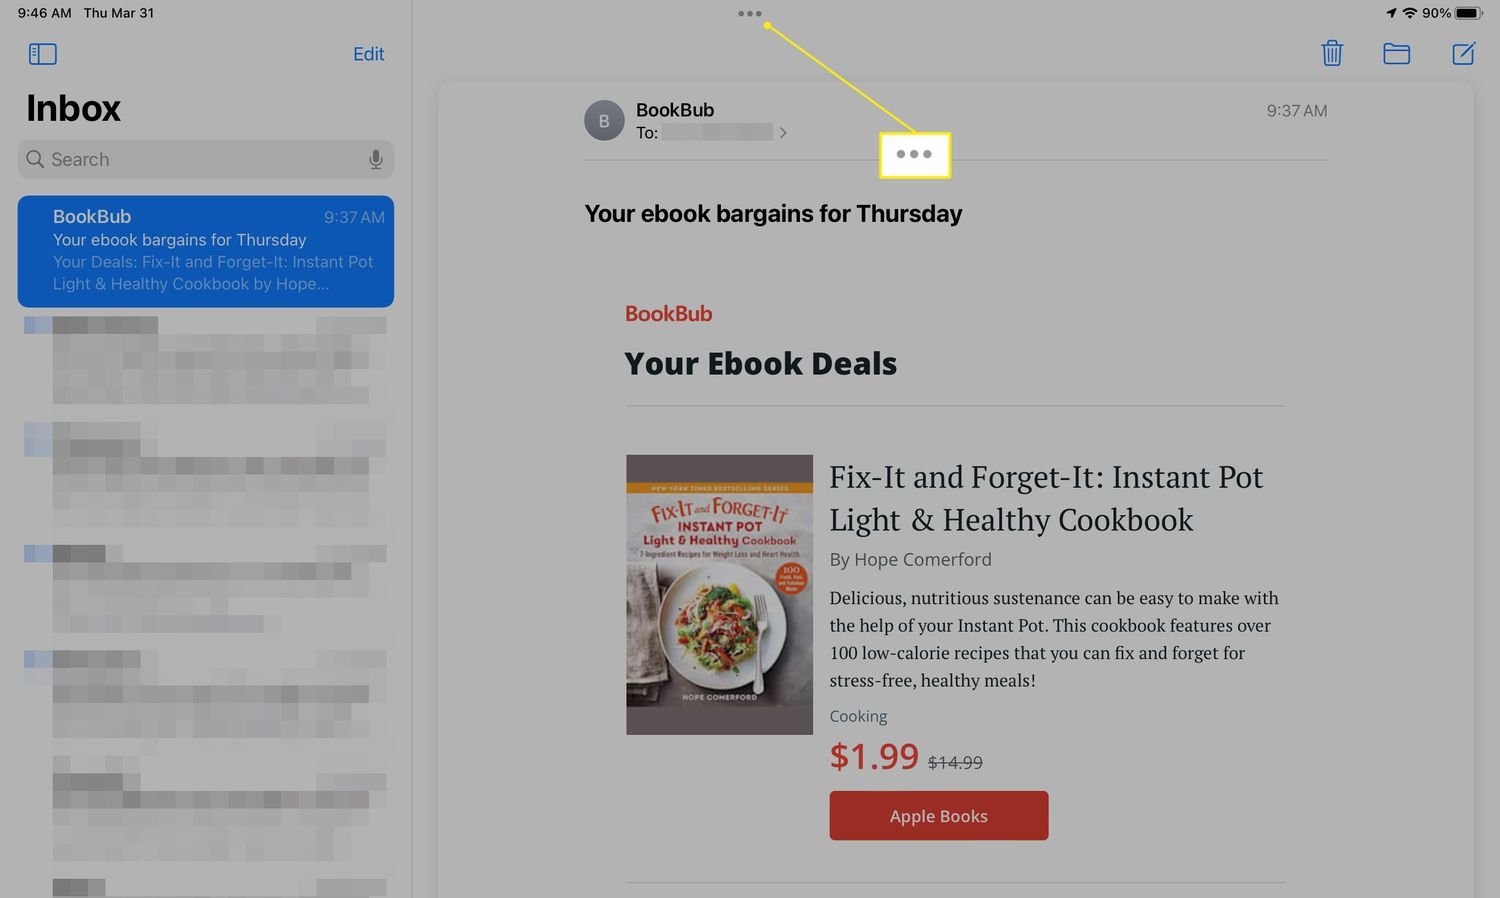
Open the Mail application. Click on the three dots at the top of the screen.
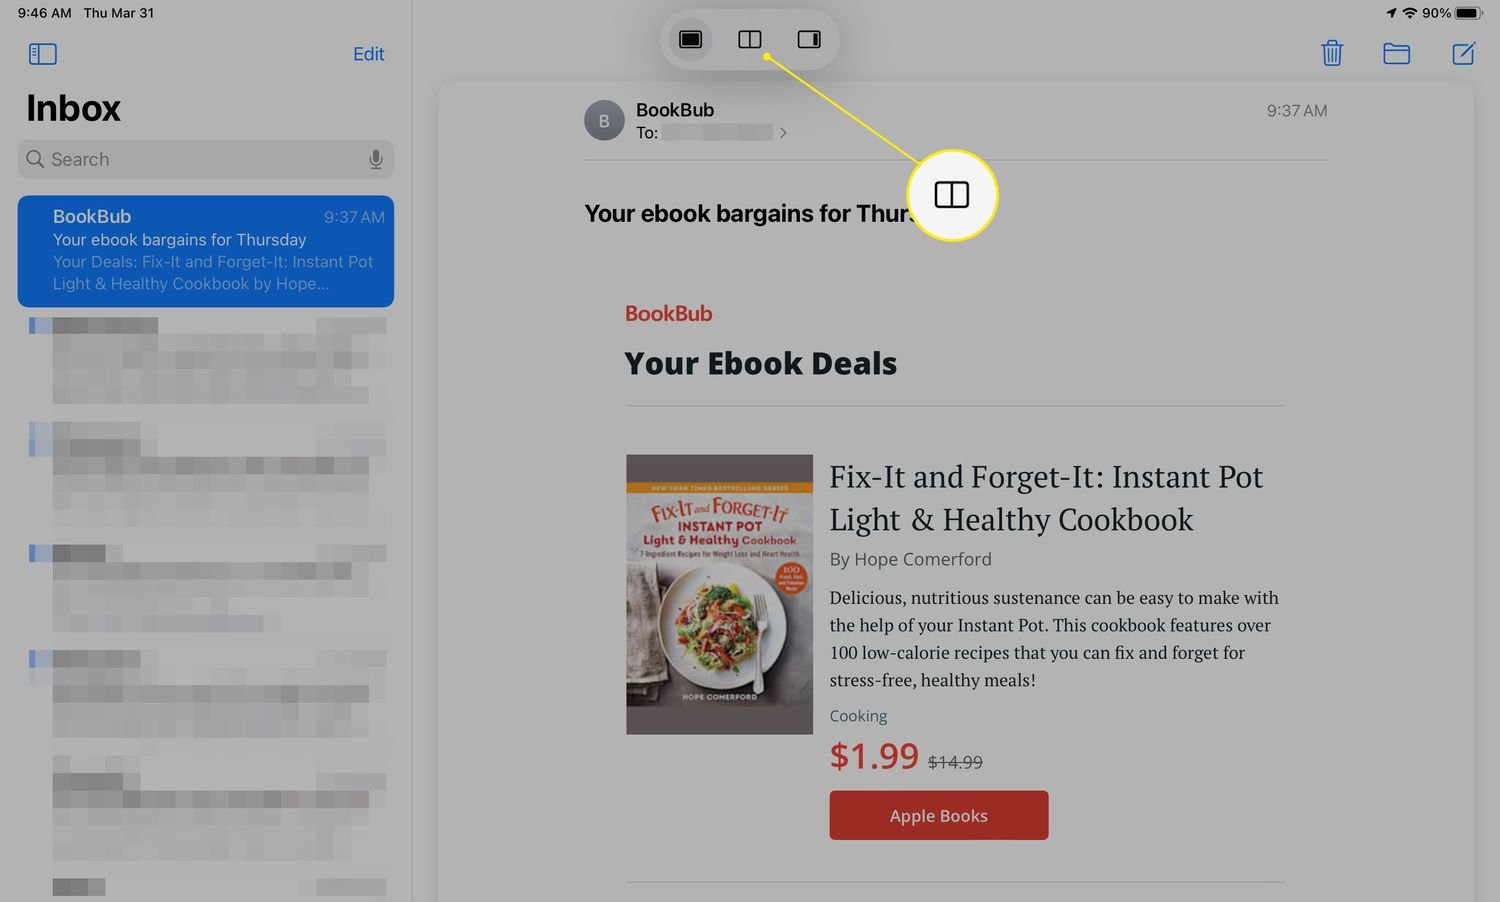
Tap the Split View icon to send the Mail app to one side of the screen.
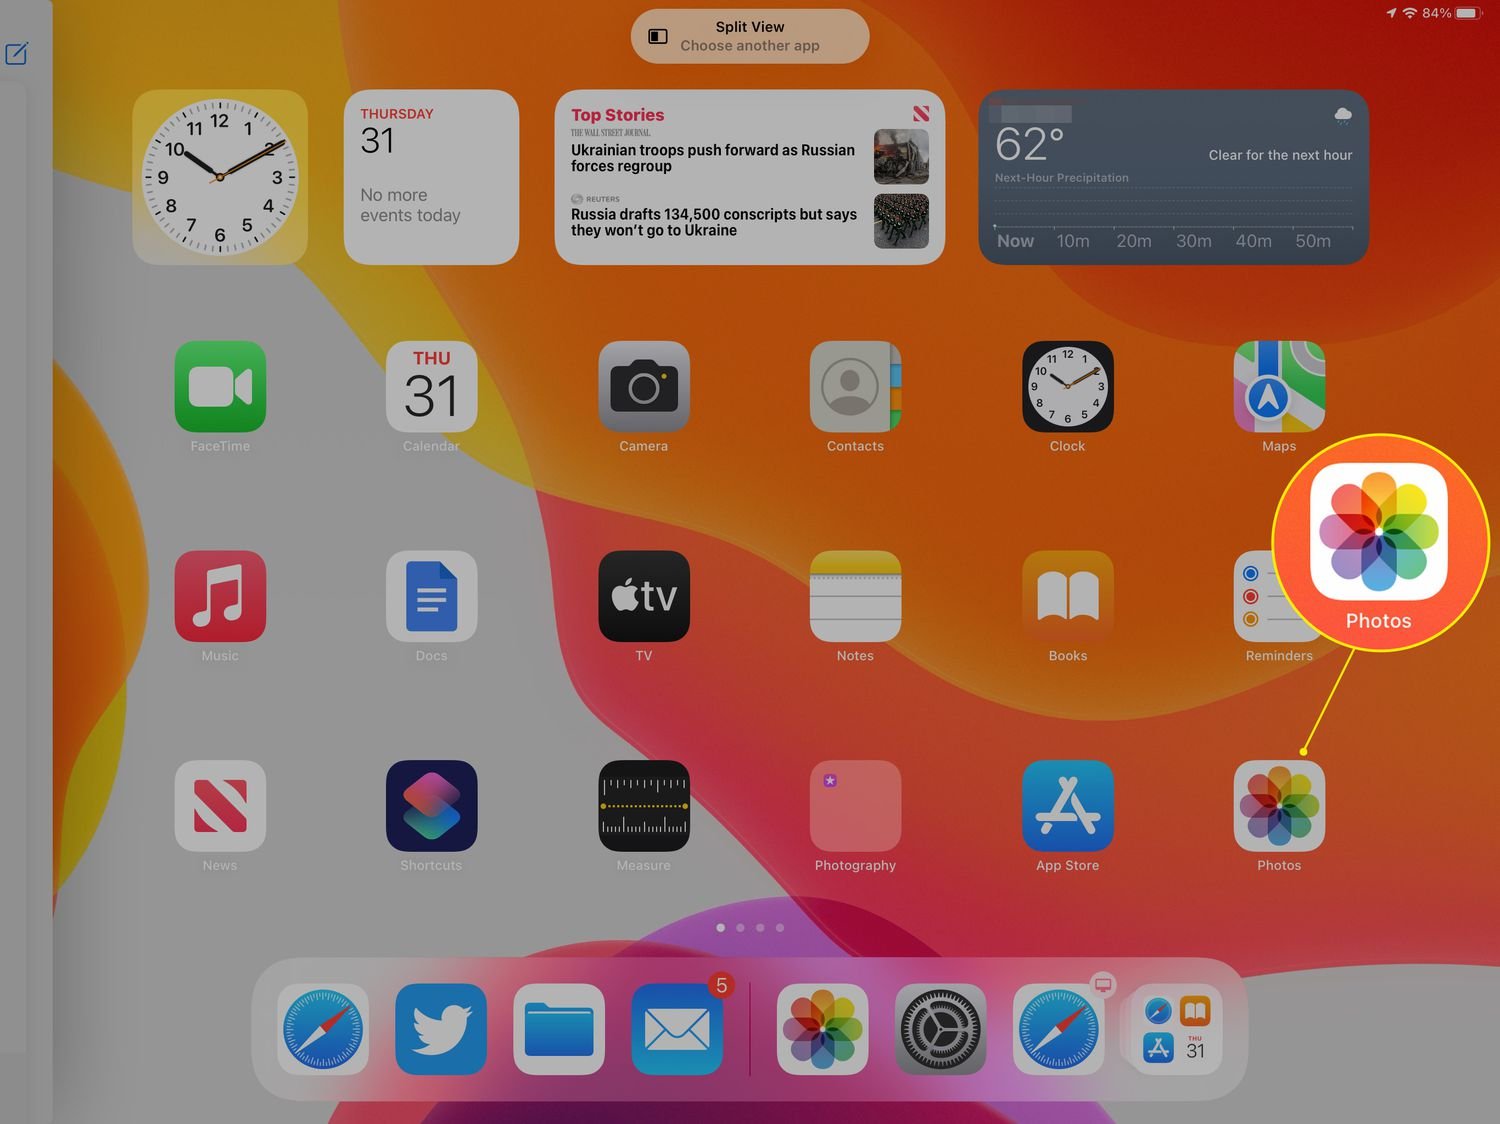
Tap the Photos app icon to open Photos on the other side of the screen.
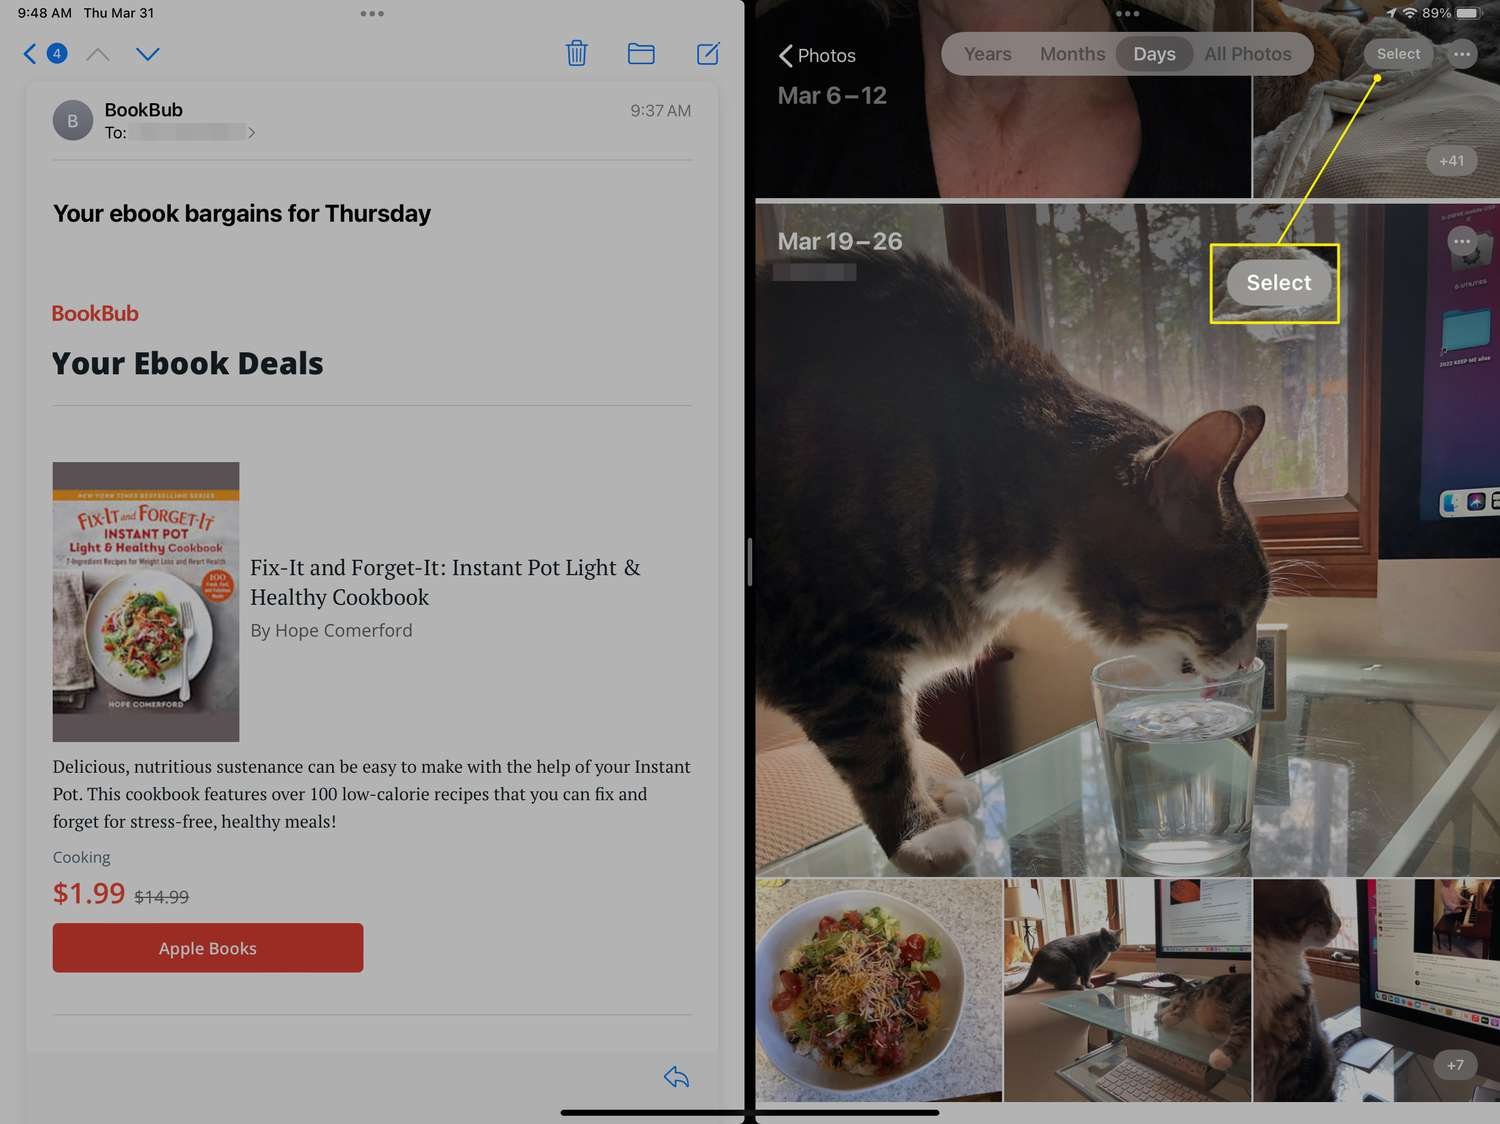
Find the photo you want to attach in the Photos app. Click Select , then click each image you want to include in the email.
Click the share icon.
Select "Mail" to open a new email containing the image.
Complete your email and send.
You may not be able to attach Google Photos using the regular email attachment (paperclip) button. Use the "Insert Photo" button (it looks like a landscape photo), which gives you the option to select a photo from your Chromebook or Photos.
The process of attaching and sending photos through Gmail is fairly simple and basically the same whether you're using the mobile app or the website. On a computer, you can drag and drop images or place them inline. In the mobile app, select the paperclip icon to attach the image inline.
Most email services have file size limits for attachments. The easiest way to get around these restrictions is to share your large photos through Google Drive.
