Now that many of us have signed up for cloud storage services, USB drives aren't as common as they once were, but they still have their uses. One use is to run an entire computer system entirely on a USB stick, which you can then take anywhere. Your files and applications are always with you, rather than at home or in the office, and if you're getting a new desk, there's no need to spend time setting everything up the way you want - just plug in the drive and you're good to go Up and running.
how it works
Of course, you can't carry your entire PC with you on a USB stick, you need a monitor, keyboard, motherboard and everything else. That said, all software and storage can be handled on a portable USB drive: as long as you have access to a computer with a spare USB slot, you can run a portable PC.
It also won't interfere with the existing setup on the computer you're using, so you can borrow one from a colleague or friend without causing them any trouble. You restart your computer, tell it to load the contents of your USB stick instead of the internal drive, and your operating system appears. Once you're done, shut down your computer, remove the USB drive, and you won't leave any traces behind.
This is great if you're always moving between locations and want to have access to the same desktop interface no matter where you are. It's also useful if you're trying to troubleshoot a hardware setup, or if you want to try a different operating system without permanently installing anything on your computer.
However, you do need to keep a few things in mind. A USB drive isn't as fast or powerful as a full desktop or laptop system, so you can only perform basic computing tasks. This won't work on Macs either, as their architecture is different - if you need to run a separate system on macOS, the best way is to set up a virtual machine.
Select operating system
When choosing an operating system for your USB PC, you can use Windows through third-party tools like WinToUSB if you want, although you'll need a paid license and the user experience isn't great. it's the best. A better idea is to opt for the Linux flavor: not only is the software free to use, but it's also more lightweight, which means you won't put as much stress on your USB drive and everything should run more smoothly.
If you are new to Linux, it is an open source desktop operating system that comes in various versions, called distributions. It doesn't offer the same broad software selection or hardware support as Windows or macOS, but all core computing applications are covered: you can browse the web, check email, do some work, edit images, and more. Linux.

When it comes to choosing which distro you want to use, it's really up to you: almost any version of Linux can be run from a USB stick fairly easily. However, make sure you look for a feature called "persistence" in the distribution documentation, which means you'll be able to save settings and files to a USB drive instead of starting from scratch every time you boot. Get up.
Ideally, you want to choose a distro that is lightweight and basic to give you the smoothest operation. Puppy Linux and Linux Lite are generally recommended for this specific purpose, while Tails is useful if security is a priority - it automatically connects to the Tor network when you go online. Ubuntu is also a good choice, offering a beautiful interface and extensive help documentation.
getting Started
Head to the official website of your Linux distribution of choice and look for the ISO download—which is essentially the entire operating system. Such downloads can often be several gigabytes in size, so you may have to wait for a while. It's also worth checking your distribution's documentation to see if there are any comments or suggestions about USB installation.
Next, you'll need a program to put the ISO on the USB drive—not just copy the files, but make the drive bootable. There are several options here, including Rufus, but for this guide we've chosen Etcher: it's very simple to use, and you can run it on Windows and macOS (and Linux, actually).
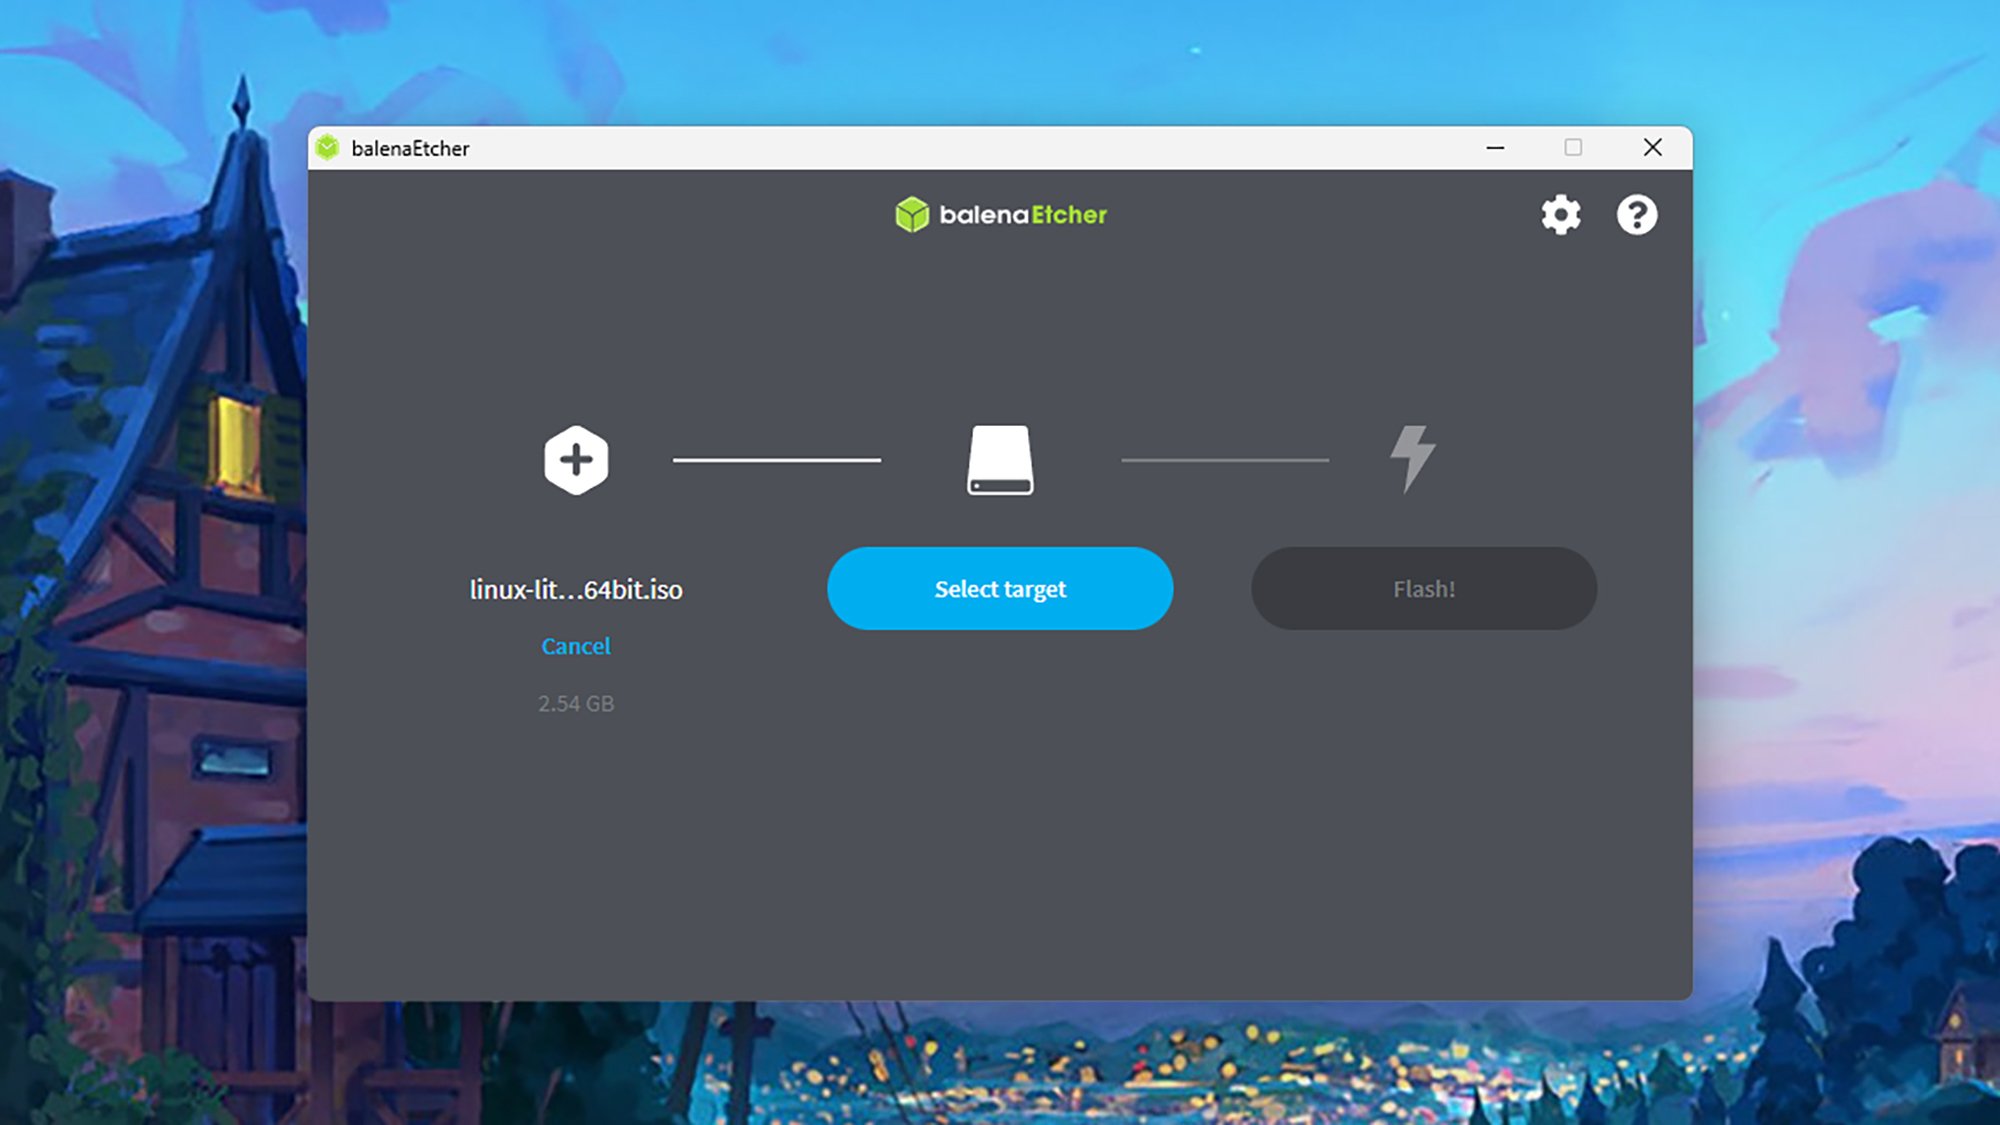
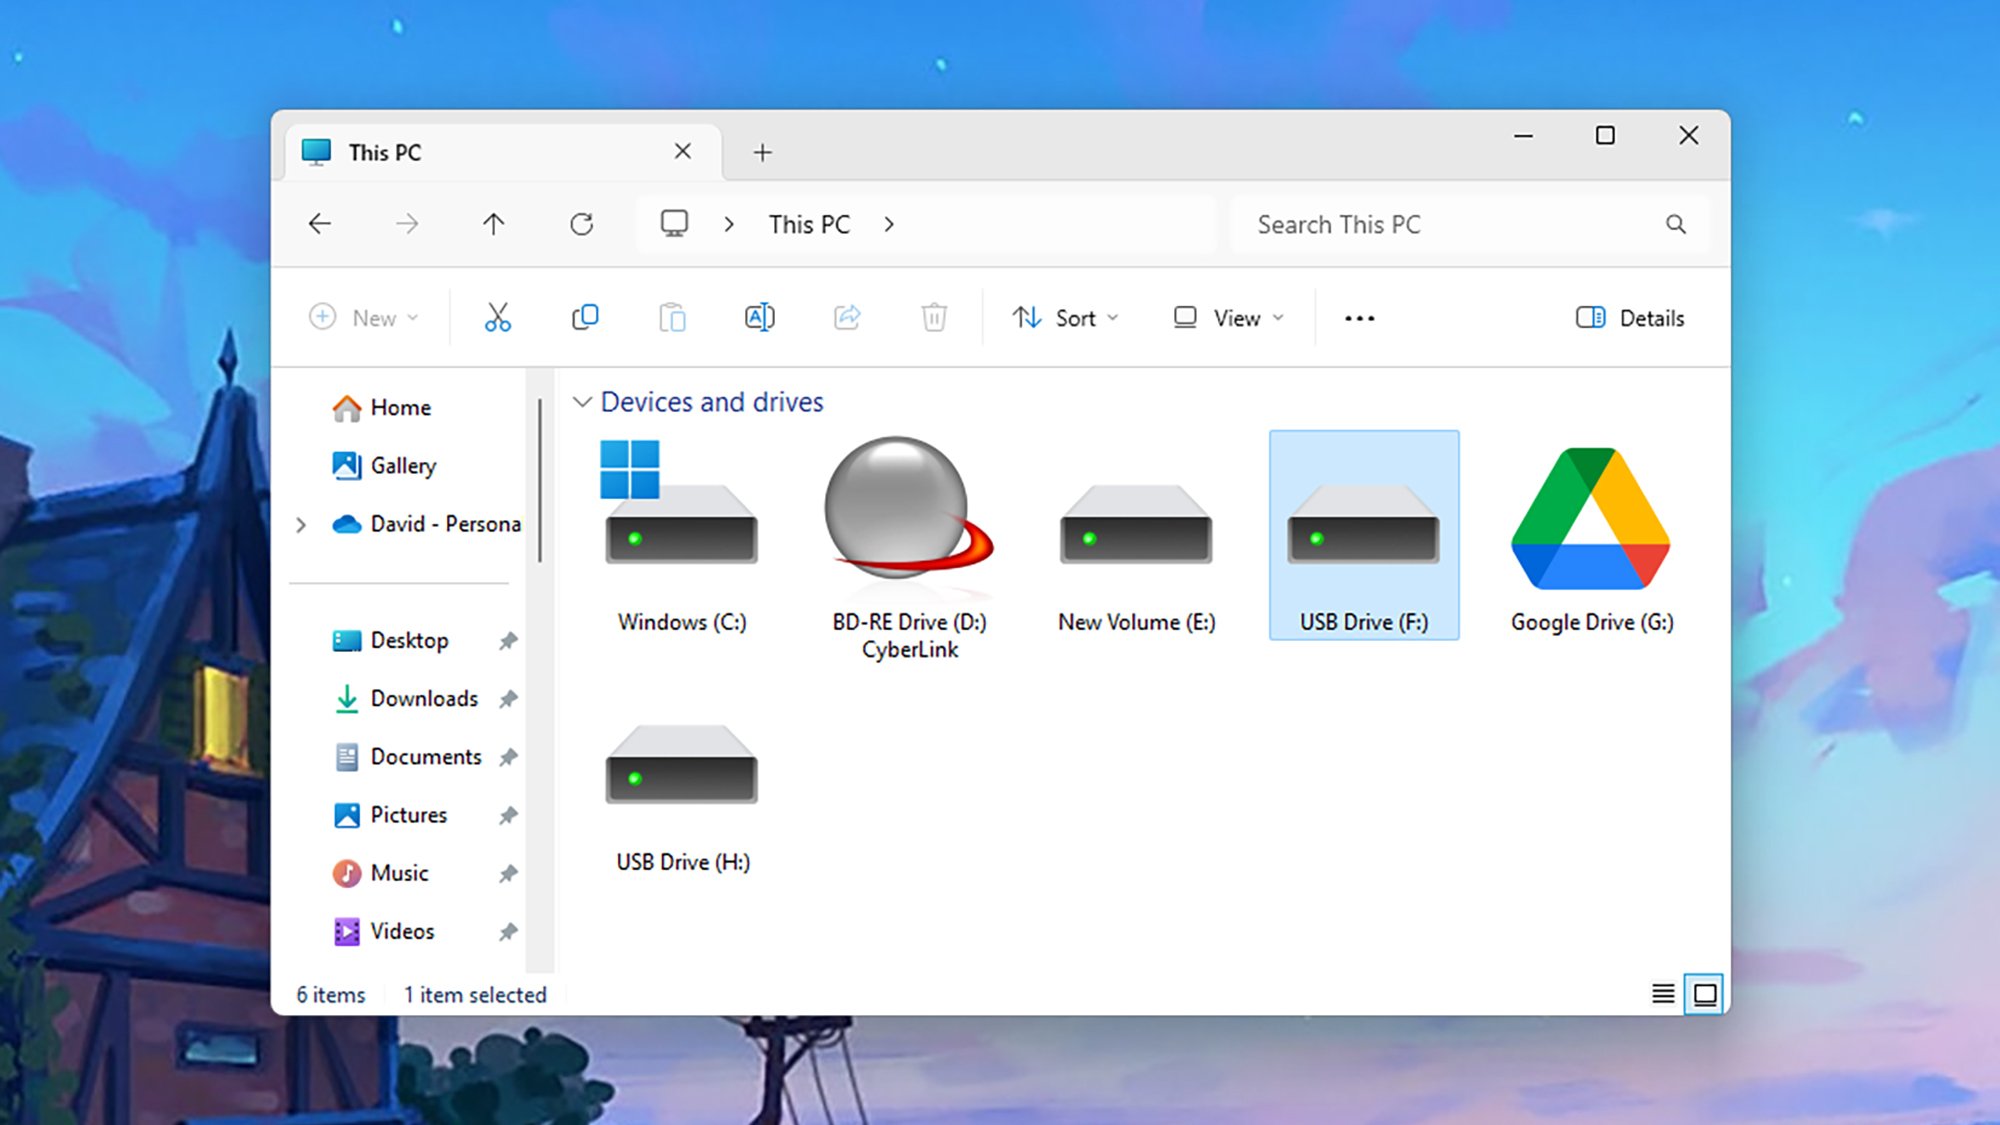
Launch Etcher and you'll see there are three stages: Select Flash from File to select the ISO from disk, then Select Target to select a USB drive connected to your computer, then click Flash to complete the operation. For USB drives, a capacity of at least 8GB is recommended, plus the fastest read/write speeds you can find—you may find more requirements listed on the distro page of your choice.
Once everything is done, you can use the USB drive by plugging it into a spare USB port on any computer, then restarting the computer and choosing to boot from the USB stick. How this is done varies, but usually involves pressing a key when the computer starts to select the boot device - if you're not sure, look for a message on the screen or check the documentation that came with your computer.
