Photoshop maker Adobe is no stranger to AI imagery, but today marks a new milestone in the company's efforts to build easy-to-use, ethical generative AI. For the first time, users can now generate complete images from scratch within the Photoshop application without leaving the program. This innovation is powered by the company's new Firefly Image 3 model and comes with the ability to generate backgrounds, upload reference images and iterate on existing AI art.
What is Adobe Firefly?
Firefly is Adobe's own AI art generator, and while it has been slightly integrated into Photoshop since last year, implementing features such as aspect ratio stretch generation extensions , the ability to generate images from scratch has so far been limited to Firefly web application (unless you do some cheating using generate fill on a blank canvas ).
What sets Firefly apart from other AI art models is that its training data is limited to photography and art owned by Adobe, with the goal of making it safer for commercial use . Firefly Image 3 is the latest update to the model, promising " higher quality images ," a greater focus on composition and lighting, and better understanding of cues.
How to start generating AI images in Photoshop
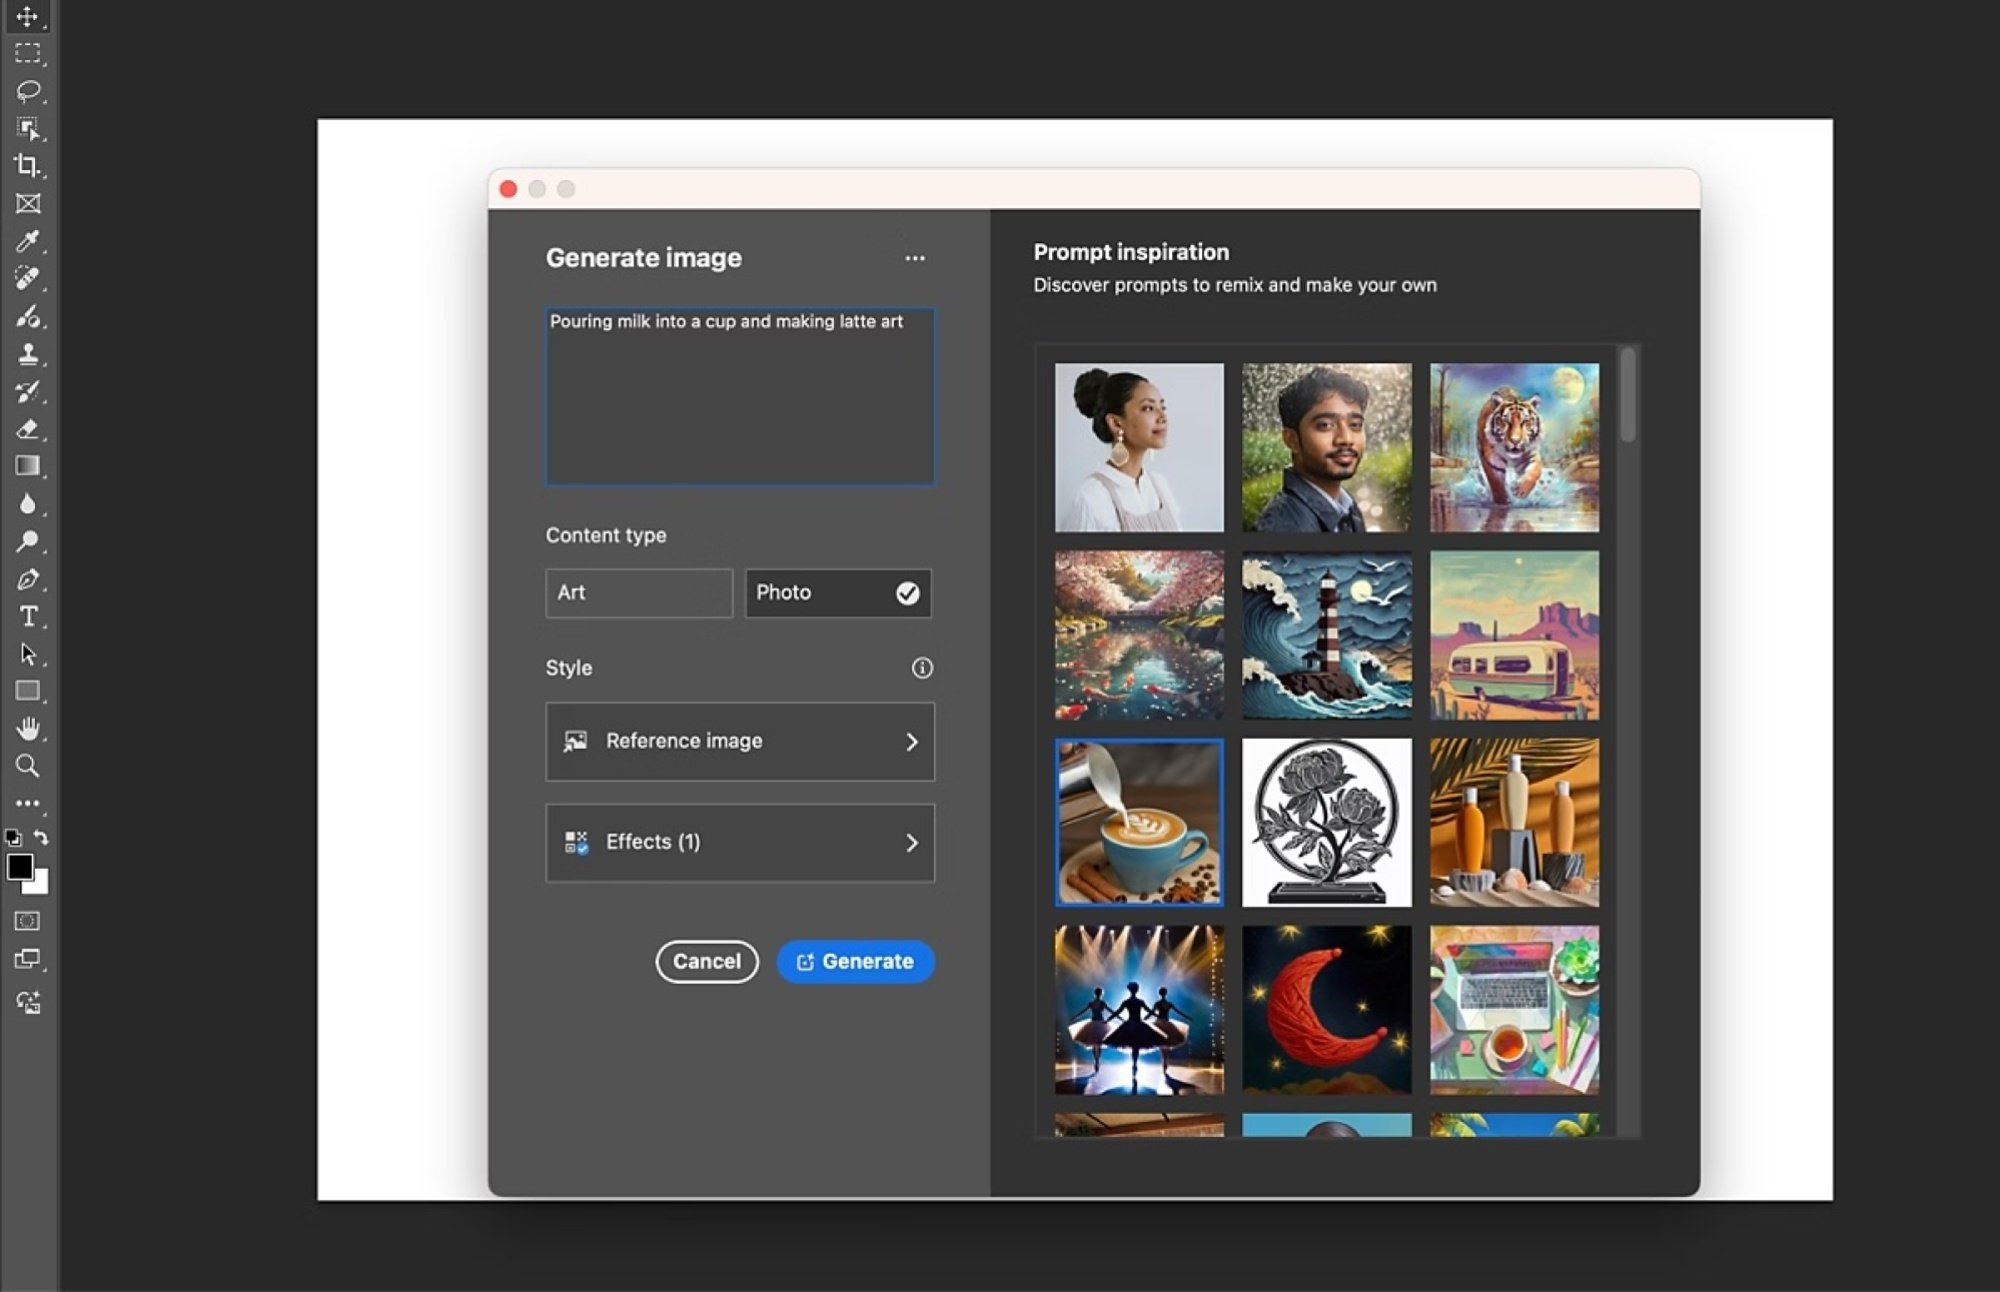
First, download the Photoshop beta desktop app, as these features are technically still in testing stages. Next, open a new project, navigate to the contextual taskbar , and click Generate Image . If you can't find it, you can also navigate to Edit > Generate Image or look for it in the Tools panel.
Then enter your prompt. You should also see buttons in the contextual taskbar for exchanging content types between Photos and Art and for applying style effects to the results. These can be applied before and after the build - you should also see them in the Properties Panel .
How to use Photoshop to generate AI images and reference them
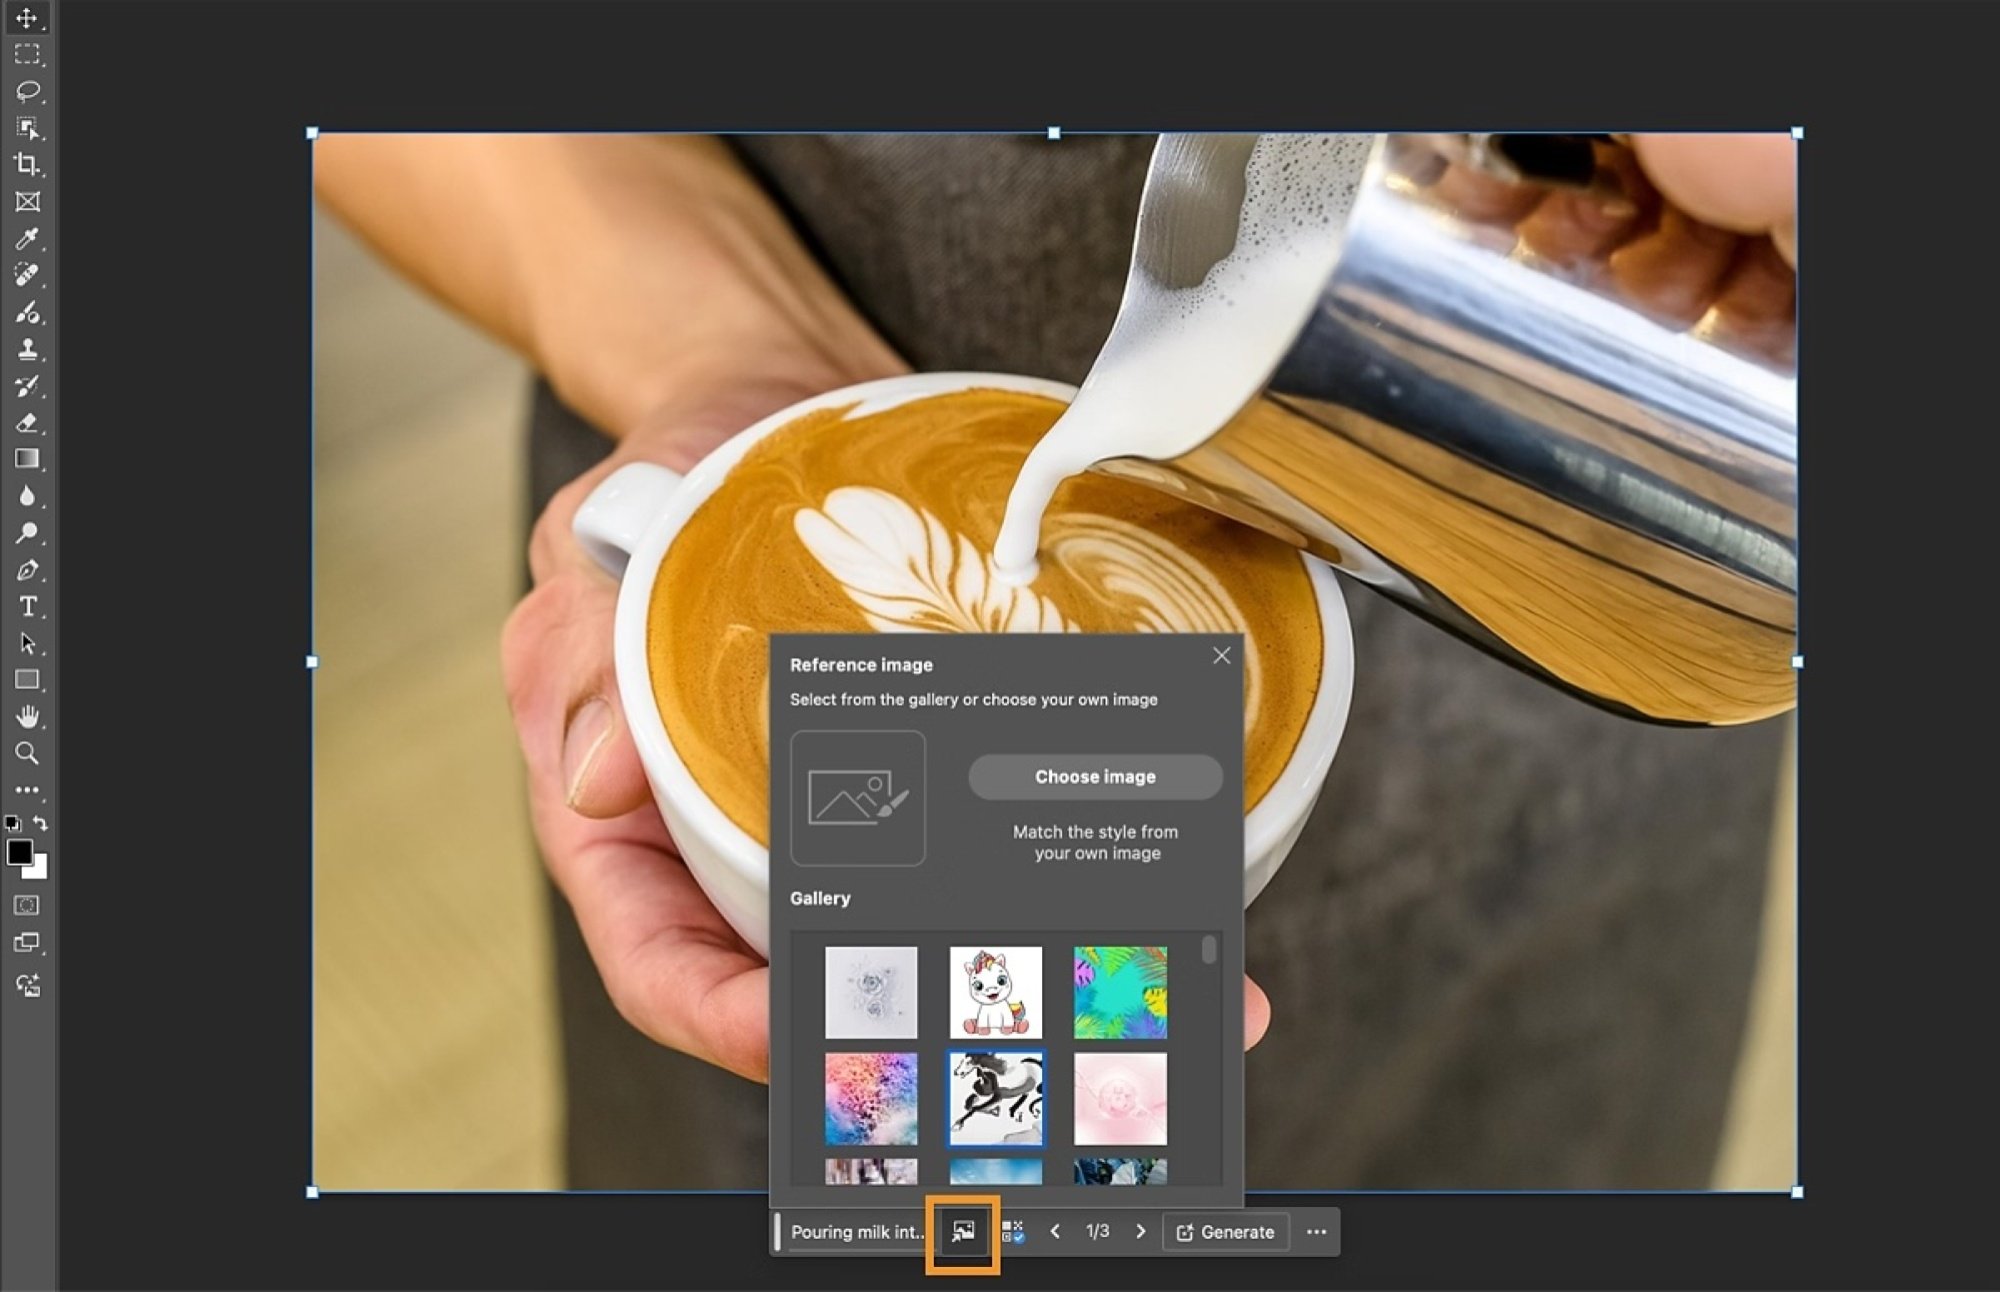
Photoshop doesn't limit you to generating images from scratch. You can also use existing images to let the AI know what to do.
To use reference images when generating AI art in Photoshop, first generate a base image using the instructions above. Then, navigate to the contextual taskbar or properties panel and select the reference image . Upload your image and run the prompt again to adjust it to better match your reference. Photoshop also comes with many of its own reference images that you can use instead of uploading.
How to adjust AI art generated in Photoshop
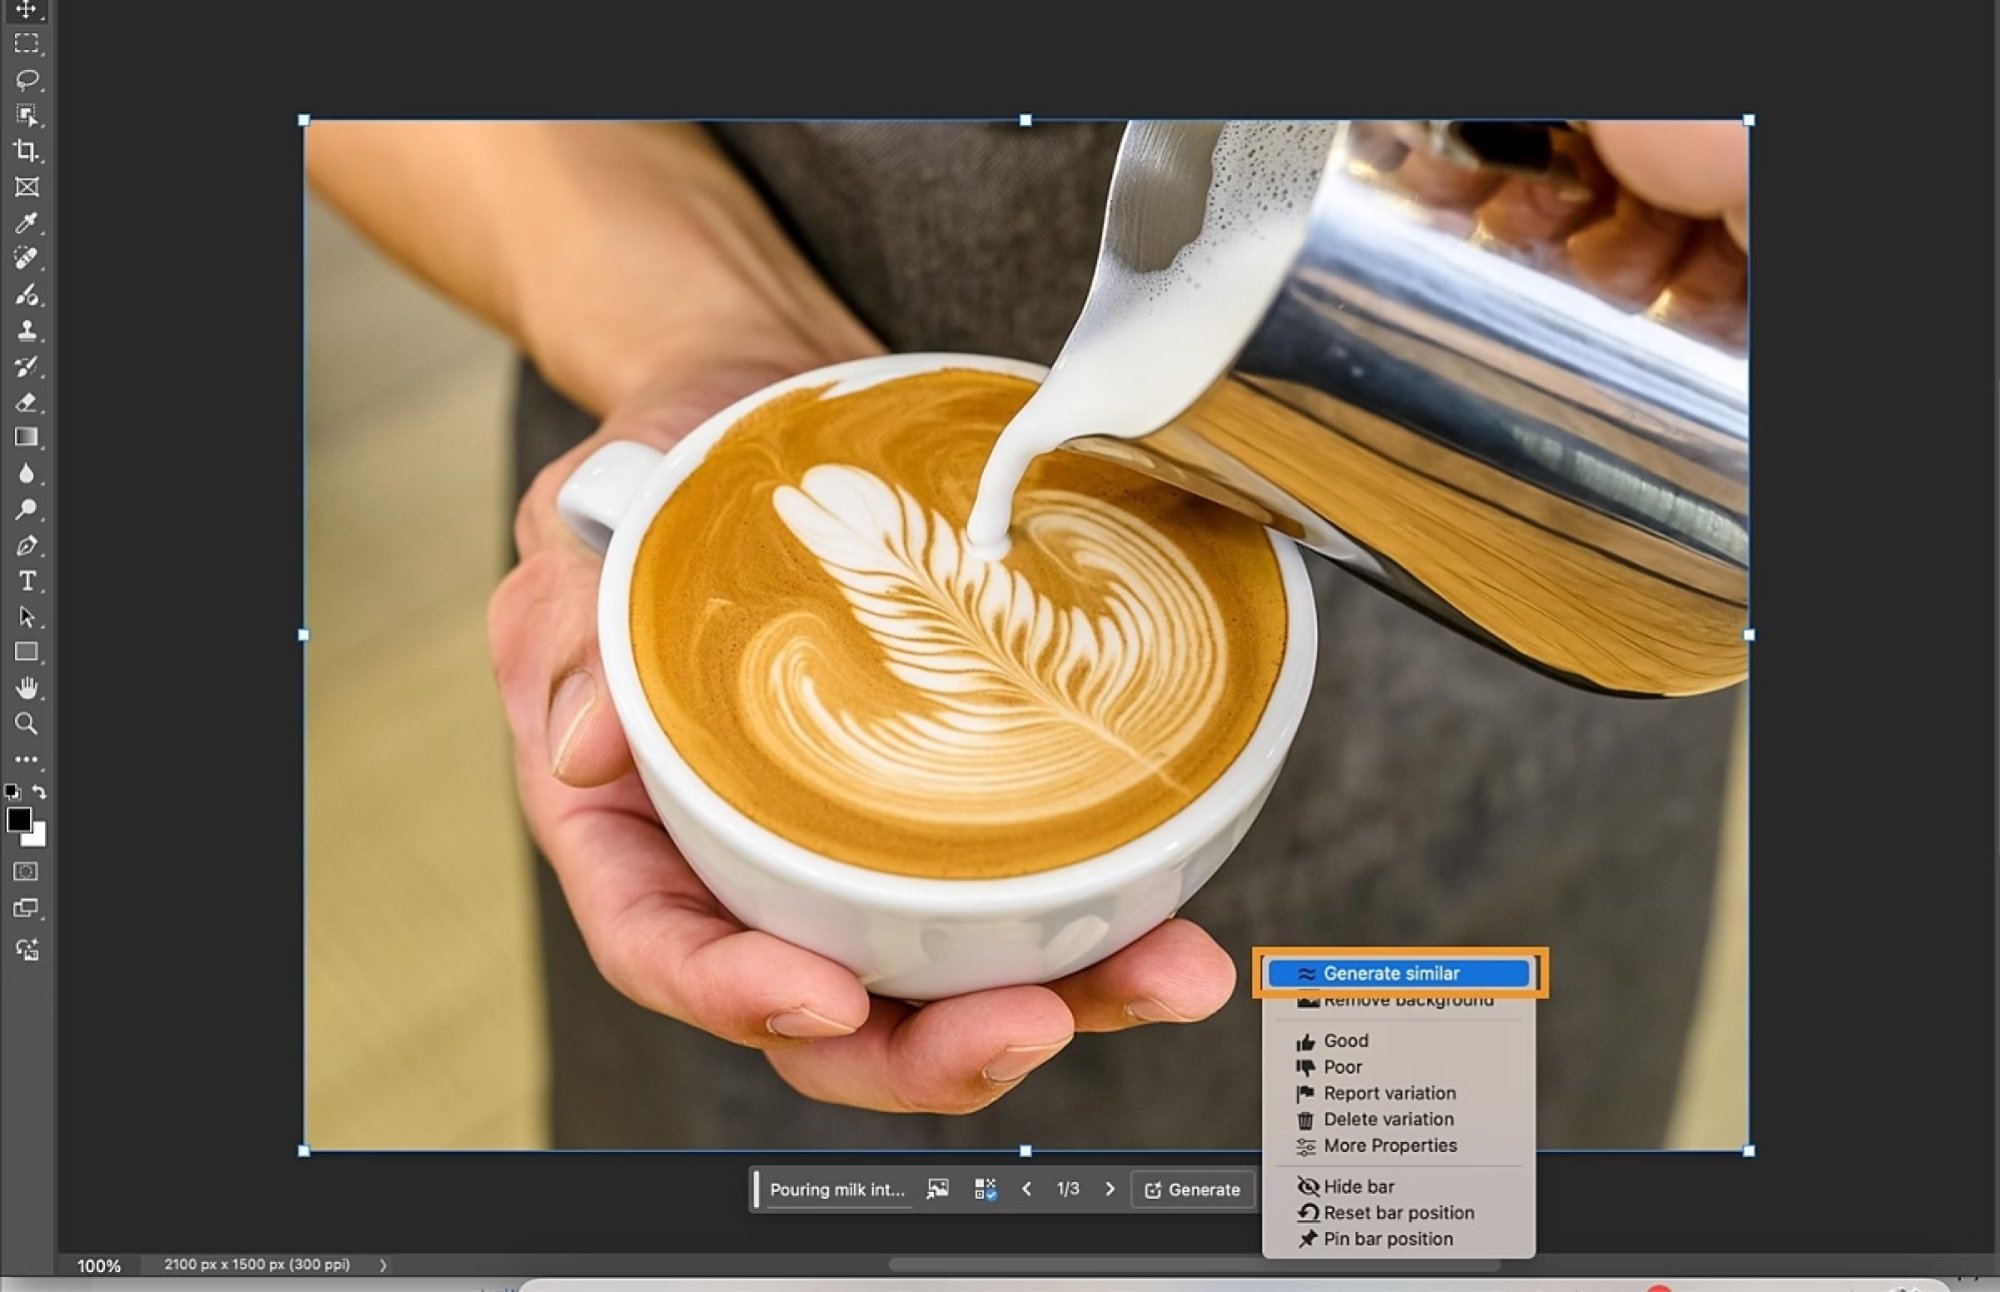
The latest Photoshop beta version includes the Generate Similar feature, which allows slight adjustments to generated AI images. Essentially, this is similar to the Reference Images feature, but allows you to use newly generated images without requiring you to download and re-upload them.
To generate similar AI art, first generate an AI image from scratch by following the steps in the second subtitle of this article. Then, select your image and click Generate Similar from under the three-dot icon in the contextual taskbar or variations panel . You will be able to view the generated variants from the properties panel.
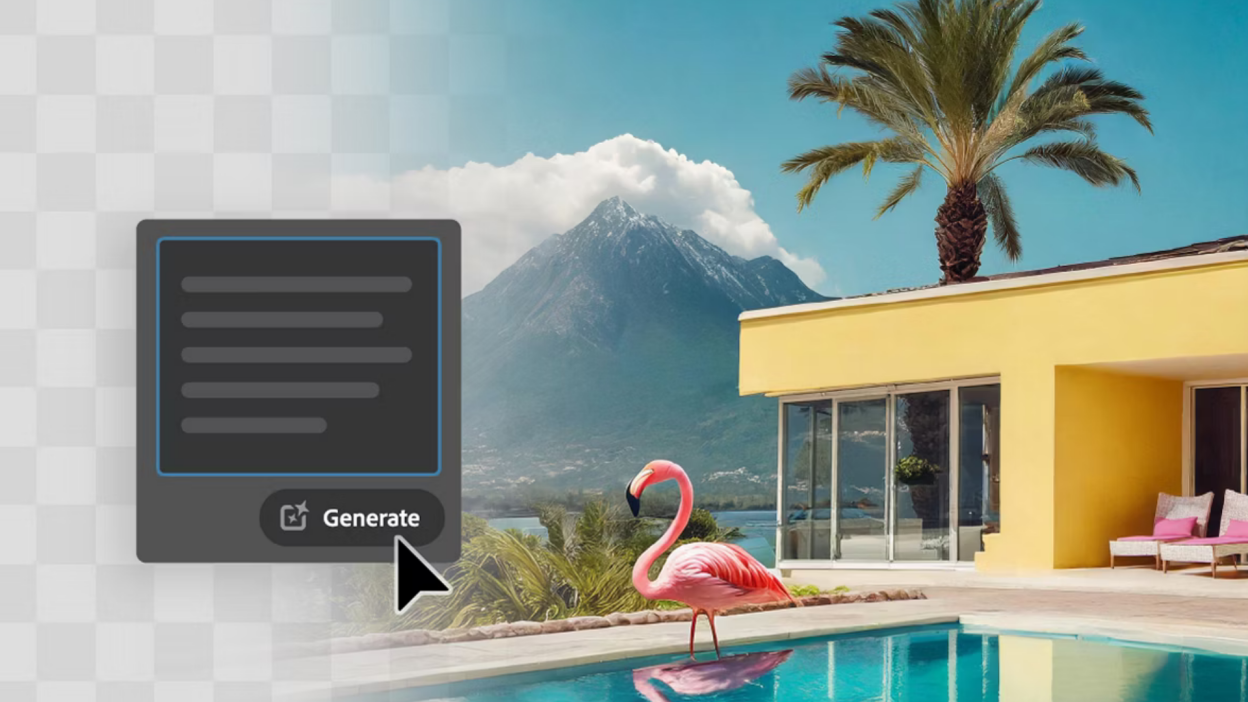
How to generate an AI background in Photoshop
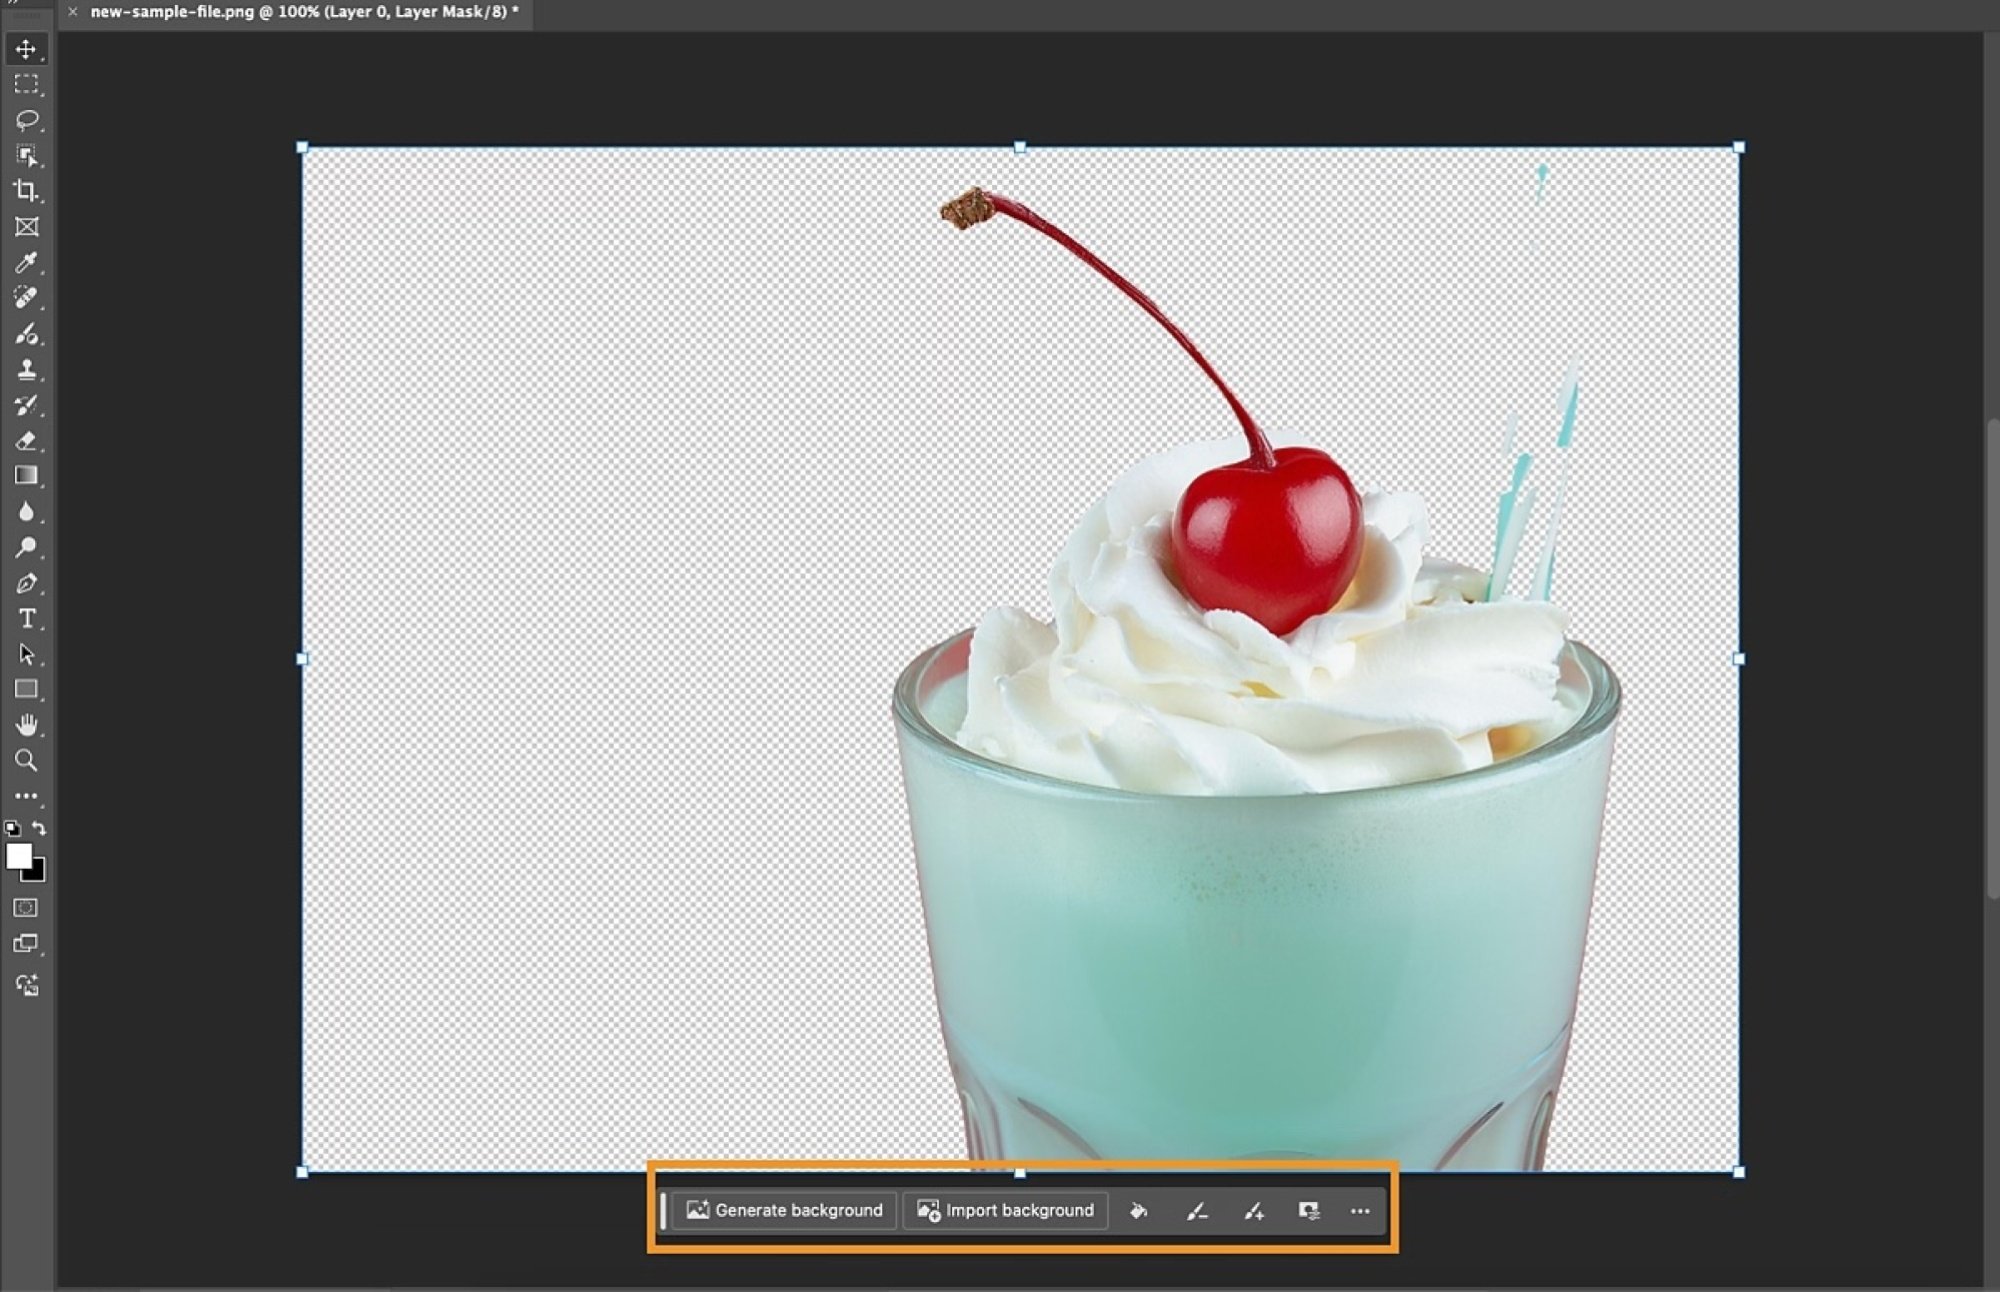
You can also remove backgrounds from existing images and replace them with new AI-generated images. To do this, first select the imported image on the blank canvas, then select Remove Background in the contextual taskbar or Discovery panel .
Then, navigate to the contextual taskbar or edit menu and select "Generate Background" and you'll be able to follow a similar workflow to generate the image from scratch.
How to enhance details in Photoshop
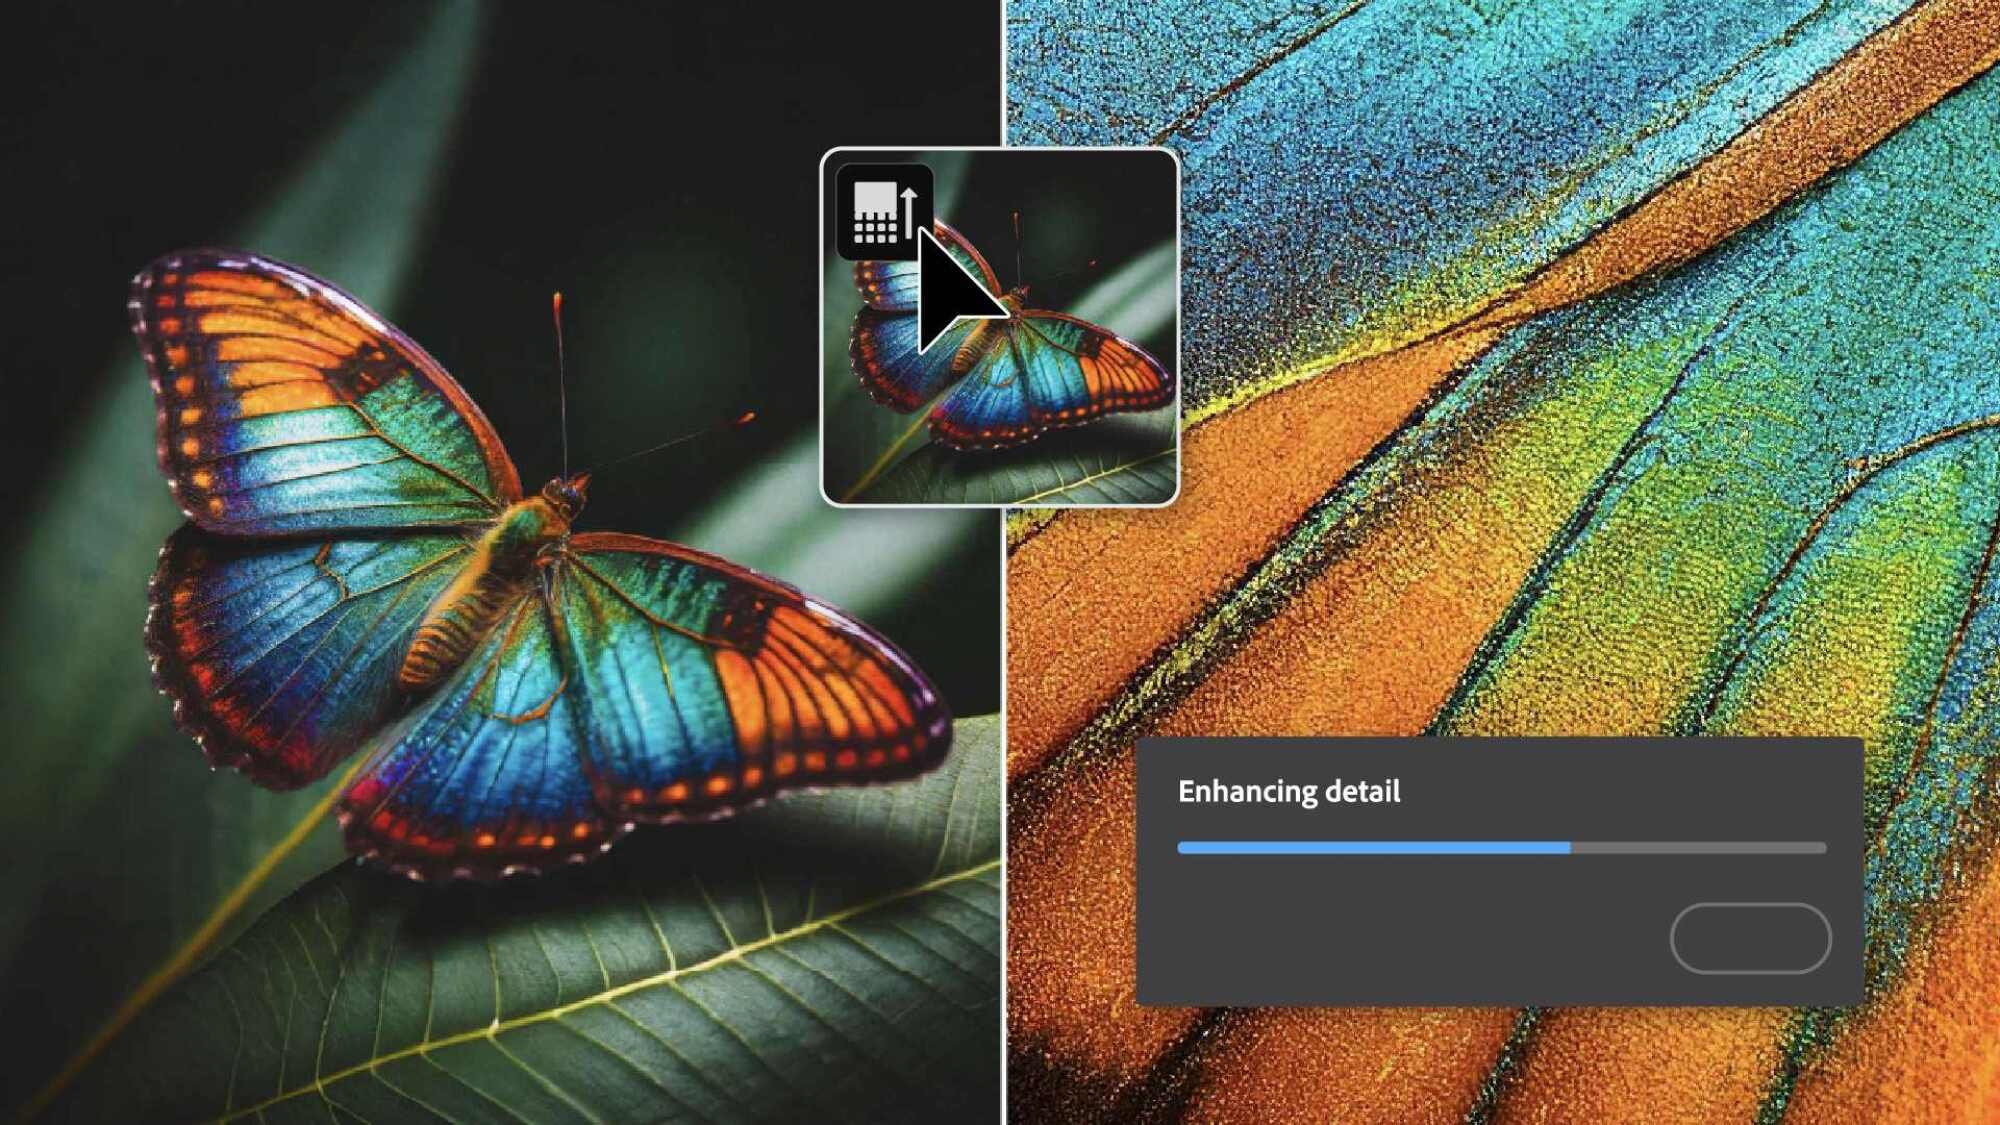
The final AI feature in the new Photoshop beta is the ability to enhance detail . This is an adjustment to the generated fill , and you can select it in the context taskbar or the edit menu . Unlike Generate Image, Generate Fill only generates objects in a specific part of the canvas.
After you generate an object using Generate Fill, navigate to the Properties Panel and then to Variants , where you can select a specific version of the object and click the Enhance Details icon to increase its clarity and general detail.
New non-AI features in Photoshop
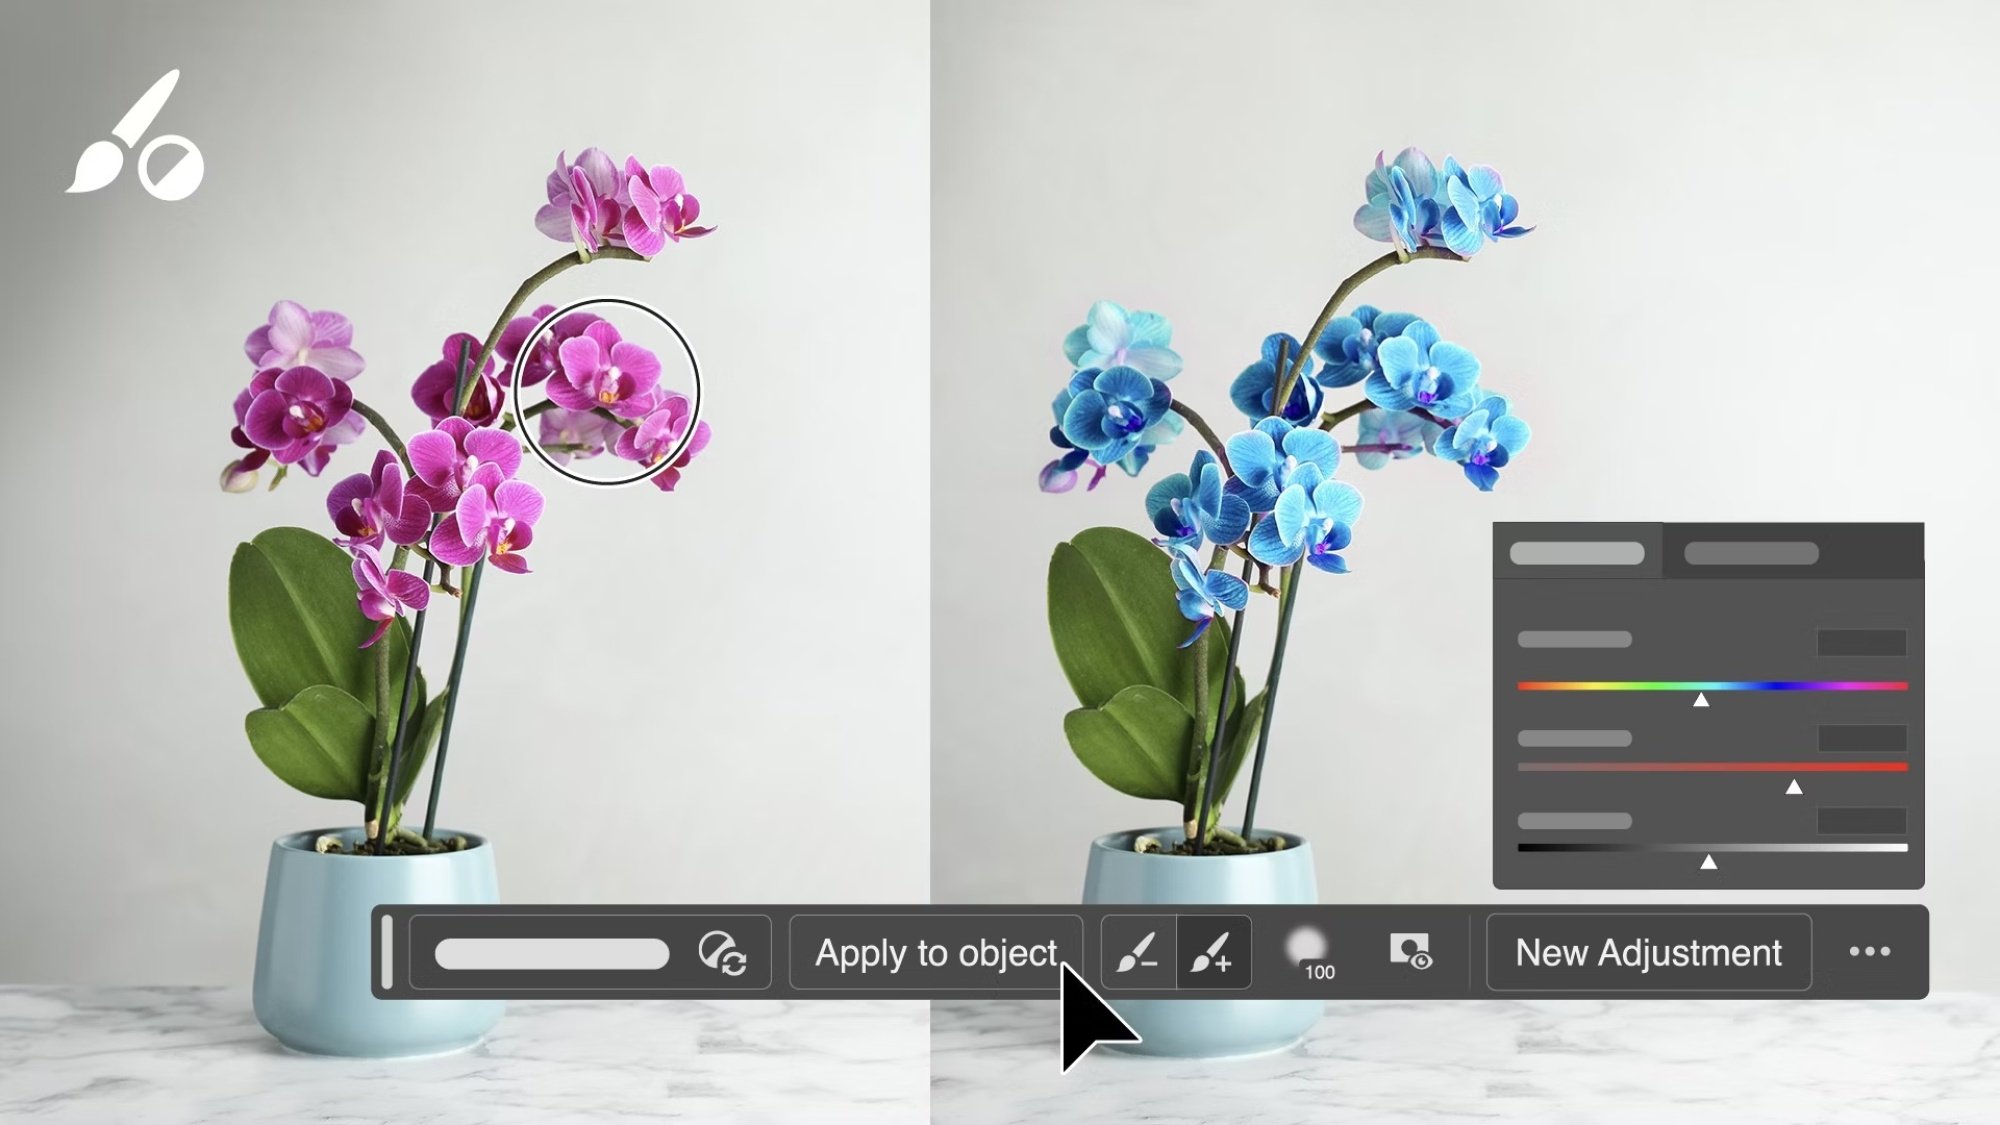
Joining this new set of AI features is the Adjustment Brush , which applies non-destructive, non-AI-driven color and lighting edits to specific parts of an image. For example, turn a section of blue hair into green hair.
To use the adjustment brush , select it in the Brush tool in the Tools panel . From there, select your adjustments and paint where you want to apply them. They will appear in a new layer without changing the underlying image file.
In addition to adjustment brushes, the new Photoshop beta also includes an improved font browser that allows users to directly access fonts stored in the cloud without the user leaving the program.
Adobe Photoshop 12-month subscription