Here, we discuss four ways to save photo prints and negatives to your computer so you can edit, print, and share them as needed. These backups also help ensure that your precious photos are preserved and less likely to be lost.
Scanning remains one of the most popular methods of digitizing photo prints and images. All it requires is a high-quality document/photo scanner, a computer or laptop, and plenty of time to process and save the images.
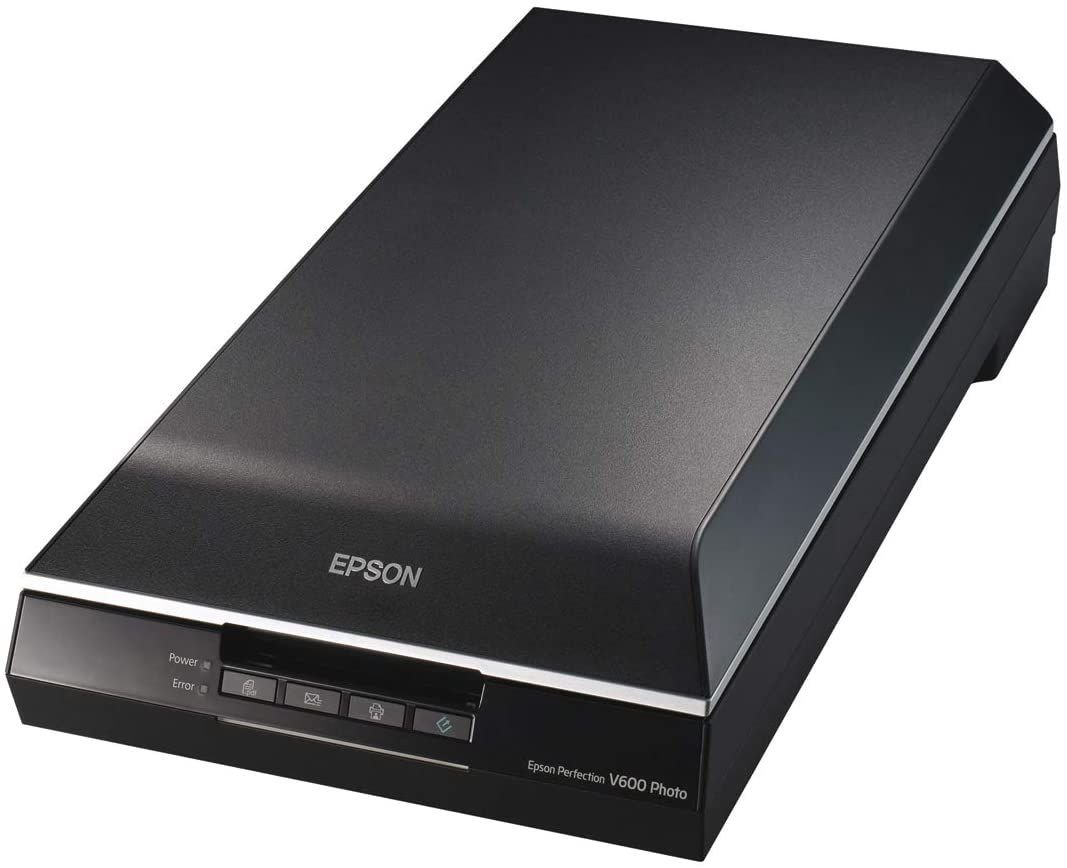
You have several options when choosing a scanner:
- Some are slim and compact.
- Others are larger because they have both a flatbed and a document feeder.
- You can use a standard high-quality scanner or a scanner designed for photos and negatives, with adapters for scanning negatives, transparencies, and slides.
- Scanners also offer different levels of resolution and color depth.
Although scanners usually come with their own scanning software preinstalled, you can do it using most image editors or image viewers, such as Photoshop, one of the free alternatives to Photoshop, or a program that comes with your computer operating system, such as macOS Preview. Import your images. For best accuracy when scanning, be sure to first:
- Calibrate your PC/laptop monitor.
- Calibrate your scanner.
- Carefully clean photo and scanning surfaces.
The last step is very important. Smudges, fingerprints, lint, hair, and dust particles left on a photographed or scanned surface will show up in the digitized image. A microfiber cloth and a can of compressed air allow for safe cleaning.
Scanning, editing, naming, saving and organizing photo files can be time-consuming, but it's cost-effective, gives you complete control over your images, and produces the most consistent results.
Digital cameras, and even modern smartphones and tablets, can scan photos in a pinch. While most digital mirrorless and DSLR cameras have multiple scene modes to best match your shooting situation, this approach requires some advance preparation.
When using a digital camera as a scanner, please pay special attention to:
- Lighting : Ambient light should be distributed as evenly as possible over the surface of the photo, with minimal (if any) glare and no shadows. The temperature of the light source is also important for accurate color reproduction; many digital cameras can automatically compensate for this (white adjustment).
- Stablize : The slightest body movement can affect focus and perspective. Foreshortening occurs when the reproduced image looks like a trapezoid rather than a rectangle with perfectly square corners. A tripod helps keep the camera lens parallel to the photo, and using the Selfie function (or remote shutter) eliminates shake.
- Quality : Use highest/ultra-fine resolution (when in doubt, shoot in RAW), lowest ISO, and medium/high aperture (f/5.6 or greater). You can bracket each photo (using one normal exposure, one using a higher f-stop, and one using a lower f-stop) because it's easier to judge exposure on a computer monitor than on a camera LCD screen .
As long as imperfections aren't a big deal—and you can always create archival copies later—you can also turn your smartphone or tablet into a scanner.
Some camera and image editing applications offer white balance adjustments, automatic color correction, perspective compensation, and other useful tools.
Other products, such as Google Photos' PhotoScan (available for Android and iOS), are designed specifically for creating and enhancing digital photo scans for mobile devices.
To transfer photos from a digital camera, smartphone, or tablet to your computer, you can use the product's data cable, sync cable, or a separate memory card reader. After connecting the device or card, go to the DCIM folder and copy the files to your computer.
If you don’t have a photo scanner and are not interested in using your camera or smartphone to digitize photo prints, use a photo scanning kiosk or drop-off service at stores such as Walmart, FedEx, Staples, Walgreens, Costco, Office Depot, Target and CVS.
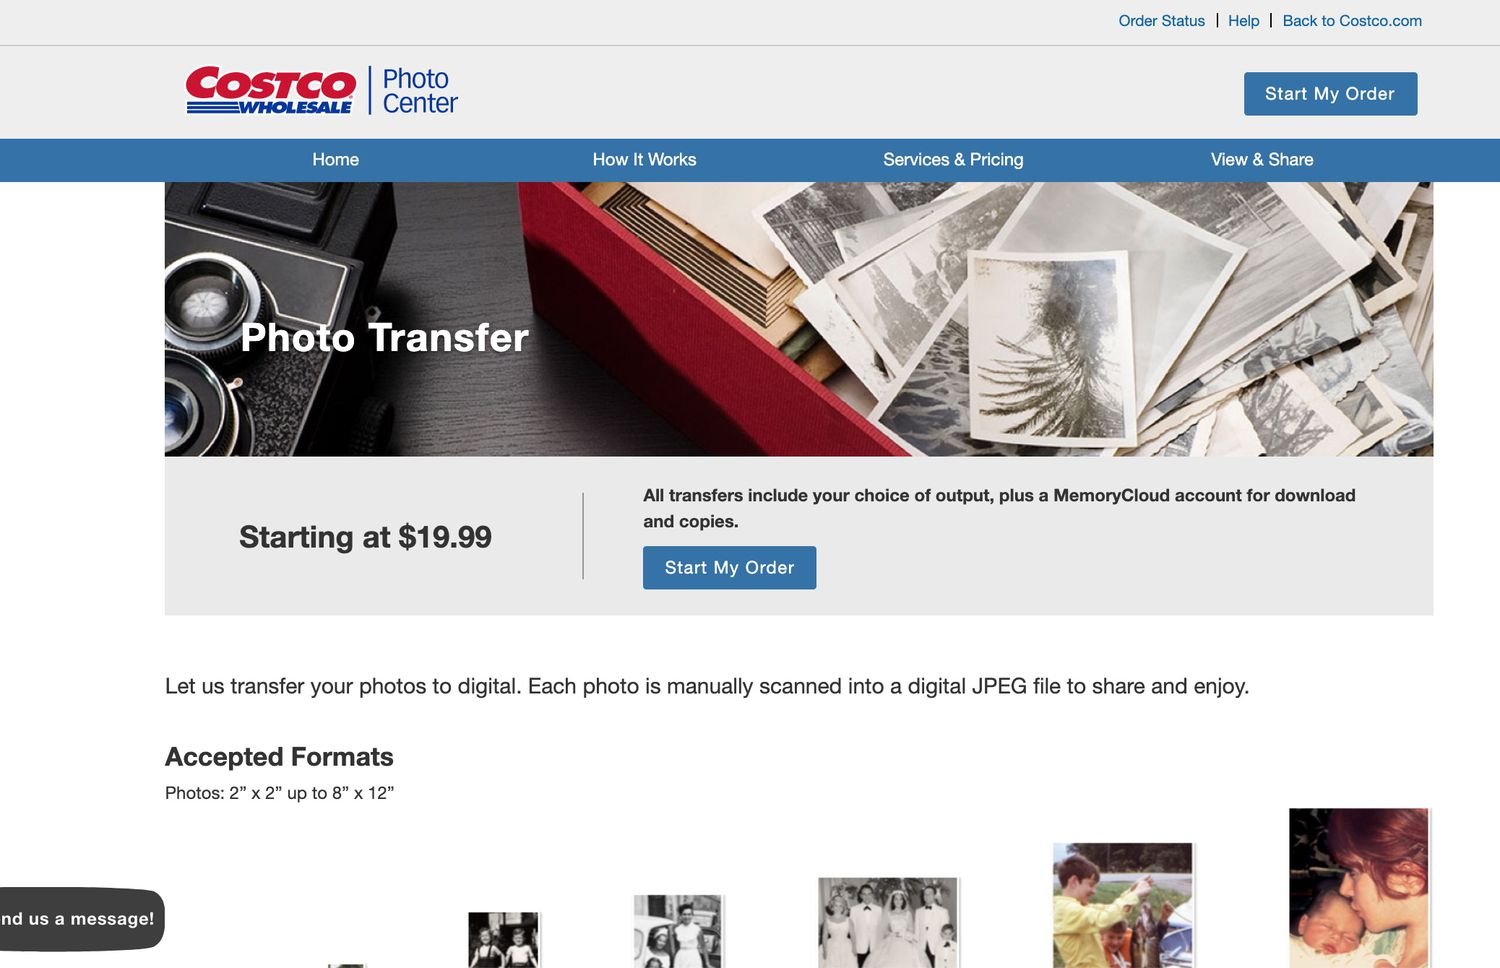
Price, quality, turnaround time and customer service may vary between them, so be sure to ask for details first. Many of the companies mentioned above can process prints and digitized images, but some will not return your original film and negatives.
Scanned photos from retail stores are typically stored on CDs, DVDs, or flash drives, or uploaded to the cloud. From there, you can copy the photos to the desired folder on your computer. A physical CD/DVD or flash drive acts as an additional backup.
Hundreds of online photo scanning services exist, all of which vary in price, shipping requirements, quality, turnaround time, enhancements, and features.
They cost more but often provide better results than retail stores, especially for older and damaged photo prints that need restoration.
our suggestion:
- Best All-In-One Service : MemoriesRenewed.com
- Best for serious touch-ups and restorations : Dijifi.com
- Also good : DigMyPics.com and ScanMyPhotos.com
