Microsoft keeps adding more and more stuff to Windows, but it often seems to be more of a hindrance than a help. At this point, a "fresh" installation of Windows forces you to sign up for a Microsoft account, tries to sell you cloud storage, and is very aggressive about getting you to use Microsoft Edge and Copilot, and I could go on and on.
Tiny11Builder is a third-party script that takes a Windows installation ISO (which you can get from Microsoft) and strips it of all these features. Install Windows with this tool and you'll get a really clean install: no news, no OfficeHub, no annoying GetStarted prompts, and no junk in the Start menu. You can always install these things if you want, but you'll be starting with a clean slate.
First download the official Windows 11 ISO
Go to the official Microsoft page for downloading Windows. scroll down until you see Download Windows 11 disk image (ISO) for x64 devices. Select the version of Windows for which you have a product key.
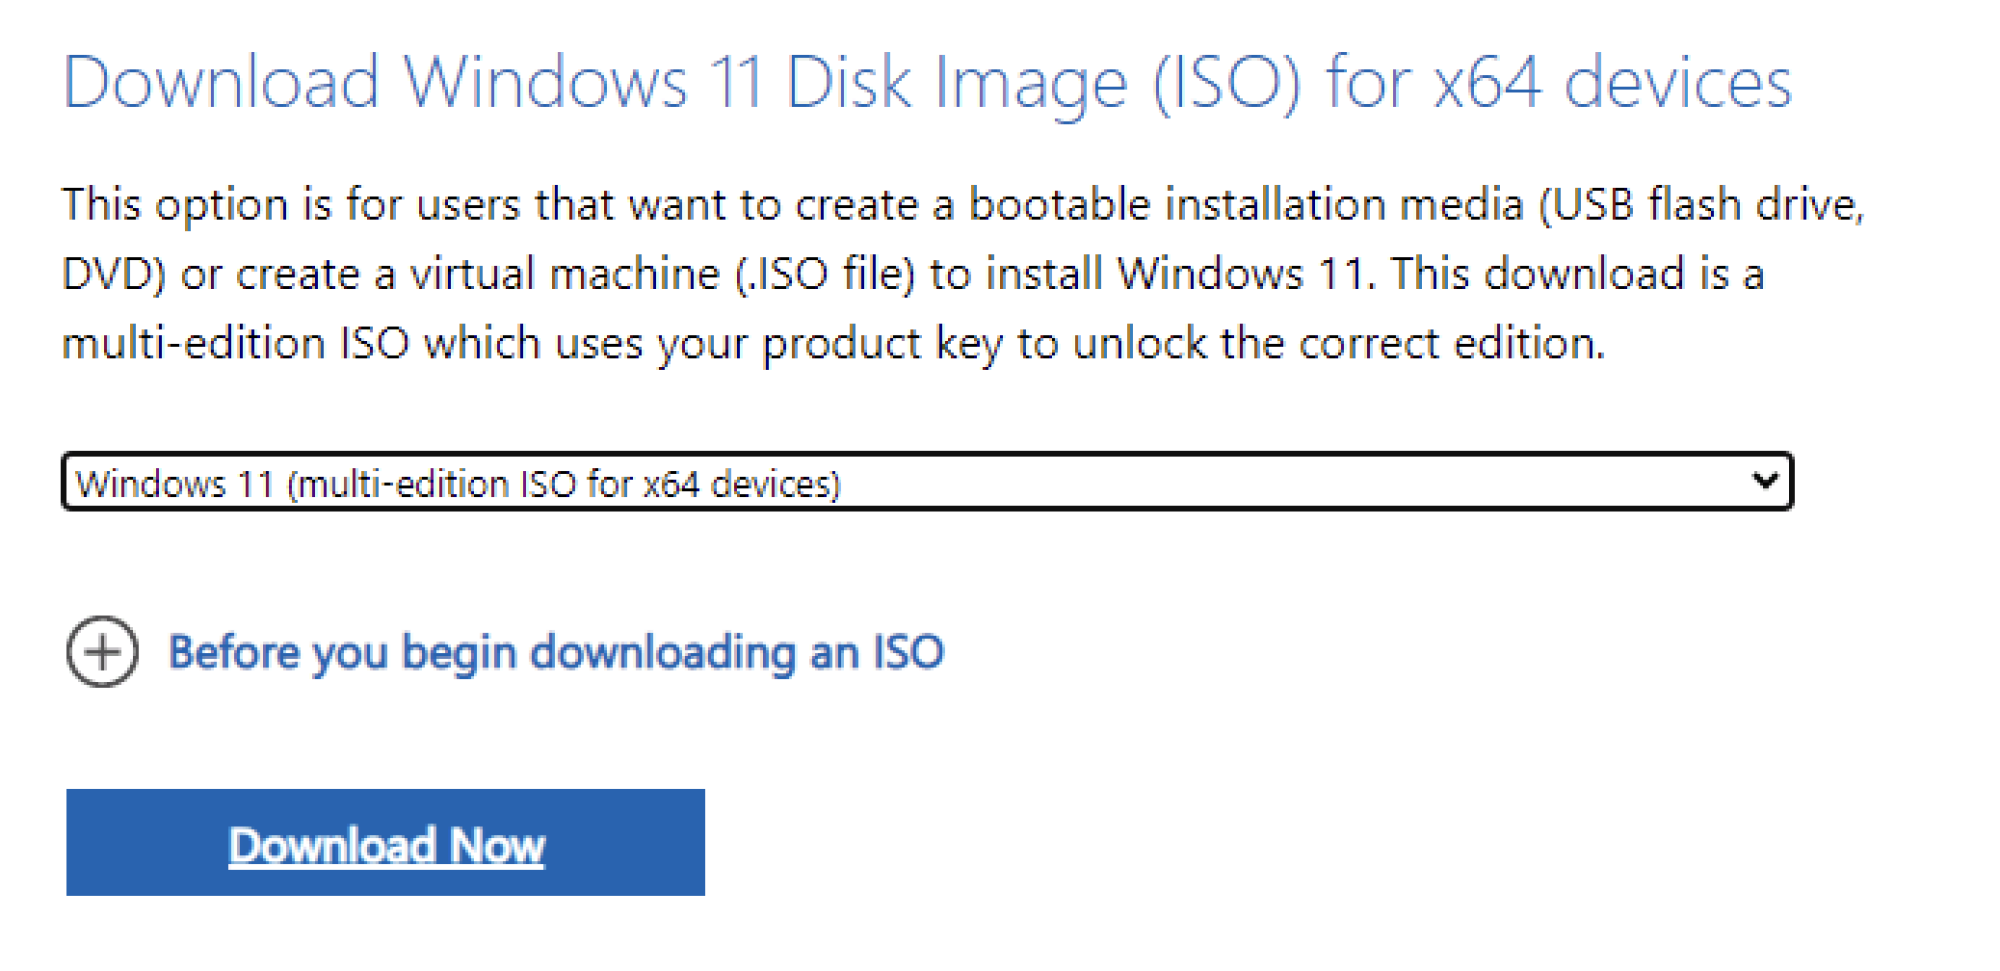
Click the Download Now button. This may take about 15 minutes, depending on your Internet speed.
Download the script and prepare your device
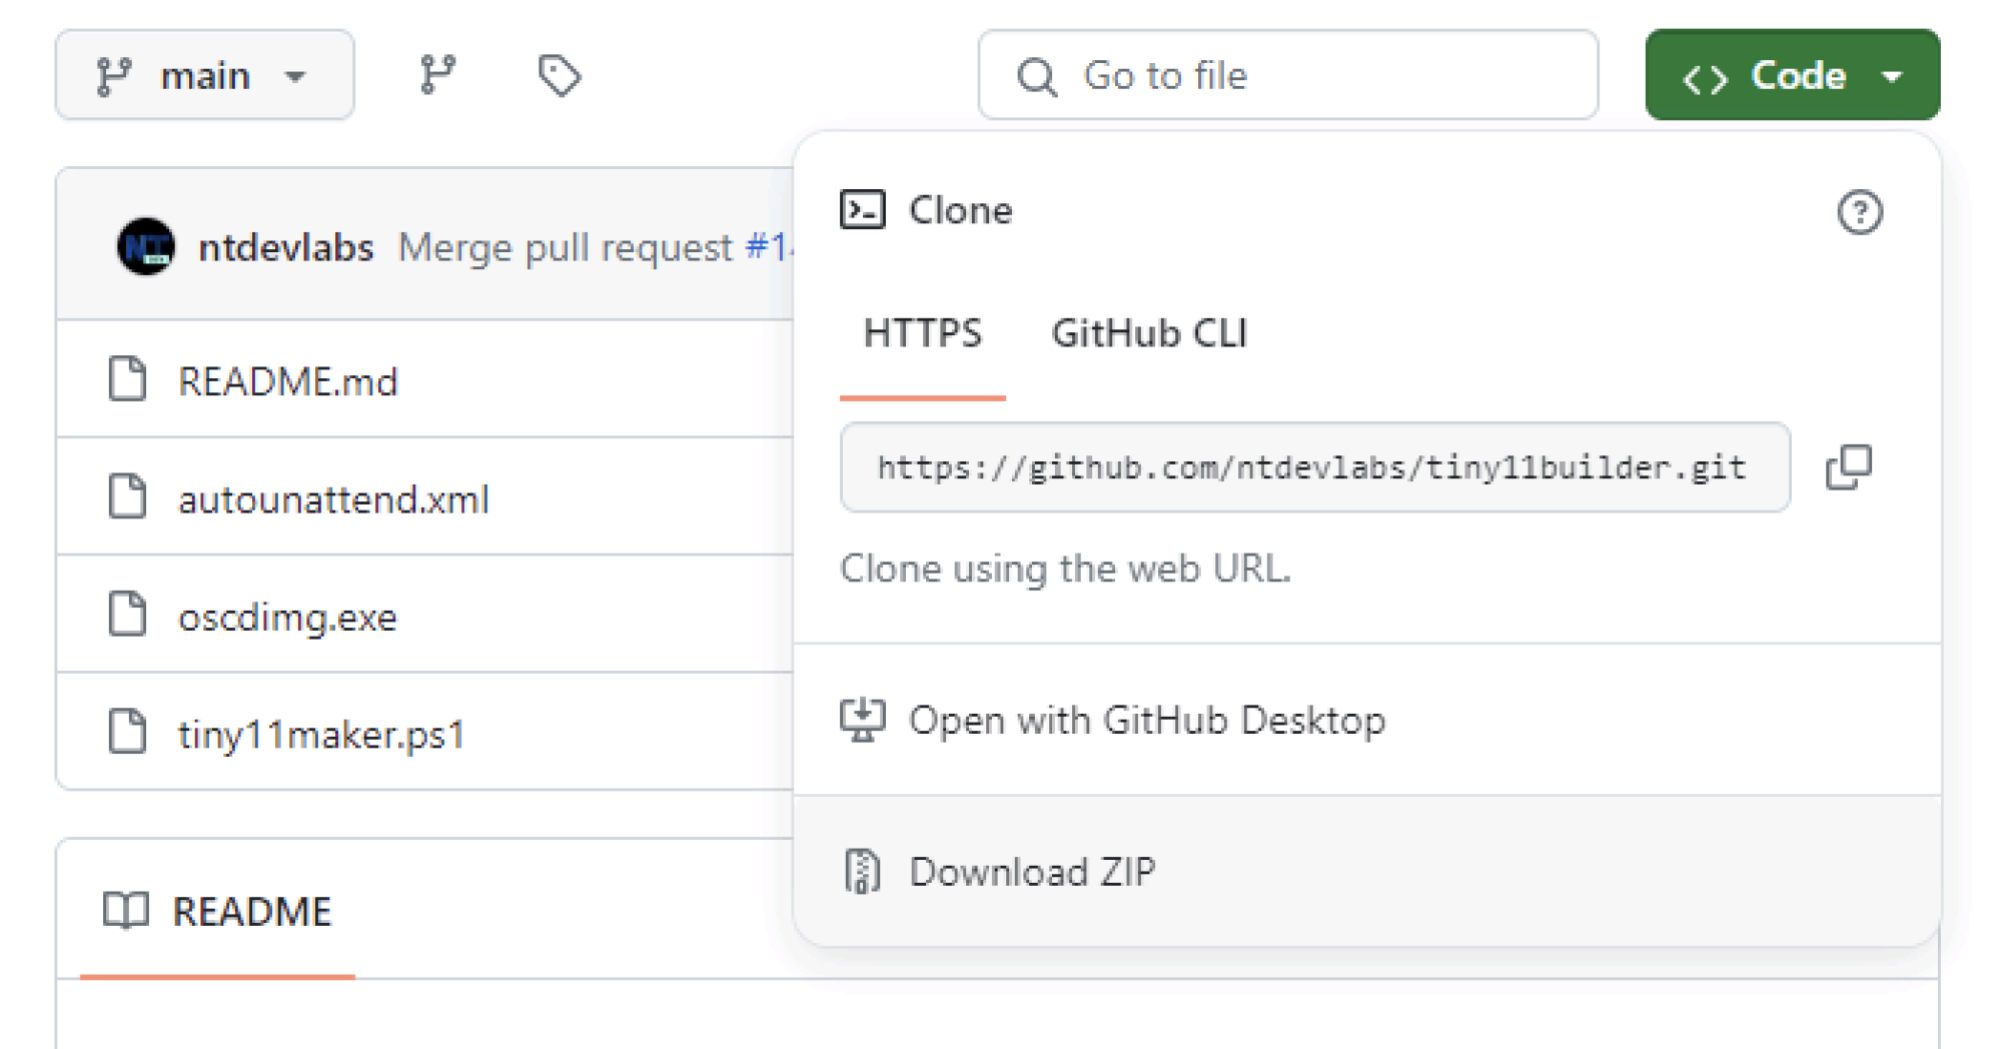
Now it's time to download our script. Go to the tiny11builder Github page and click the "Code" button in the upper right corner. Next click "Download ZIP".
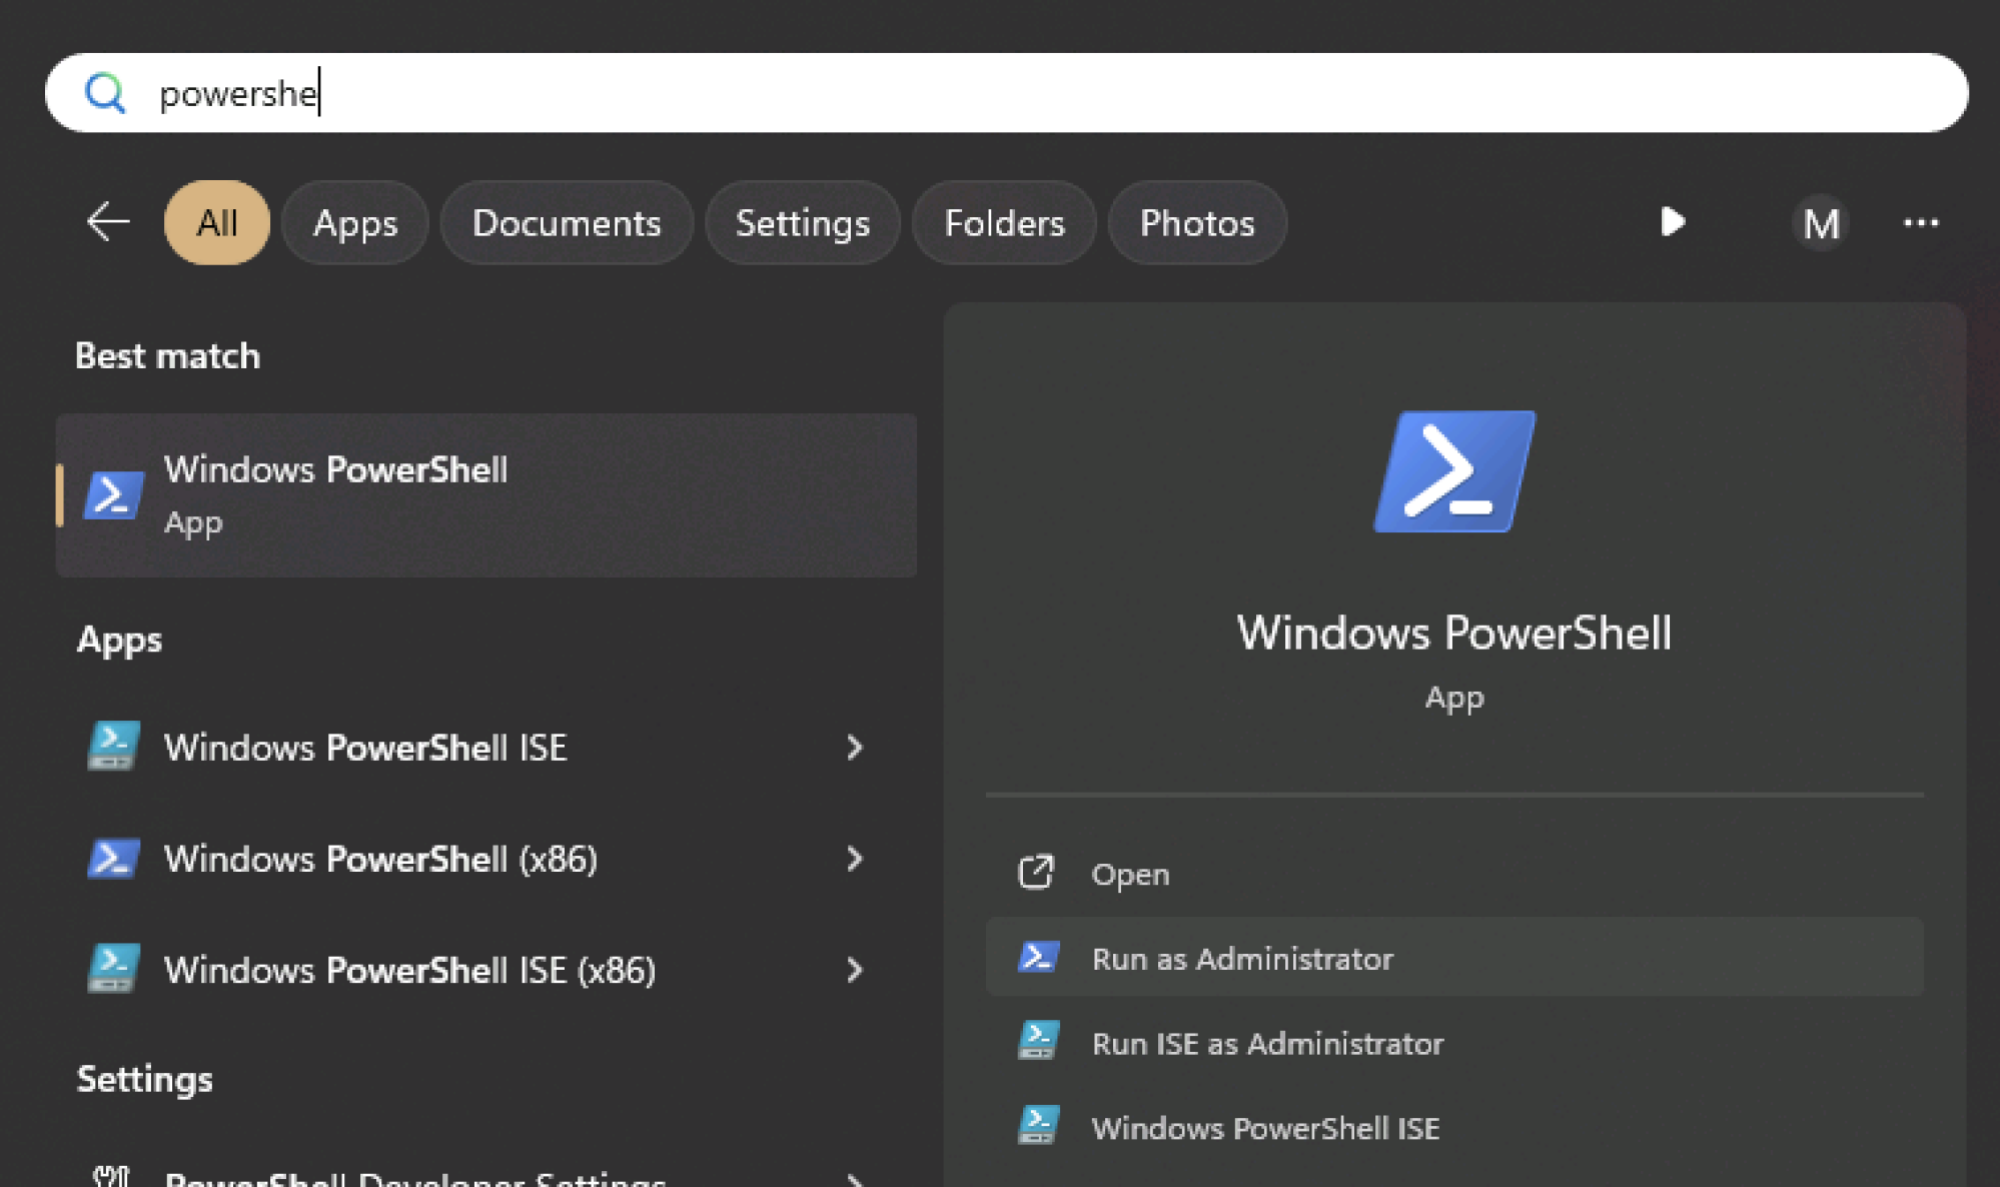
Unzip the download. Now we need to configure your system to allow PowerScript to make administrative changes. Open PowerShell as an administrator, this can be done by searching for "PowerShell" in the start menu and clicking "Run as administrator" in the right sidebar.
Type or copy the exact command Set-ExecutionPolicy unrestricted and press Enter.
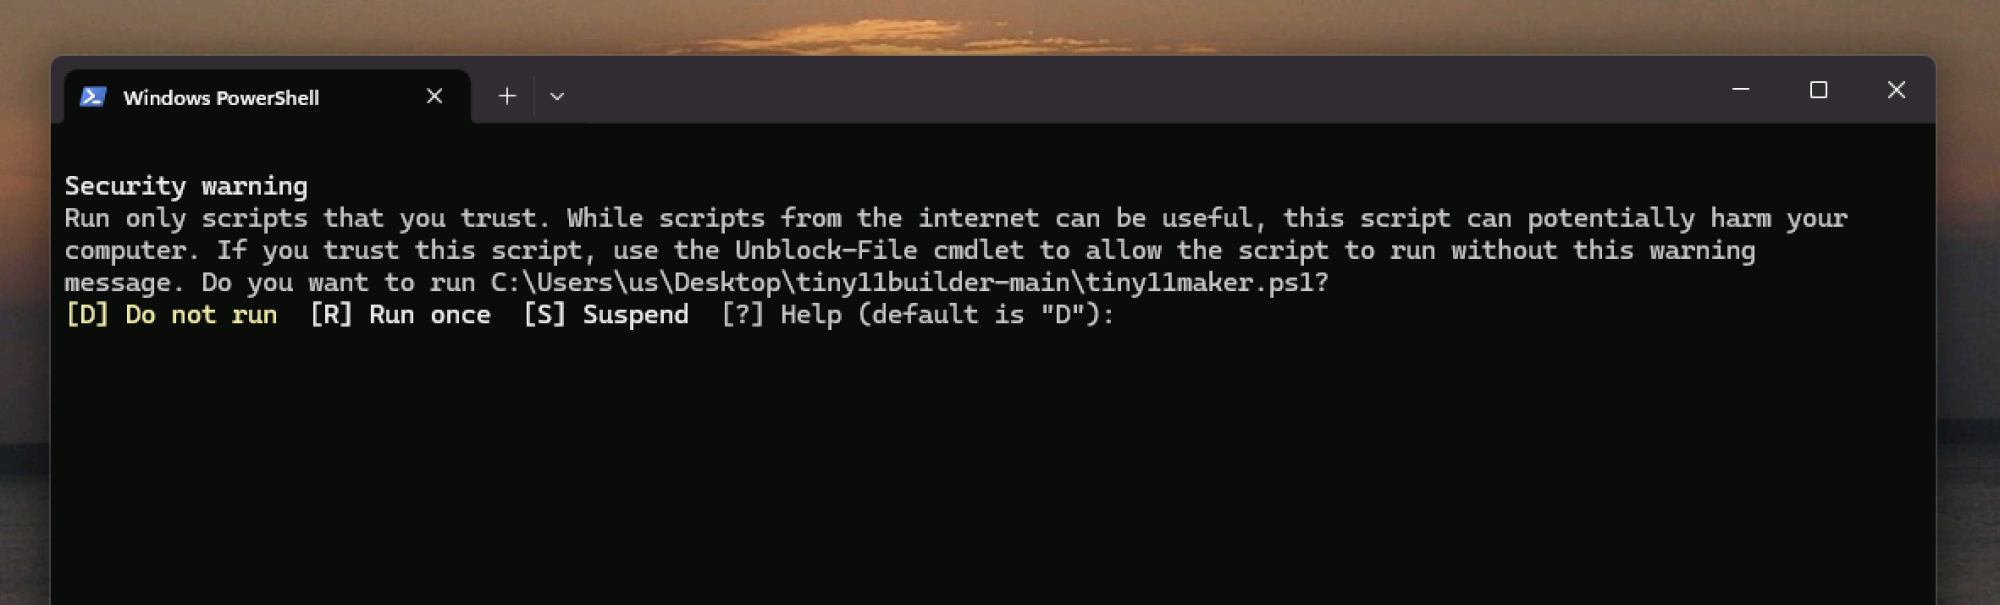
You will be warned about the security implications of this operation - make sure you know what you are doing and allow the change. You can always undo the changes later by running Set-ExecutionPolicy restricted.
Making your tiny11 disk
Your Windows 11 ISO should now have finished downloading. Right-click on the file and click Mount. This will open the ISO file as a virtual CD, which you can confirm by looking for it in Windows Explorer.

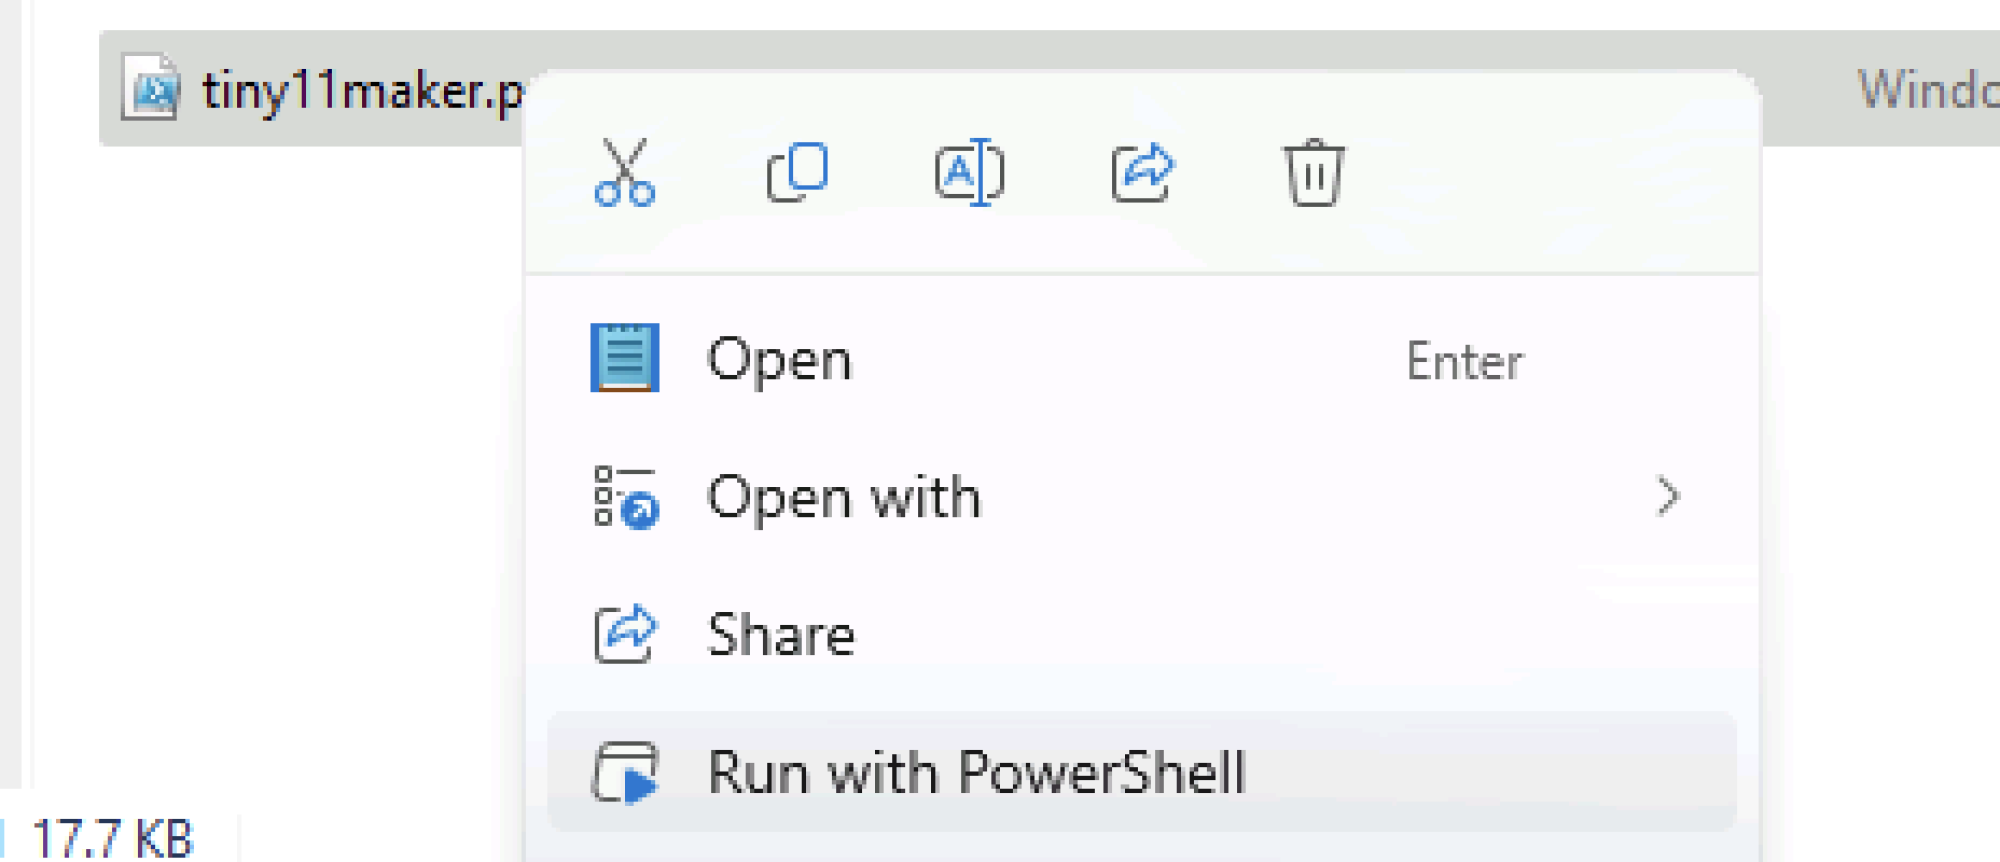
Once you have confirmed that the disk is mounted, you can run the tiny11 script, which is located in the ZIP file you extracted earlier. The easiest way to get started is to right-click on the file "tiny11maker.ps1" and click "Run with PowerShell".
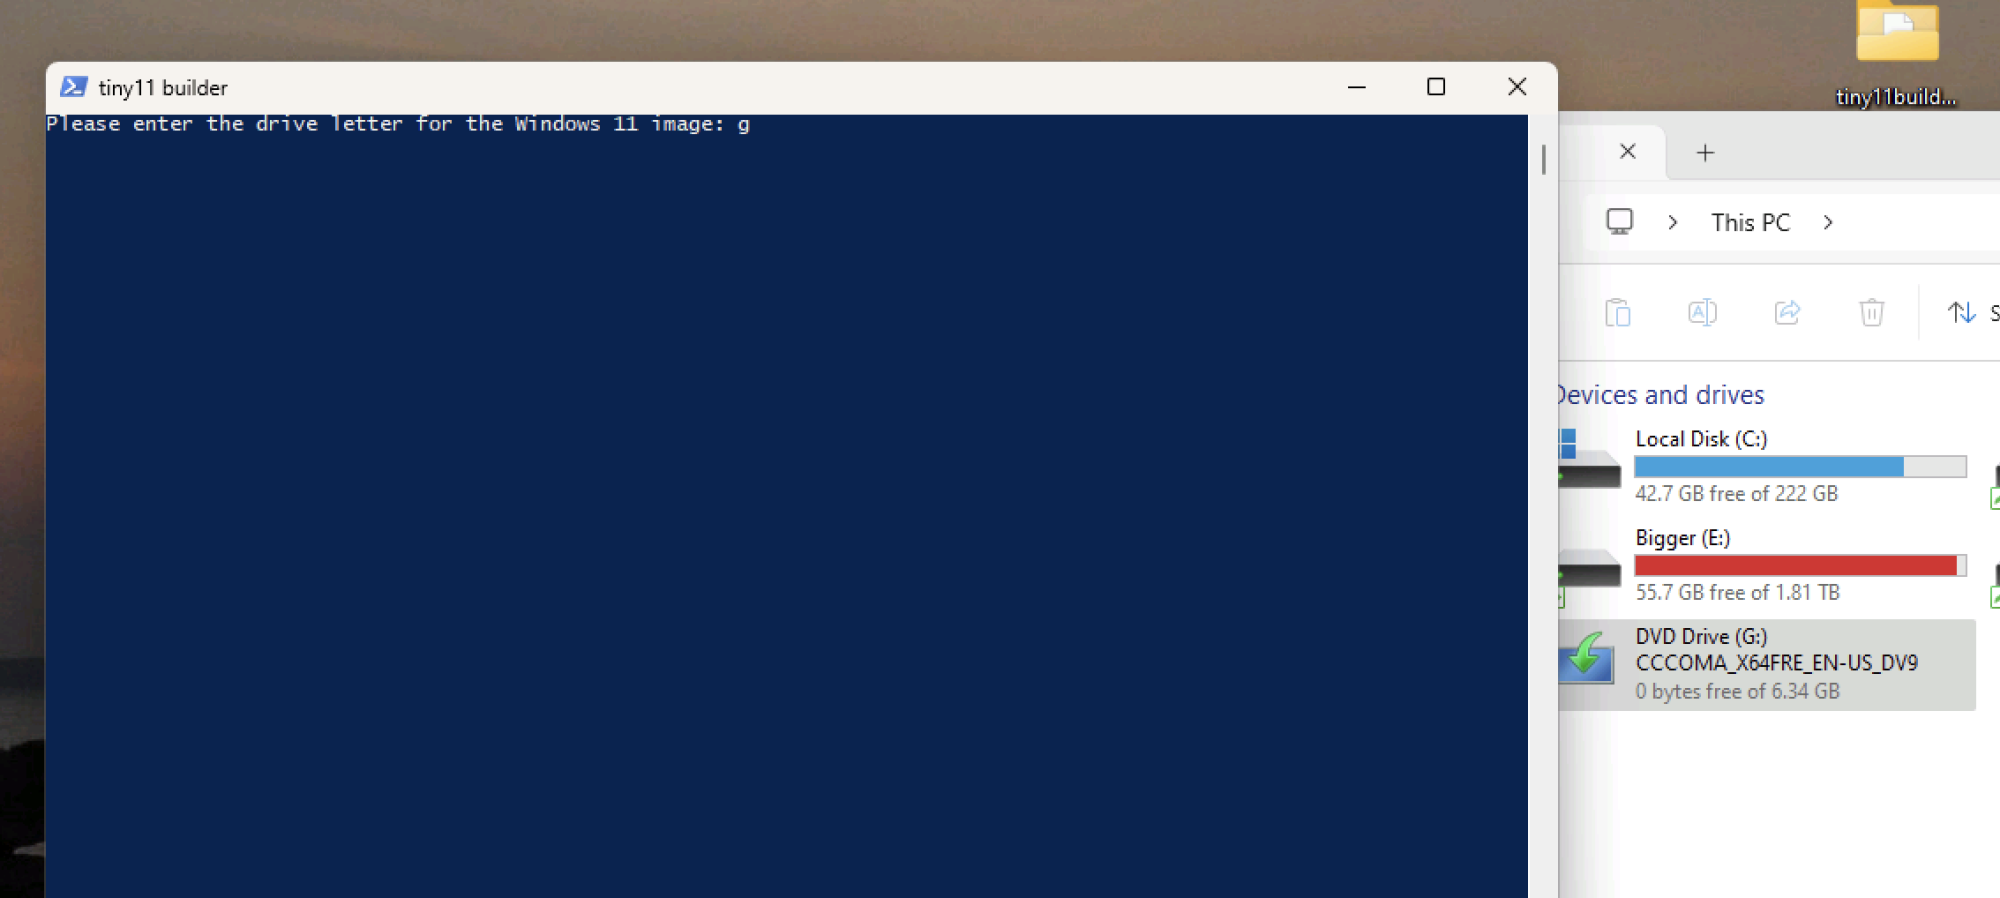
This will start the script. You will be asked for the drive letter of the virtual drive, which you can find in Windows Explorer under "My Computer" for DVD drives that did not exist before. All you have to do is type in the letters and press Enter.
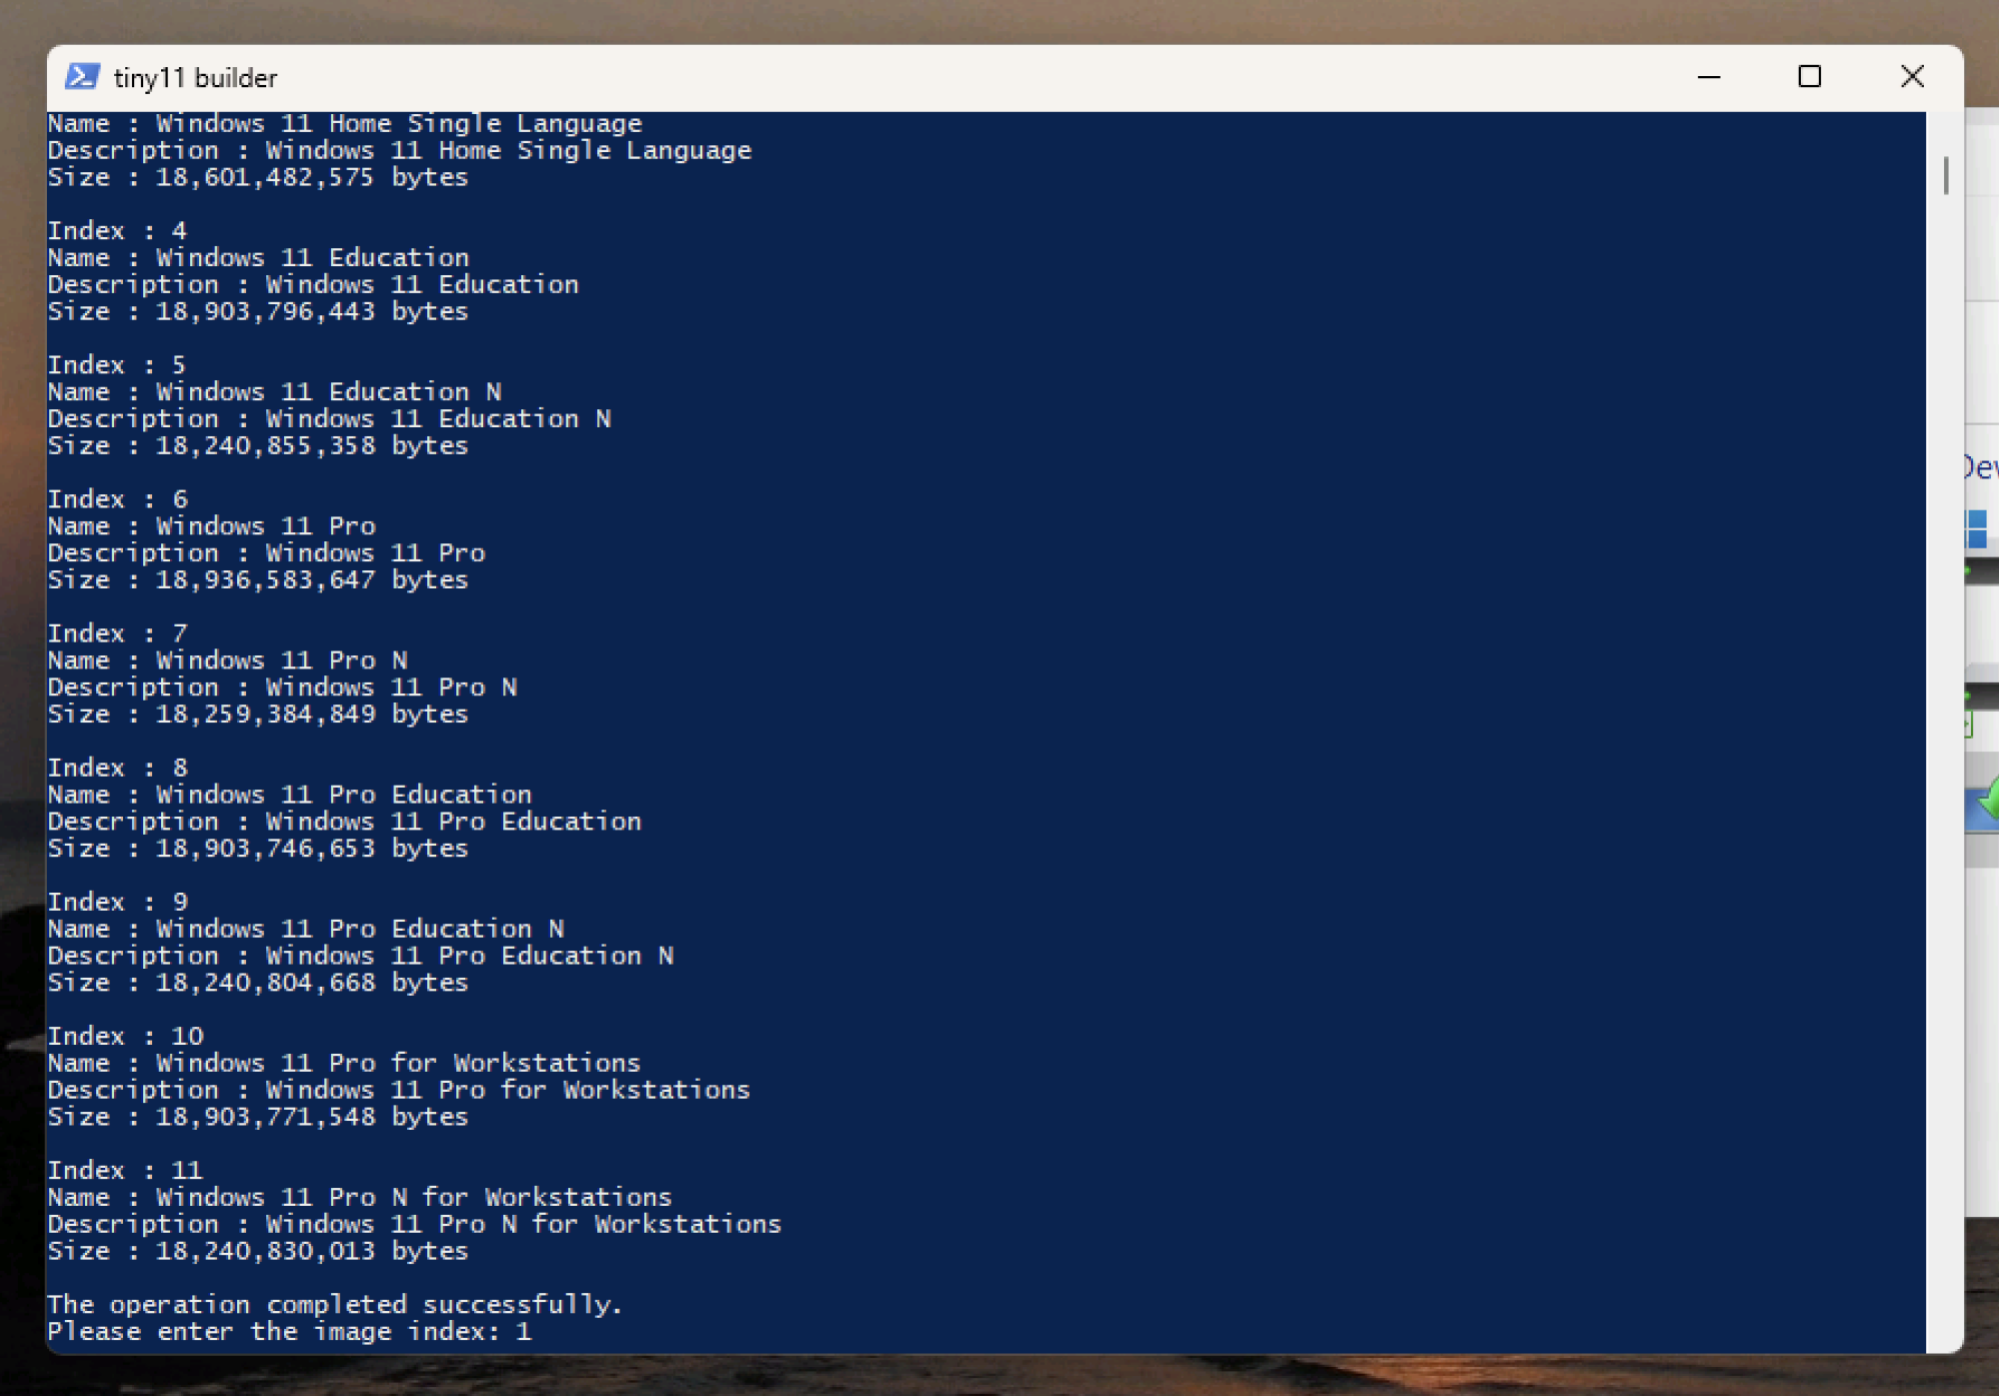
After that, the script will ask you which version of Windows you want to make a disc for. Please answer which version you have the product key for.
After that, the script will perform its operation, which may take some time. When the process is finished, you will see a message informing you.
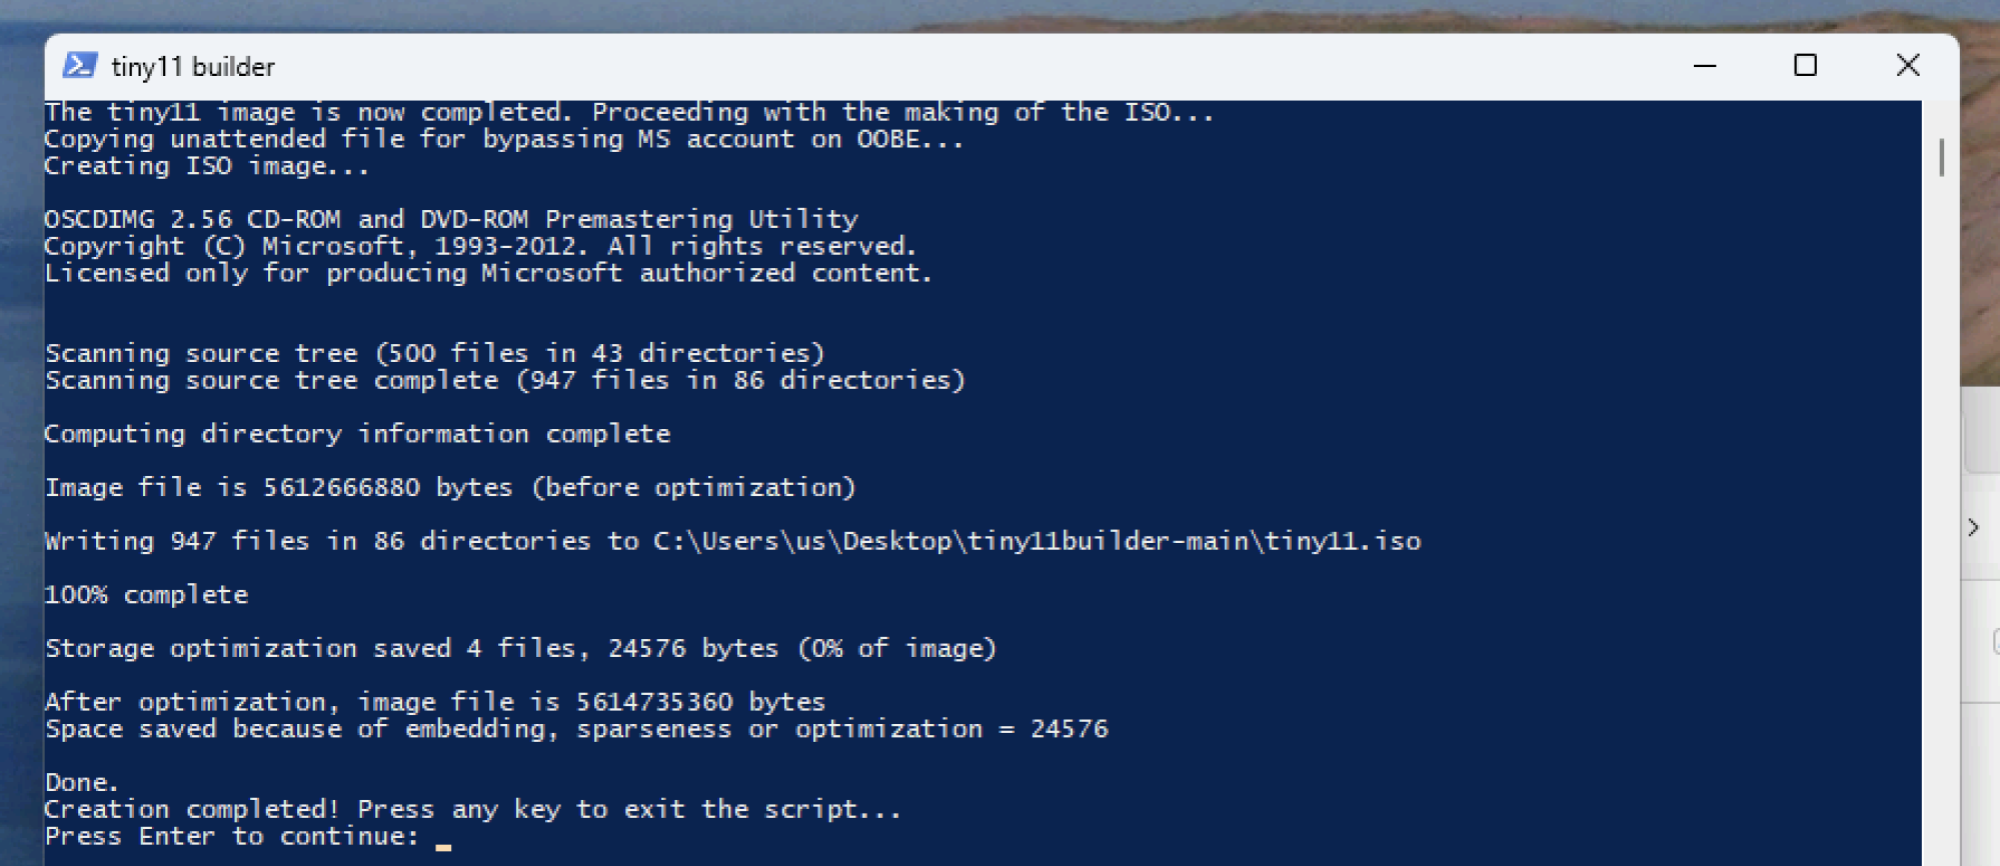
A brand new ISO file will be available in the script directory. This ISO is great for setting up Windows in a virtual machine (which is how I host it), but it is also suitable for installing to a device. You can burn this ISO file to a DVD if you have an optical drive, or you can use a USB disk. Microsoft provides official instructions for this, which are very easy to follow.
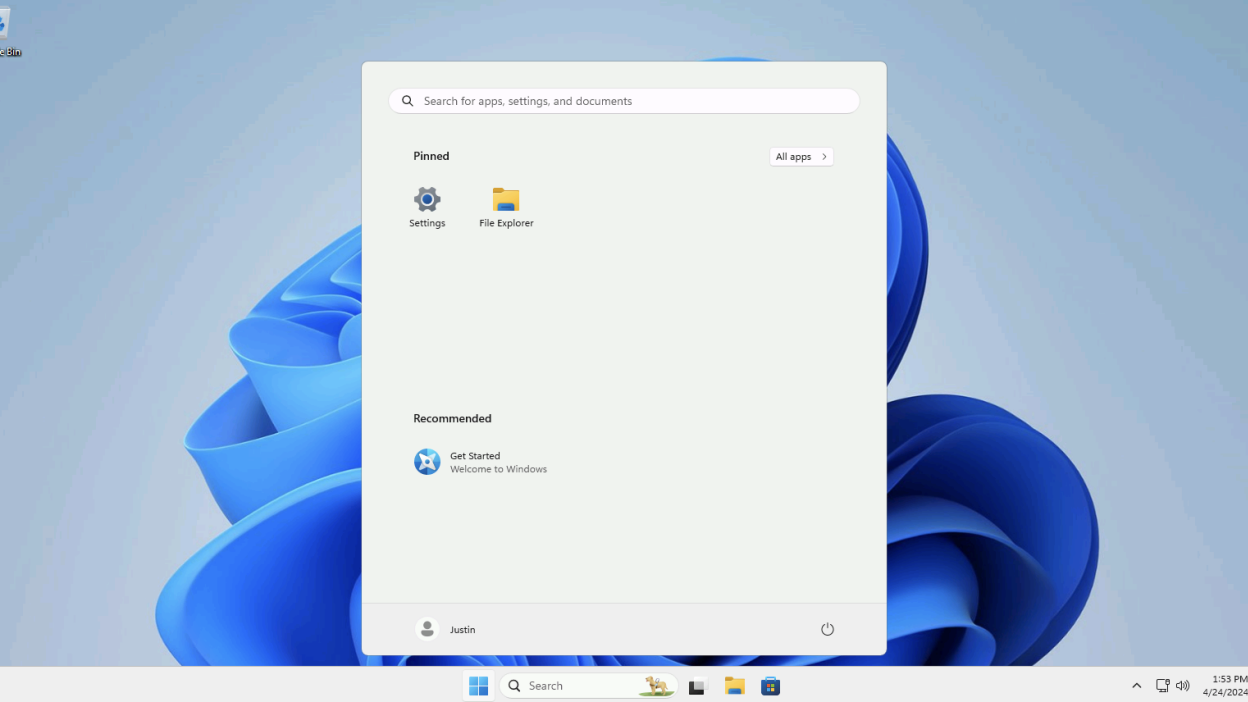
However you install Windows from this ISO, you know it will be completely clean. You won't be prompted to create a Microsoft account, you won't even be prompted to sign in with that account, and no Microsoft services will be offered beyond those needed to use the operating system. Seriously, check out this start menu:
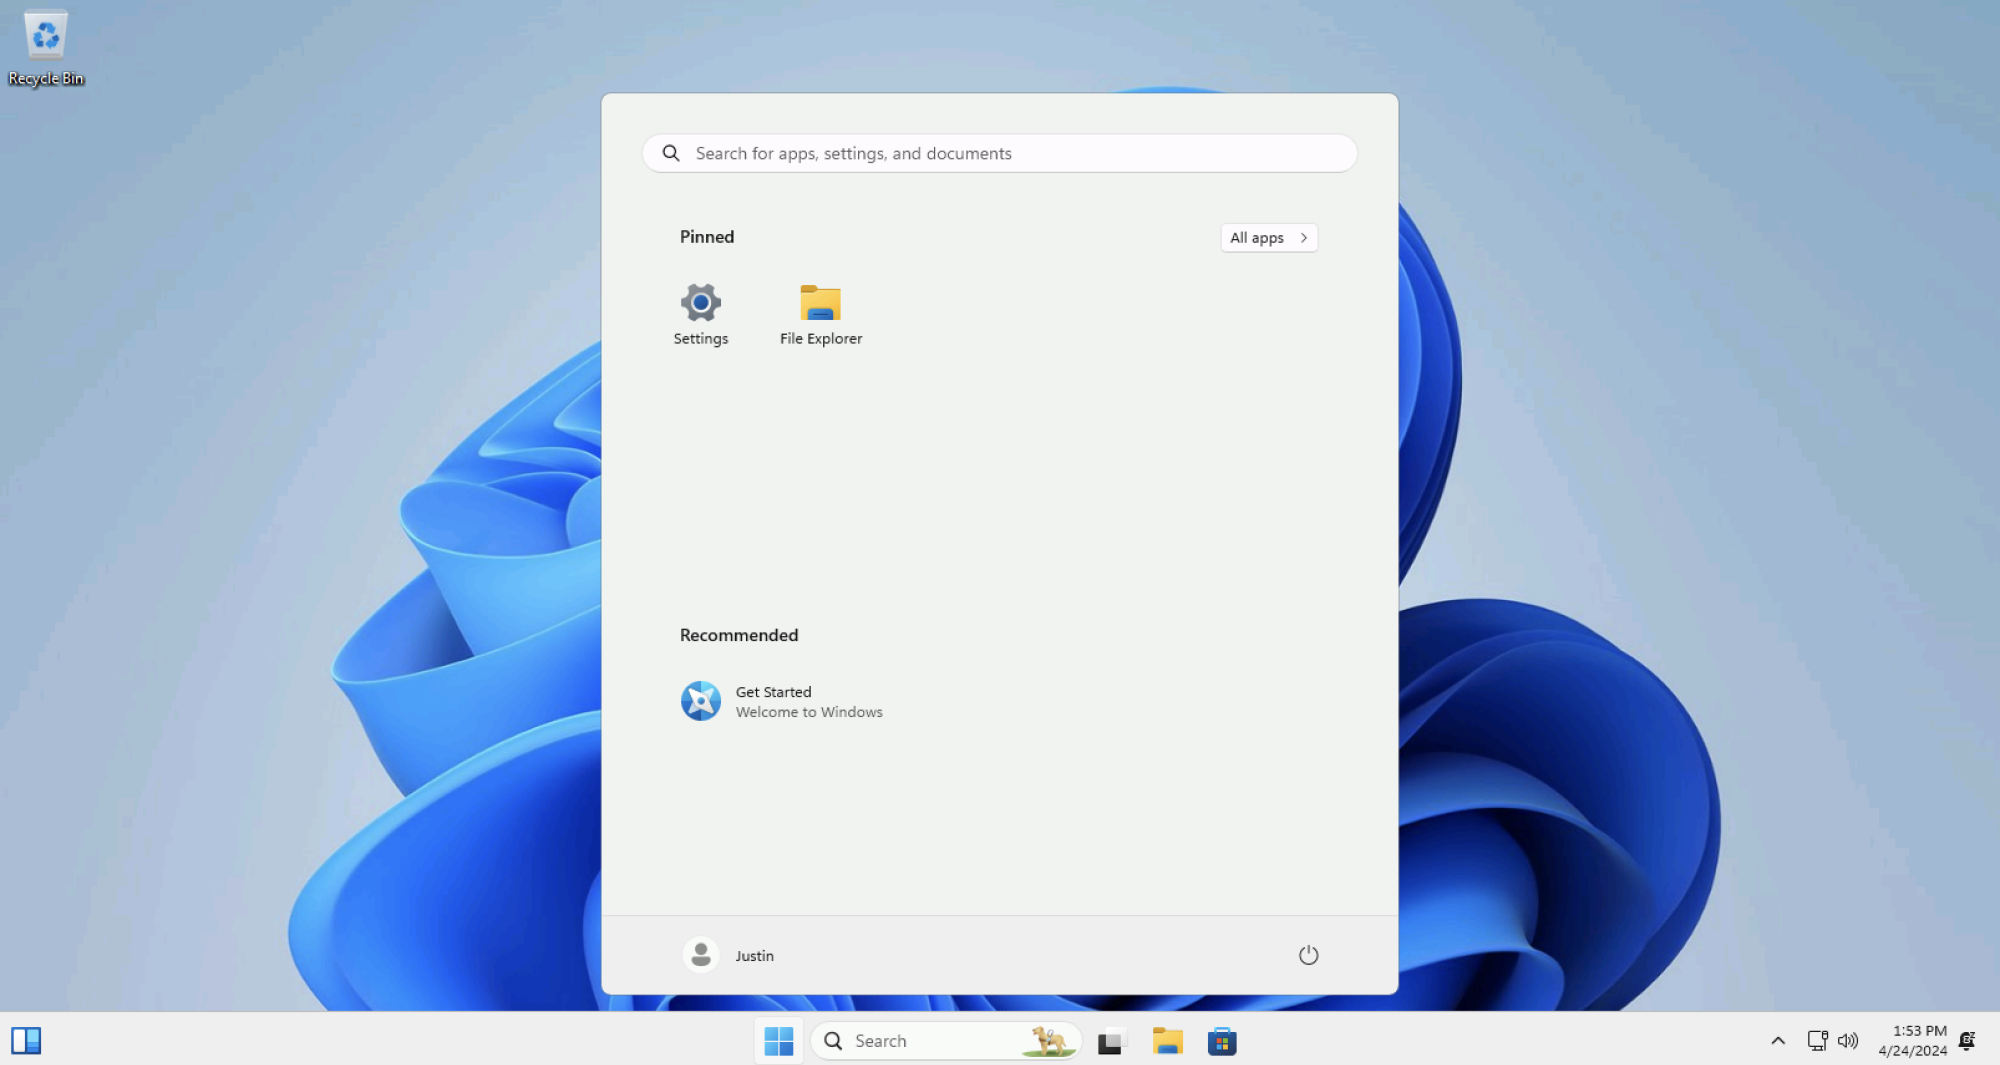
There's no clutter, which means you can add the applications you really want to use. It would be nice if Microsoft officially offered this feature, but it's more important that advanced users have a way to get it.
