what to know
- Storyboards are only available to certain users, including publishers and bloggers.
- Check your profile page to see if there is a section titled Storyboard .
- If you do this, click Make New Storyboard and follow the prompts.
This article explains how to create a Flipboard Storyboard on the desktop version of Flipboard, which can be accessed through a web browser on a Windows or macOS computer.
Flipboard Storyboards are curated mini magazines on Flipboard that allow users to create smaller, more focused collections of content than regular Flipboard magazines.
To start setting up your storyboard, you'll need to start with your account, just like you would when you created a magazine. Storyboards use a Flipboard tool called Curator Pro. However, it's worth noting that not everyone has access to Curator Pro. It's available to the company's individually reviewed publishers, bloggers and select users in Australia, Canada, the UK and the US.
To determine whether you can create a storyboard:
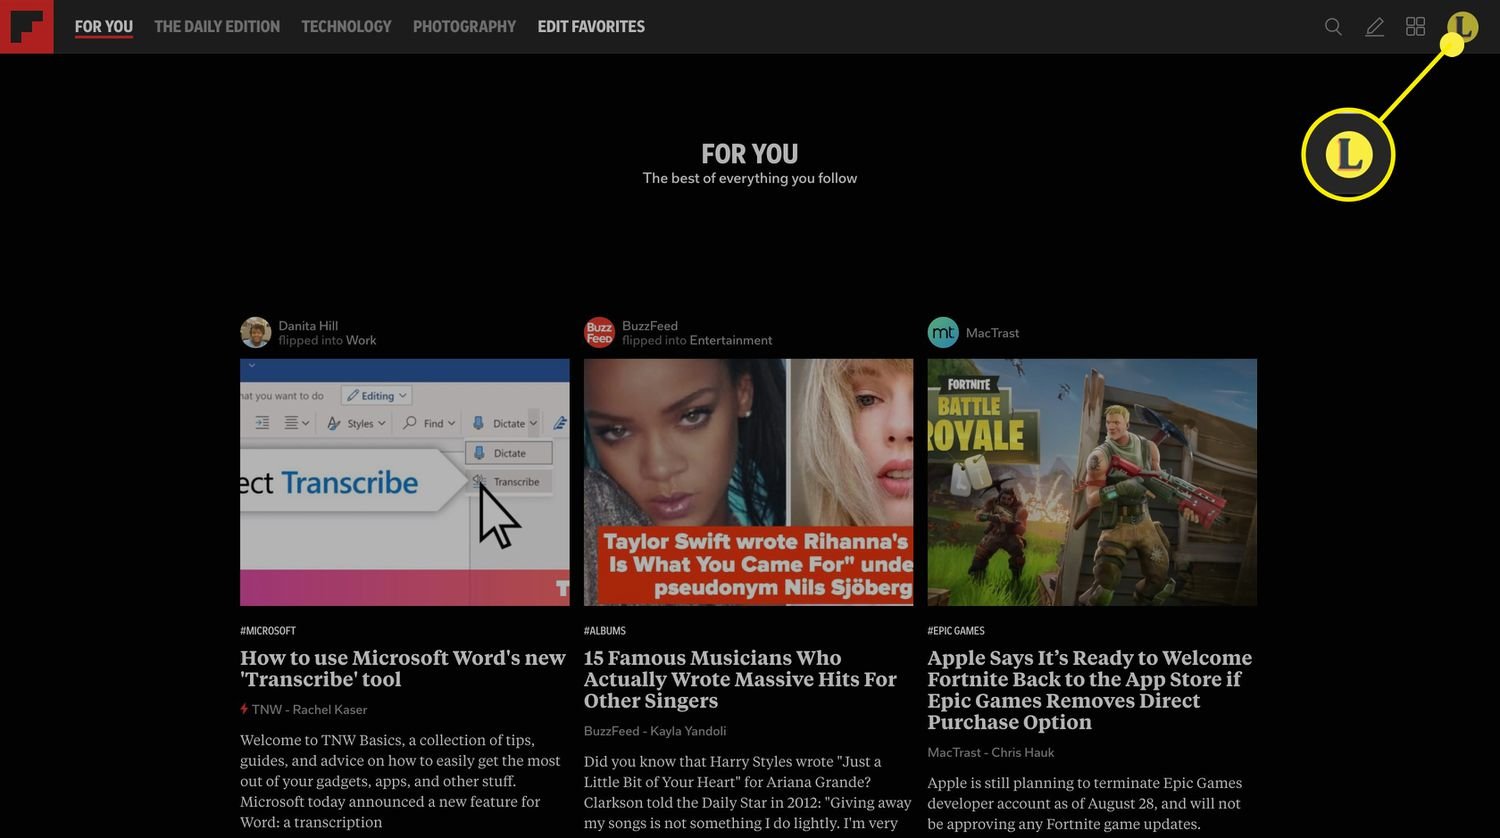
Open Flipboard and click on your profile picture in the upper right corner of the screen.
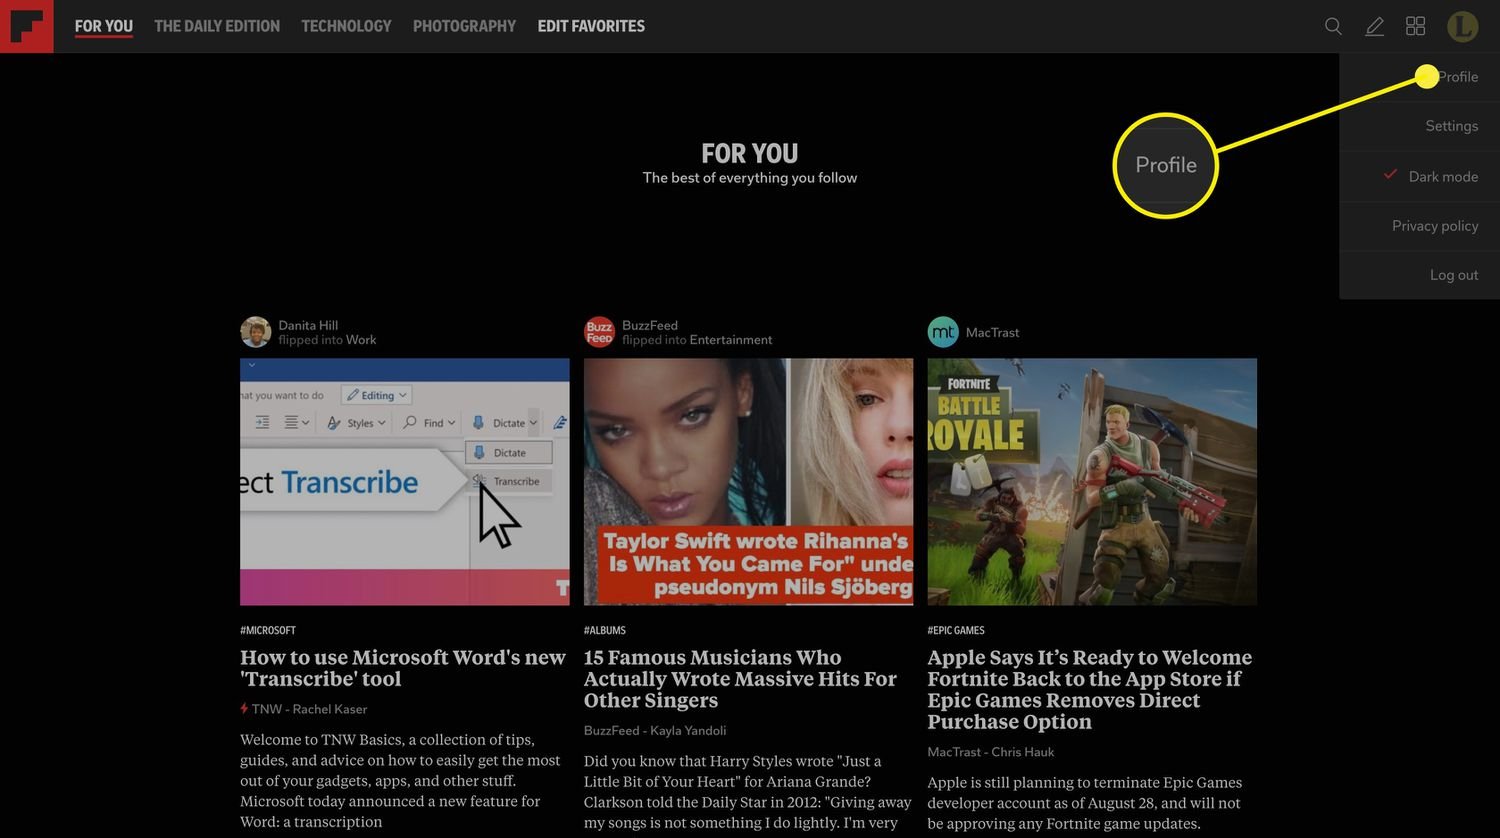
In the menu that appears, select Profile .
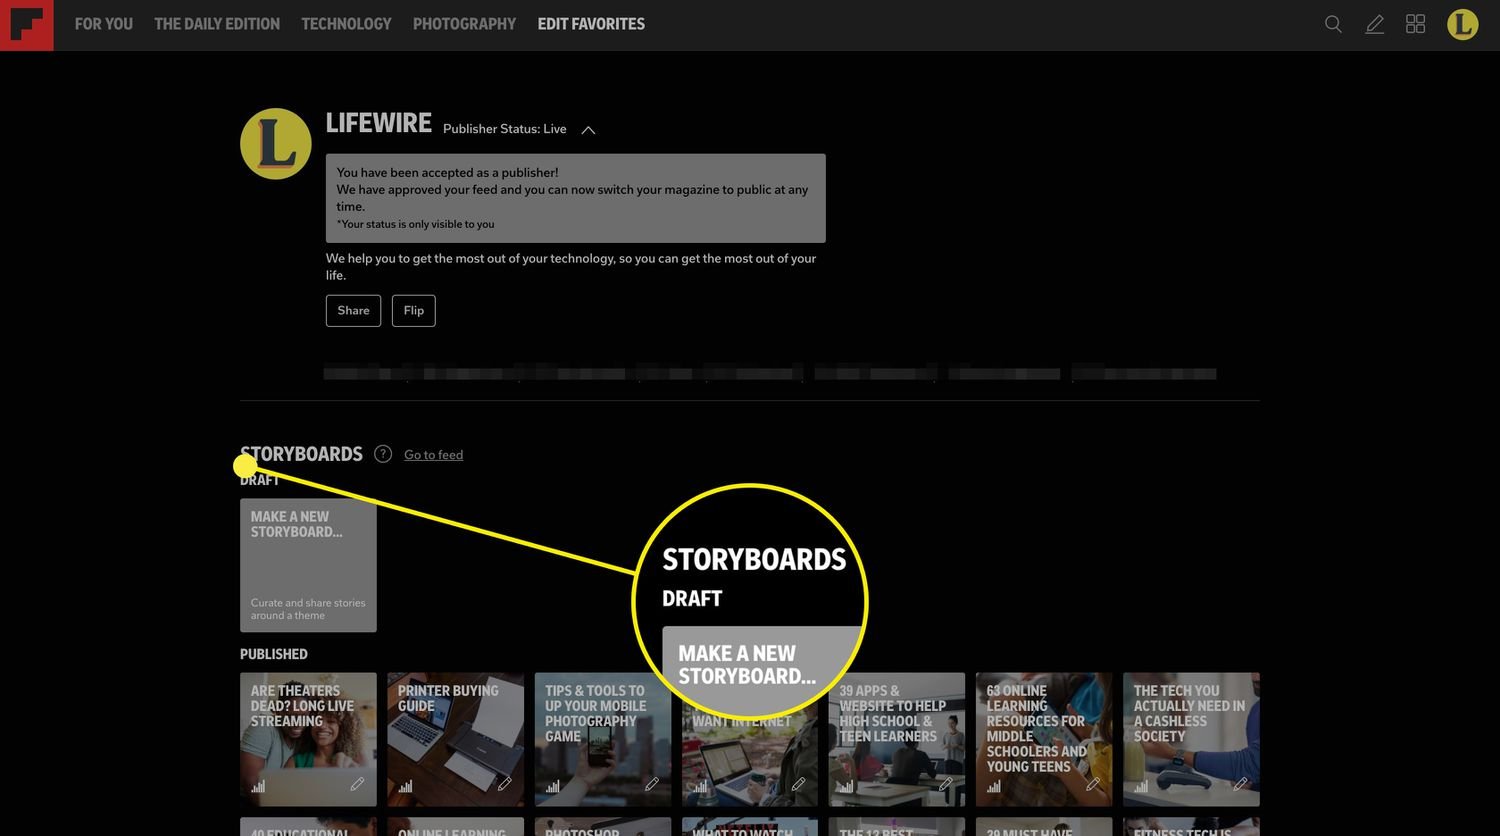
On your Profile page, scroll down to see if there is a section titled Storyboard . If you do this, storyboards will be enabled for you. If not, then you'll have to wait until Flipboard opens the feature to all users. Unable to request the ability to create storyboards.
If you do have the option to create storyboards, getting started is as easy as creating a magazine. Before we get started, though, there are a few things to know:
- Storyboards can add a limited number of featured articles. Flipboard recommends following the "smaller is better" rule for storyboards. Therefore, the company recommends curating only 5-12 articles for Flipboard.
- Despite this advice, a storyboard can be divided into several parts. Each section can contain up to 10 articles.
- The lifespan of a storyboard is approximately three days. They will remain online until you delete them, however, after three days traffic to the storyboard appears to drop significantly.
- Flipboard curates great storyboards to include in their own weekly top picks , so even if traffic drops, you can still reap the benefits of keeping your storyboards online.
With these things in mind, and if you have access to them, here's how to create a storyboard.
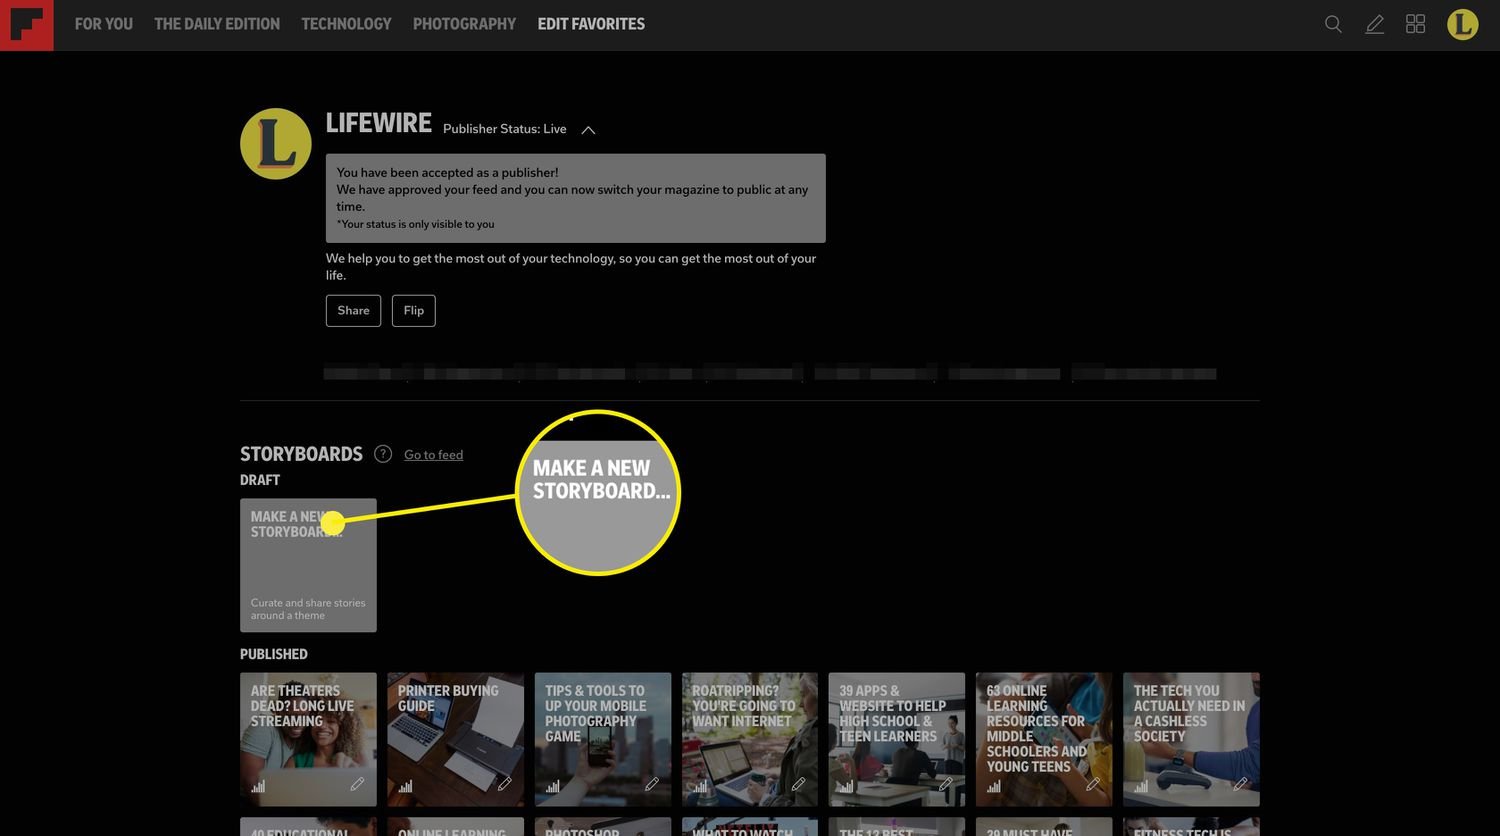
In your Flipboard profile, click Make New Storyboard in the Storyboards section.
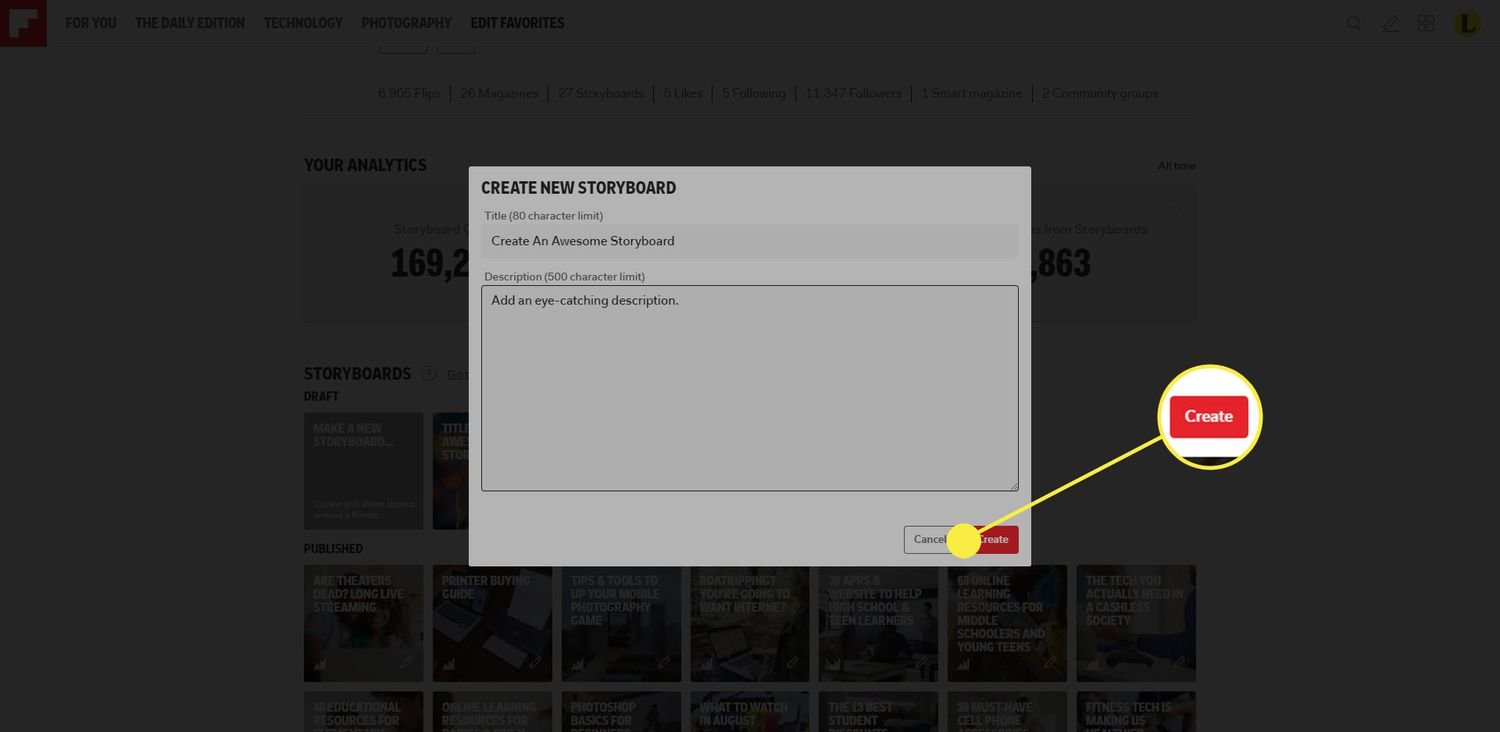
A dialog box will open for you to enter a title and description for your storyboard. Enter these details and click Create .
If you're not sure what title and description to enter at this point, just enter some text and choose something at least a few words long for each field, as there are minimum character requirements that need to be met. You must fill in these fields before you can create the magazine, but you can always change them later.
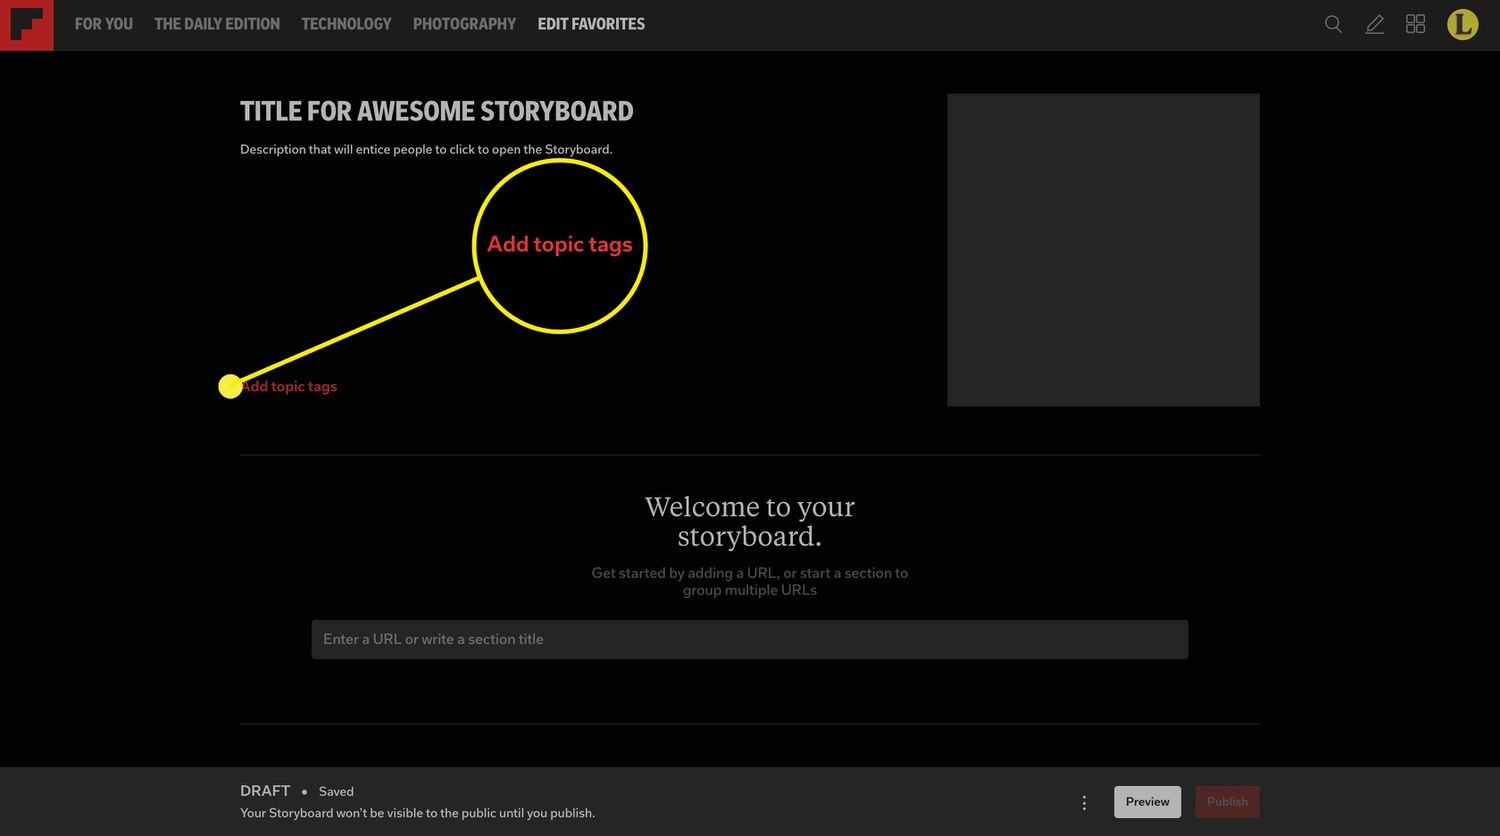
Next, you'll enter Curator Pro, where you can populate your magazine. The magazine is divided by title information, which includes titles and descriptions, images, and category tags that you create. It's best to save the image until you add it last, since it comes from the article you included in the storyboard. So, click on “Add Hashtag” to add the tags you want to assign to the magazine.
If you choose to do this, you can complete all title information after adding the article to the storyboard. In some cases, the storyboard takes shape as you add the article, which means you can make fewer changes to the title information afterward if you change direction during creation.
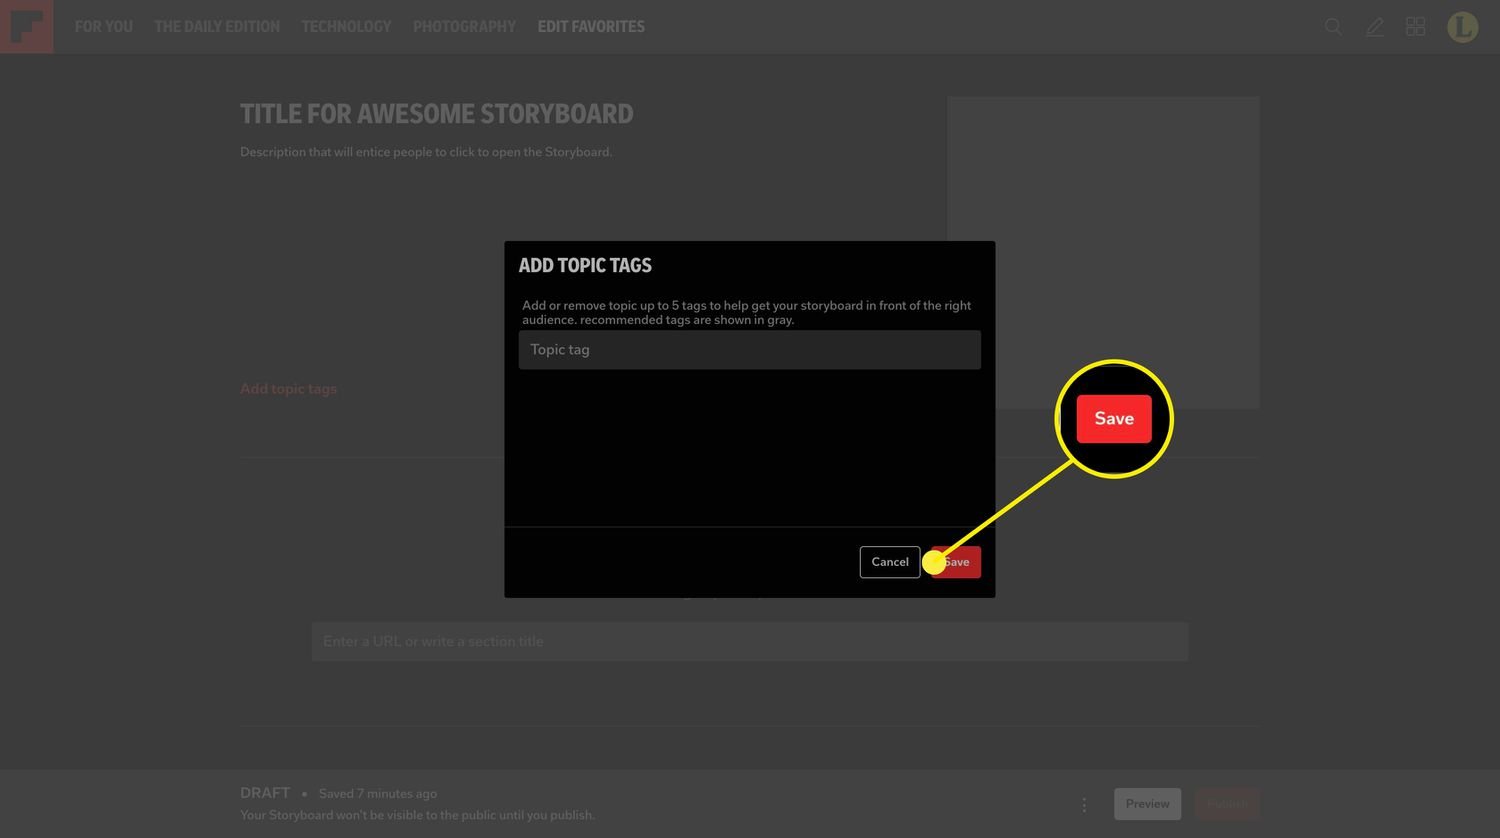
In the Add Hashtag dialog box that appears, start typing keywords for the first tag. A list of associated keywords will appear, choose the keywords that best fit your storyboard. Repeat this process until you have the labels you want to use, up to five in total. When finished, click Save .
To add the body of your storyboard, scroll down to "Welcome to Storyboards." part. There, you'll find a text box where you can enter the storyboard's URL and also add a section title. No matter which option you choose, just press the Enter key on your keyboard to add your selection.
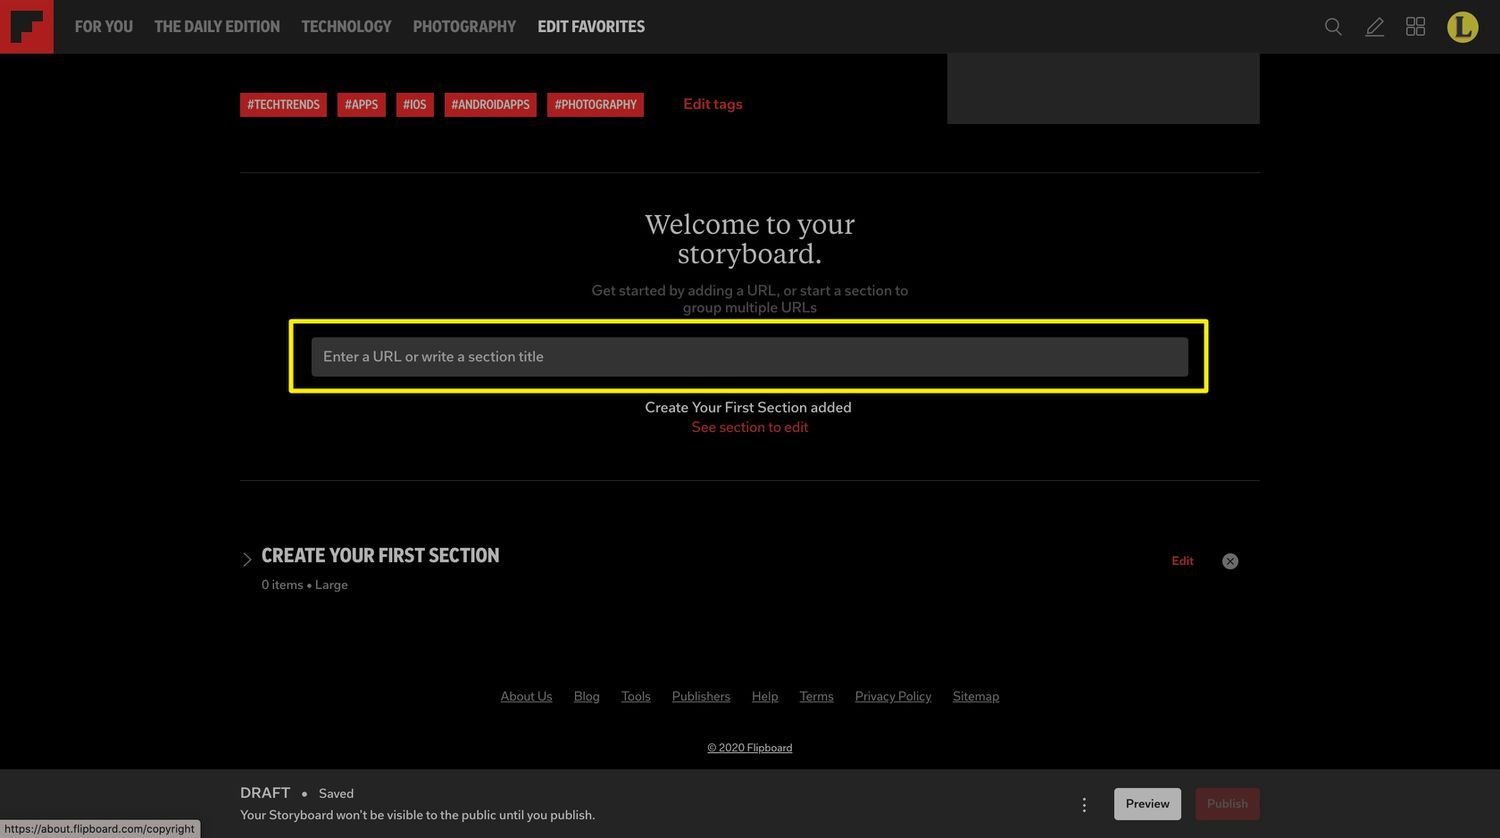
One thing to remember when creating a storyboard is the order in which you enter your projects in your magazine. For example, if you want one article, two titled sections (containing the articles), and the last article, you must first enter the URL of the first article and then press Enter . Then enter the name of each of the two sections, pressing Enter after each section (you'll see below how to add articles to these sections). Finally, you will enter the last article you want to include and press Enter . You can rearrange items in the storyboard by dragging and dropping, but it can be unstable, so some pre-planning helps.
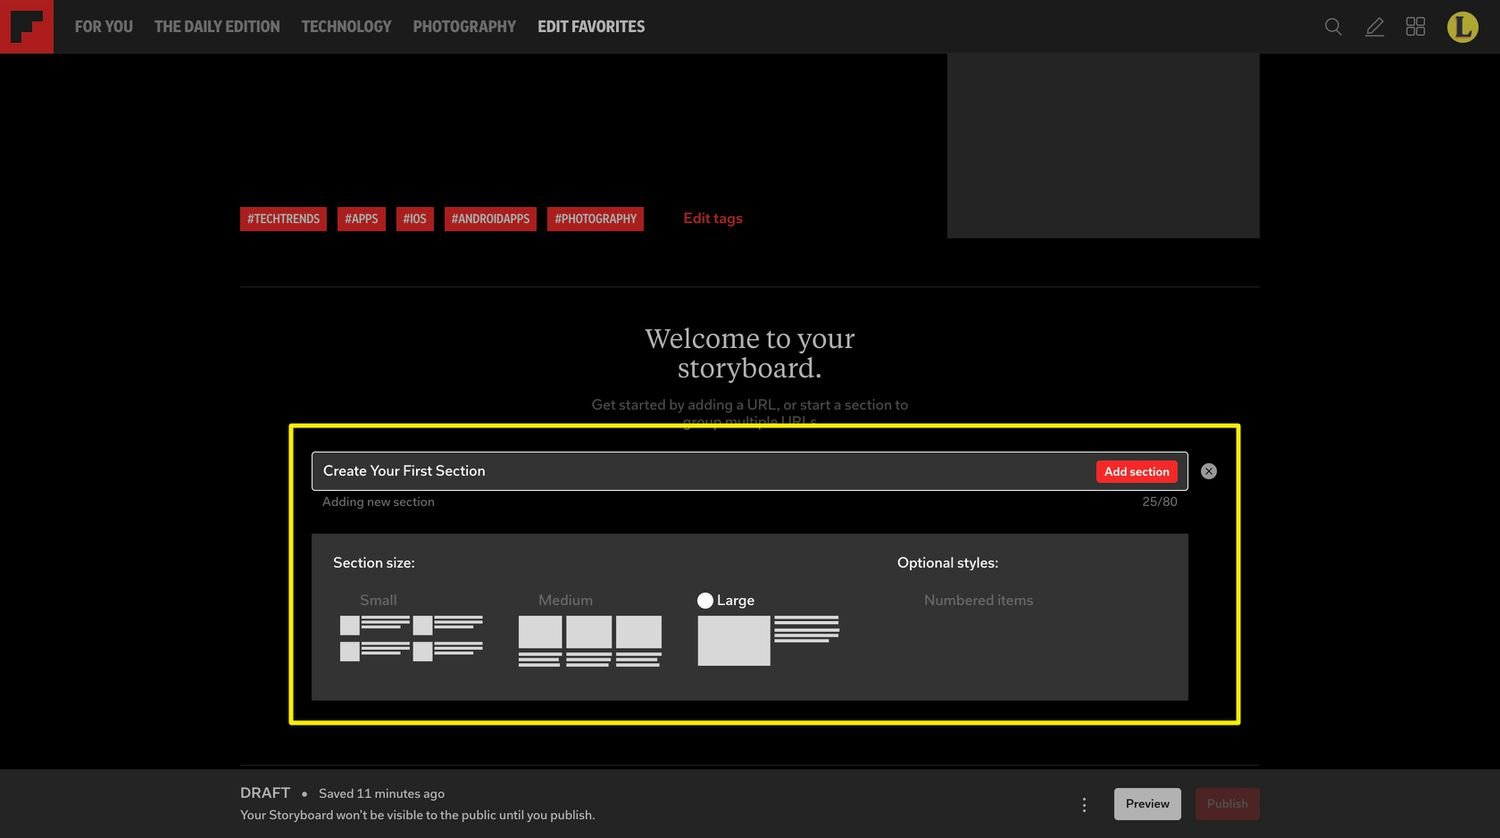
If you choose to create a section title, when you start typing in the text field, some options will appear below the text field. Here you can choose the size of the thumbnail images for each item in that section of the storyboard, and whether you want each item in that section to be numbered. Make your selection and press the Enter key on your keyboard. Then, repeat this process for any sections you want to add.
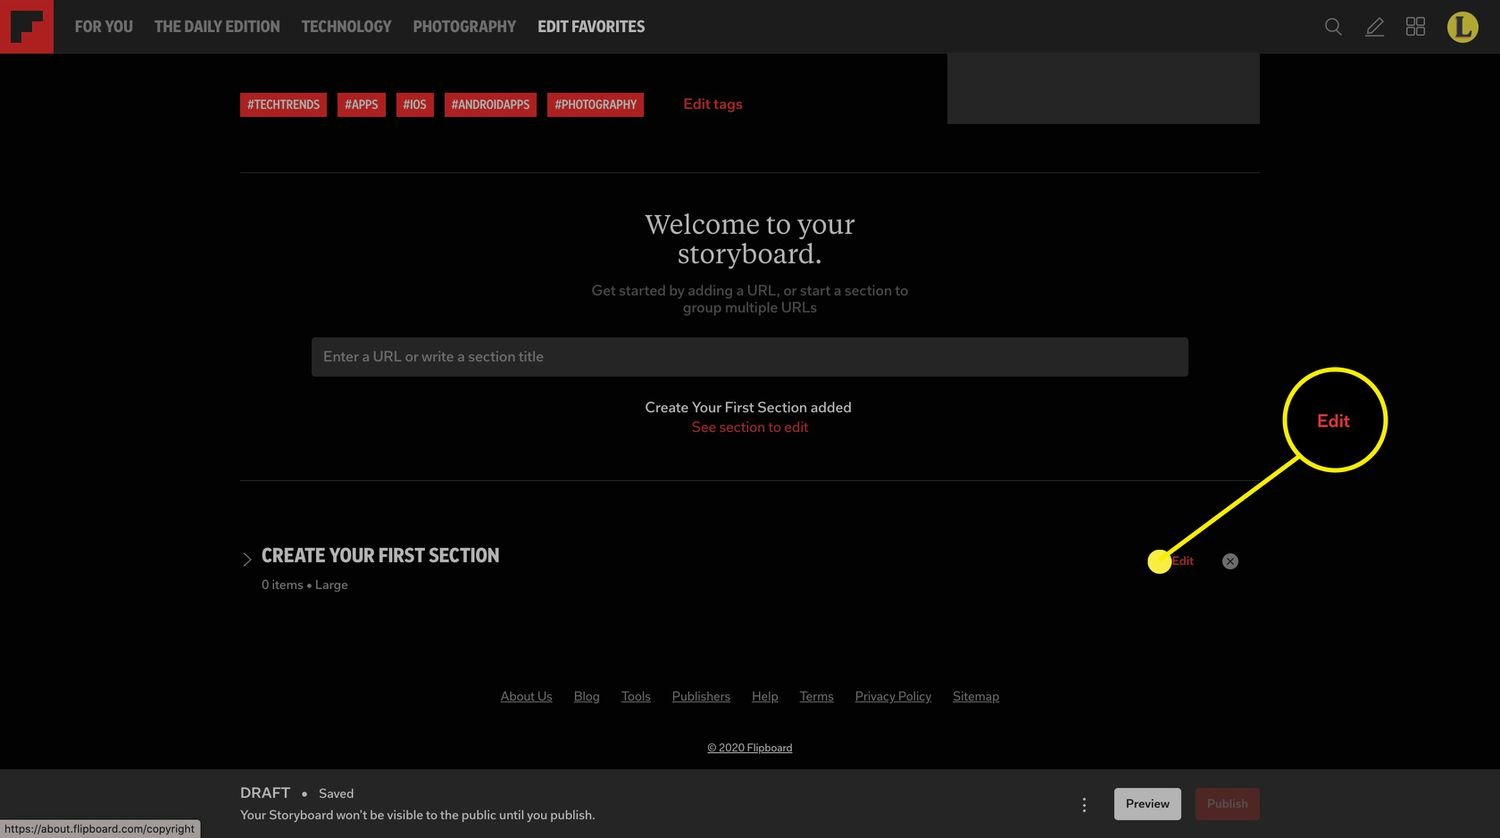
To add a story to a section in the storyboard, click Edit to the far right of the section title.
This will open the editing section. It will look just like the options that appeared when you created it, and you can change the size of the thumbnails shown in the final storyboard if you wish. Alternatively, you can use the text field in this section to enter the URL to include. After pasting the URL into the text field, press Enter on your keyboard.
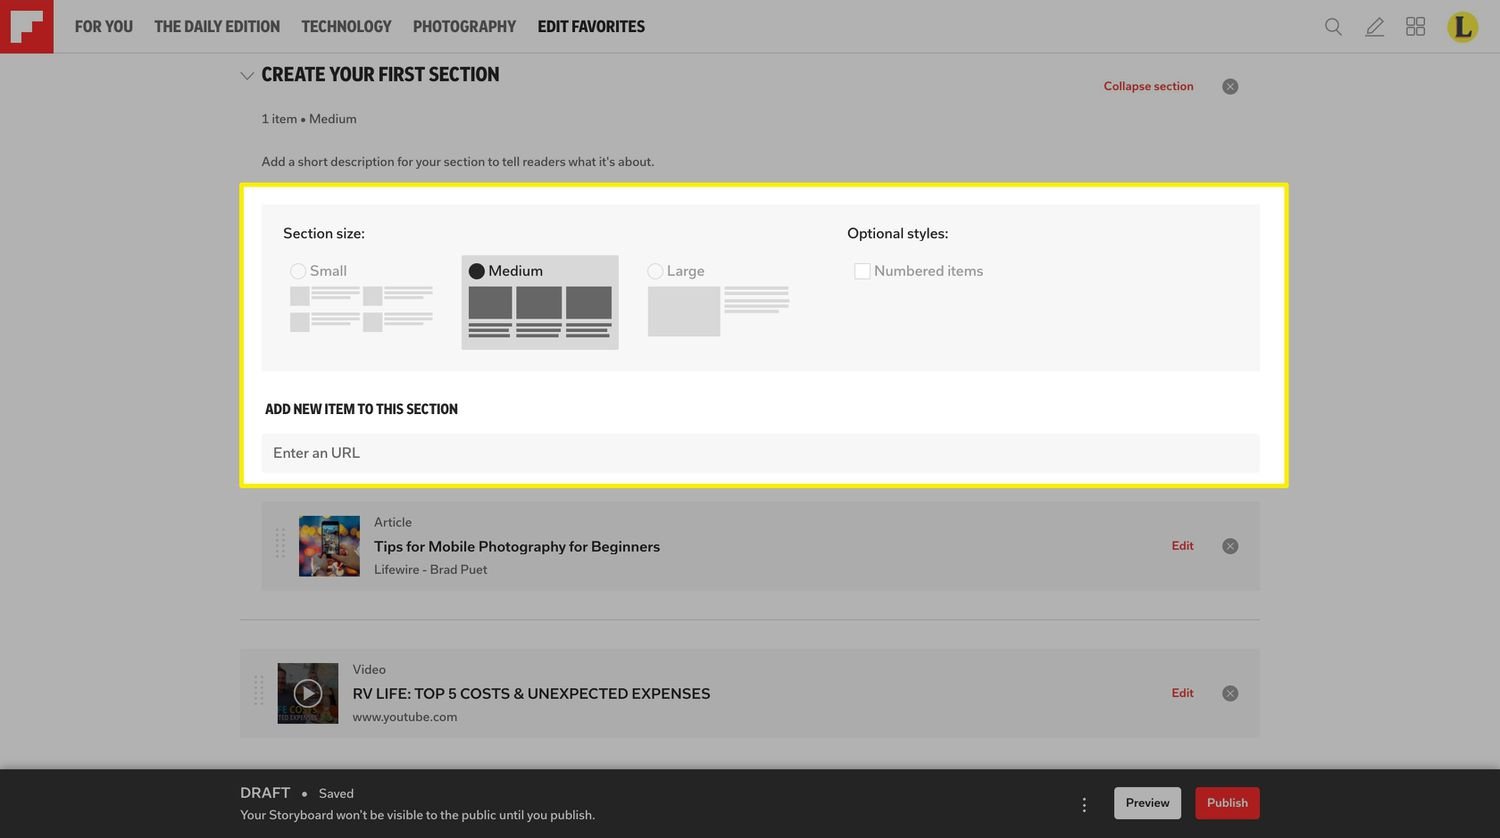
The new URL will appear in this section. If you want to edit the URL's title or description, press Edit on the far right of the URL. When finished, click Save.

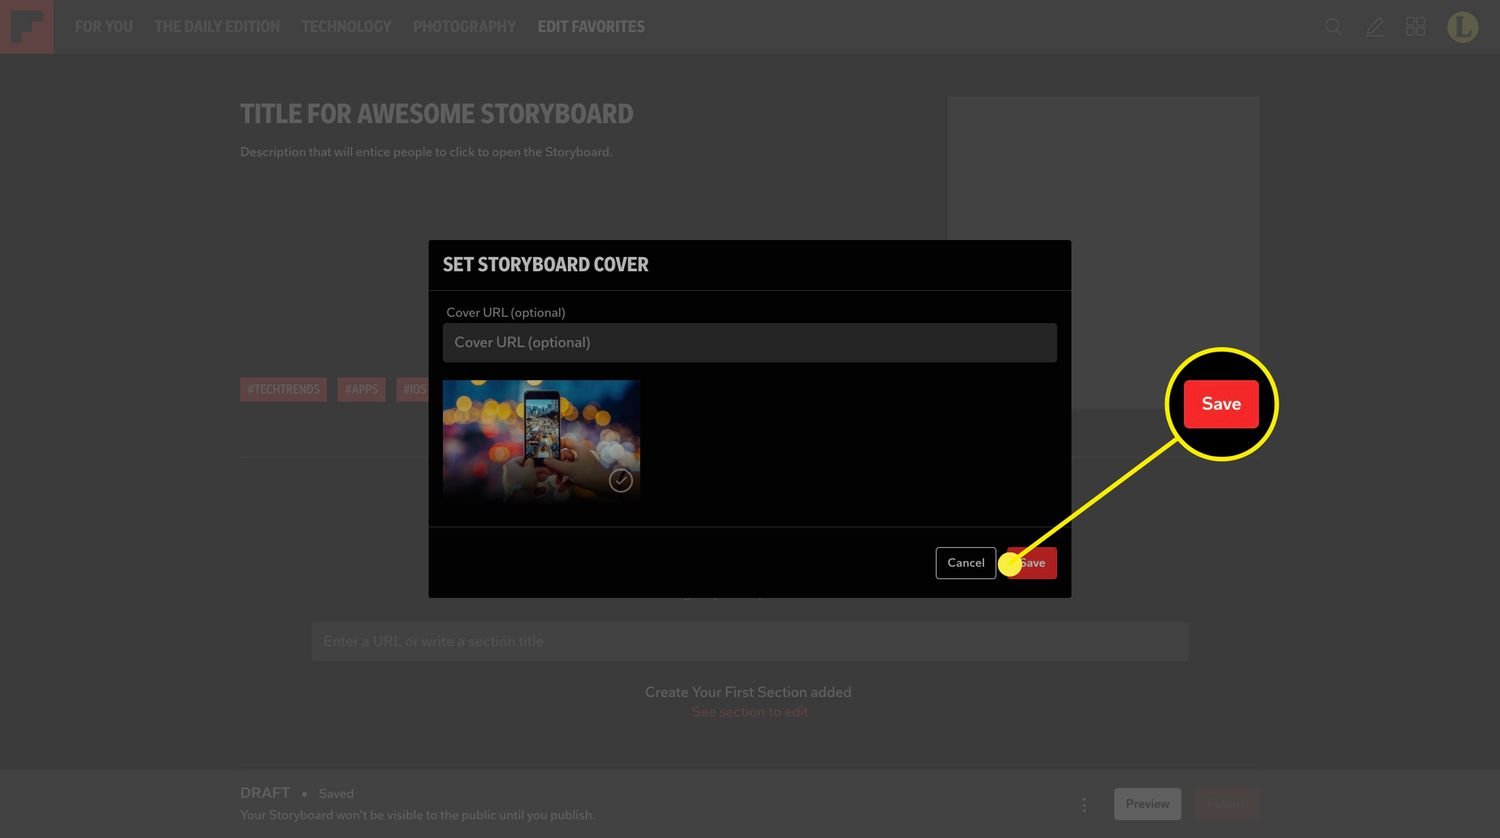
Repeat this process to add articles and sections until you have collected everything you want to include in your storyboard. Once you're done, you can go back and fill in any previously skipped fields in the header. Specifically, if you want to add (or change) the main image of your storyboard, scroll to the top and select Image or Image Placeholder.
In the dialog box that appears, select the images you want to use for your storyboard and click Save .
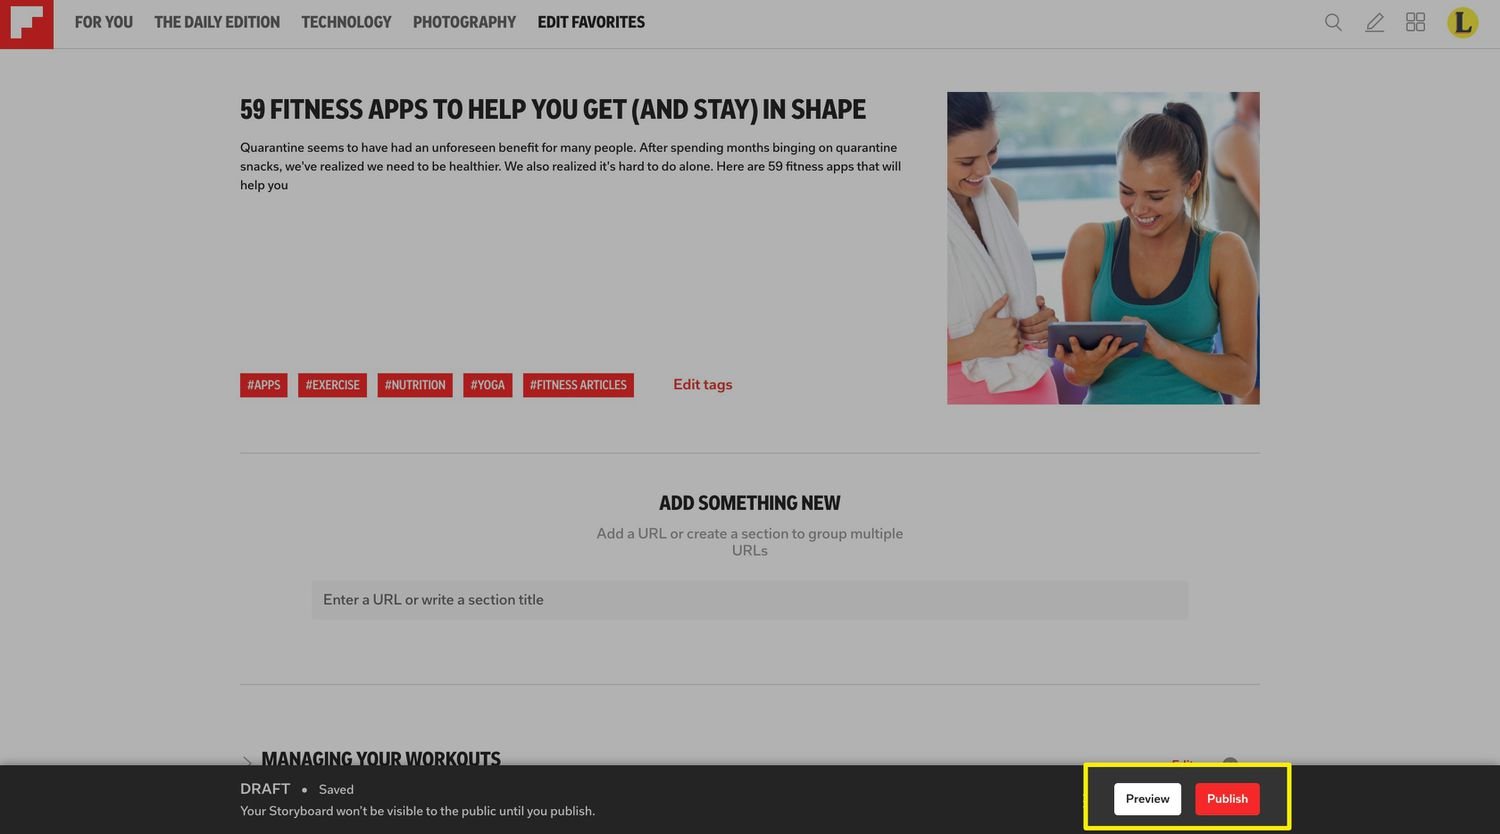
After adding content to your storyboard, click Preview at the bottom of the page to preview how the final storyboard will look. If you are satisfied with the look of your Storyboard, click Publish.
Once you add a title and description to your storyboard, it will automatically save every time you change the content. So you can start with a storyboard or even create one and then wait until later to complete or publish it without losing the work you've already put in.
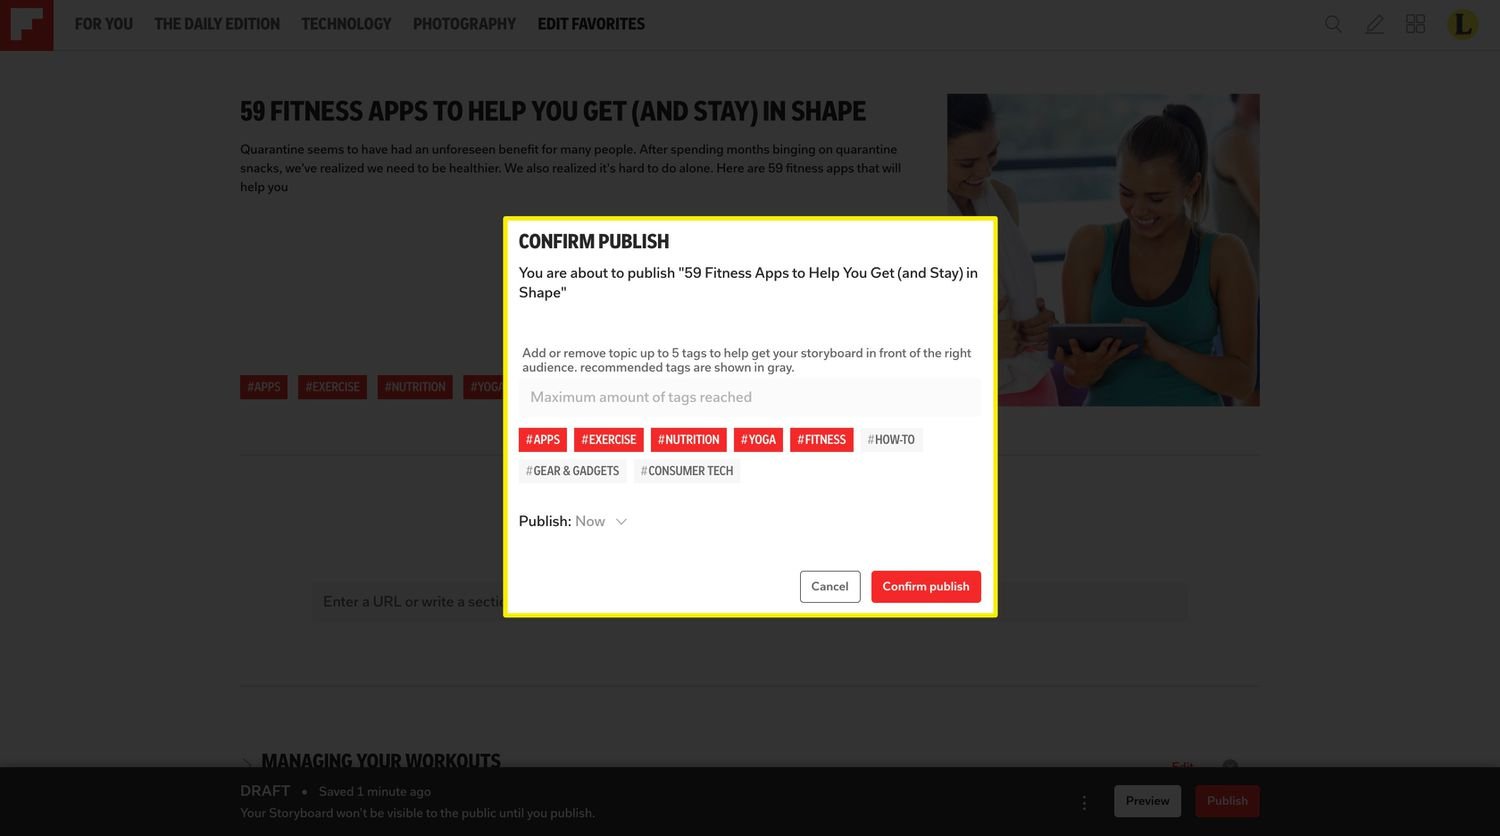
You will receive a confirmation message where you can view the title you created and the tags you selected. You can also choose to publish your storyboard now or at some point in the future. Once you've made all your selections, click Confirm to publish . If you change your mind, click Cancel .
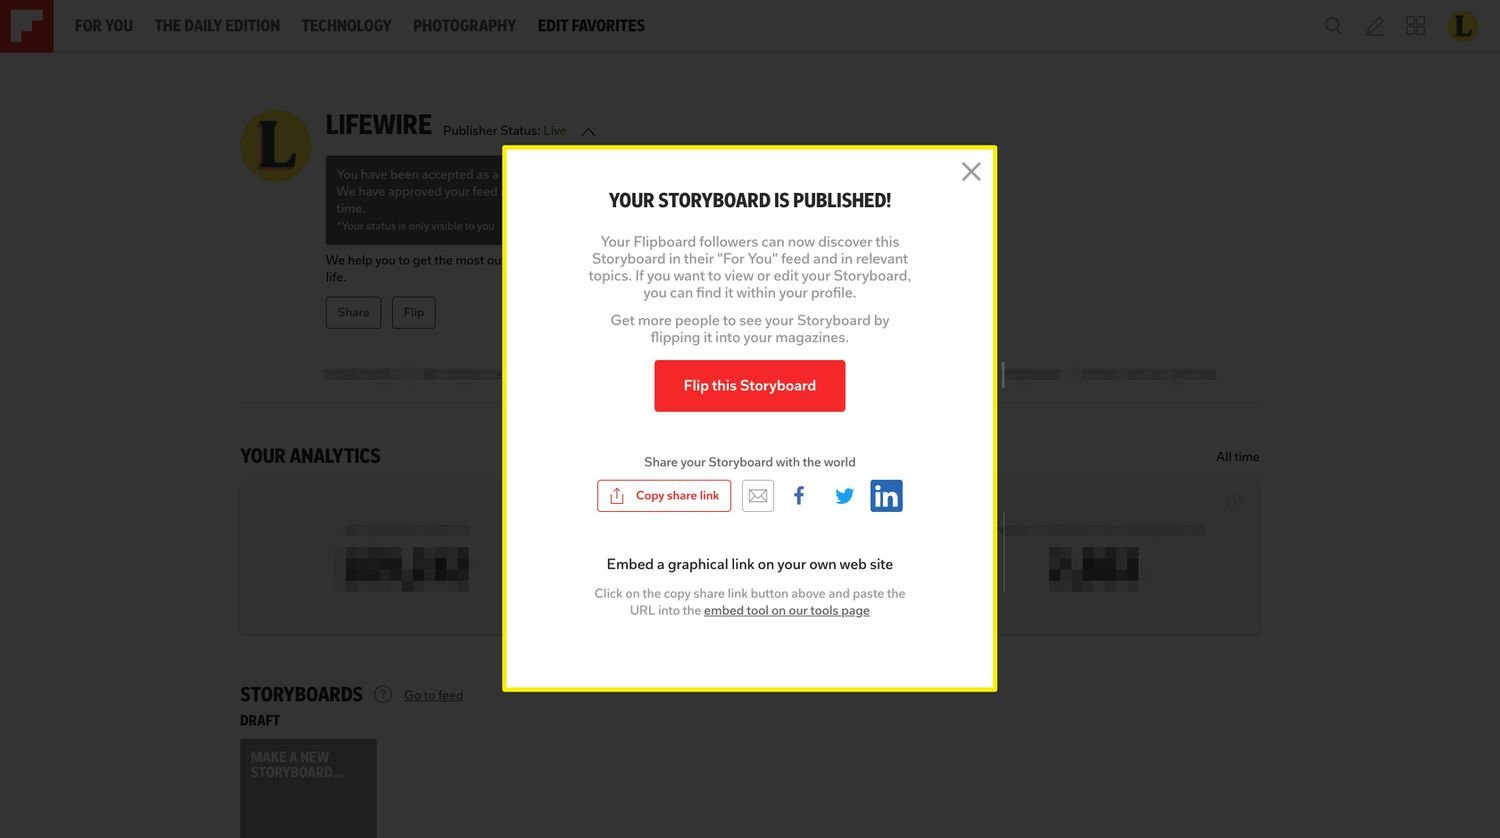
The storyboard will be published, you will be returned to your profile page, and a sharing window will open where you can share your storyboard on Flipboard, X (formerly Twitter), and other social media, or Copy the storyboard's URL to share it with others using your email or other communication tool.
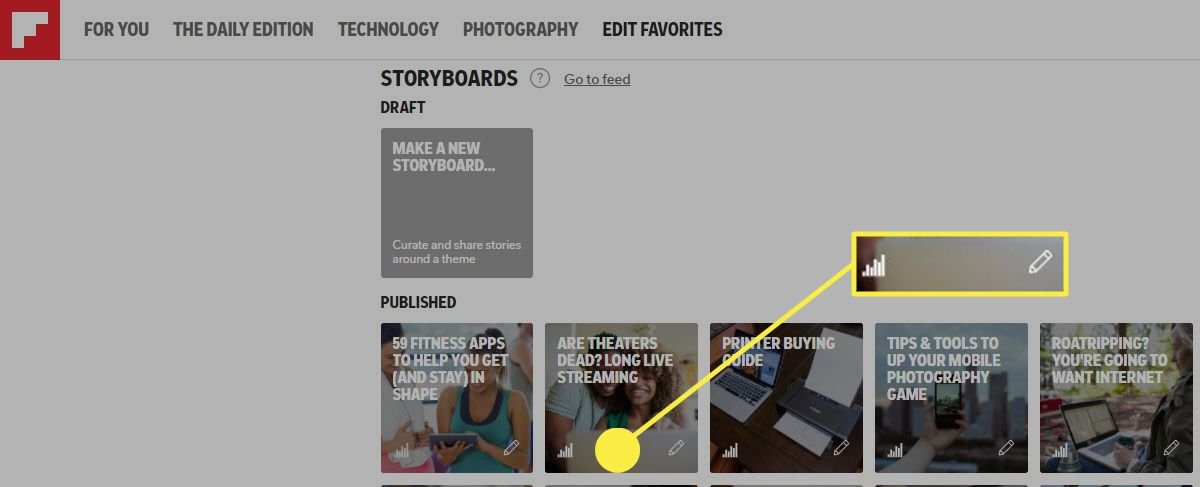
After a storyboard is published, it will take approximately 24 hours before you see any analytics on how it performed, but once they are available, you can find them by clicking the chart icon on the storyboard thumbnail in your profile. You can also edit the storyboard at any time by clicking on the pencil icon.